



October 30, 2021
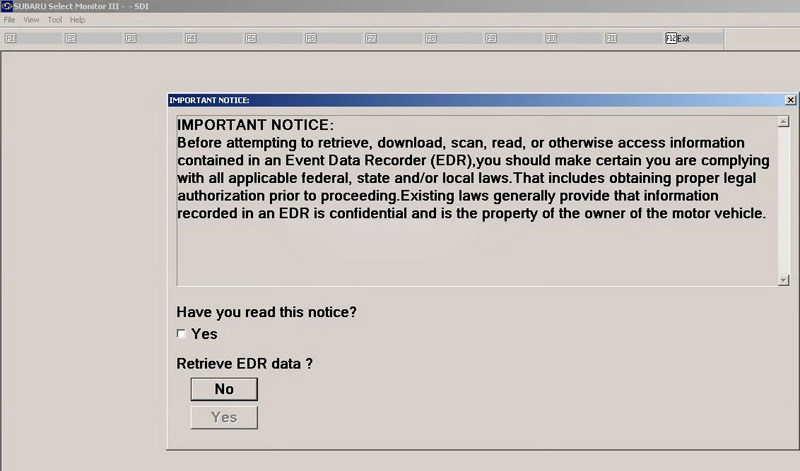
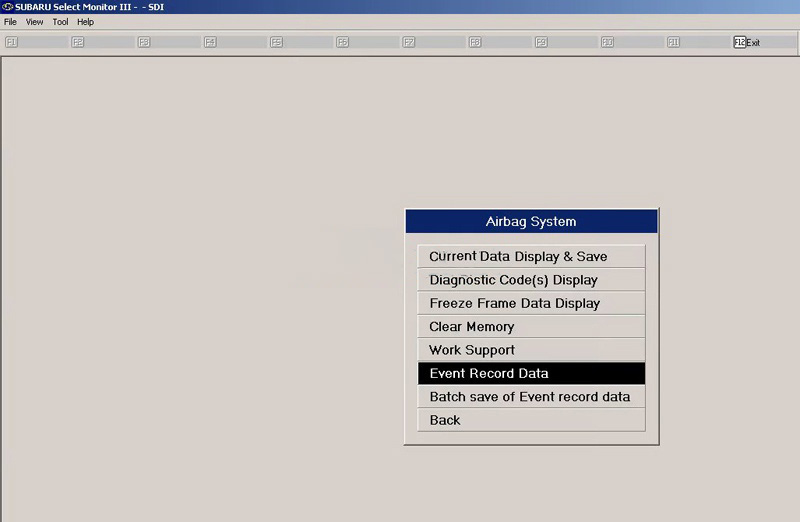
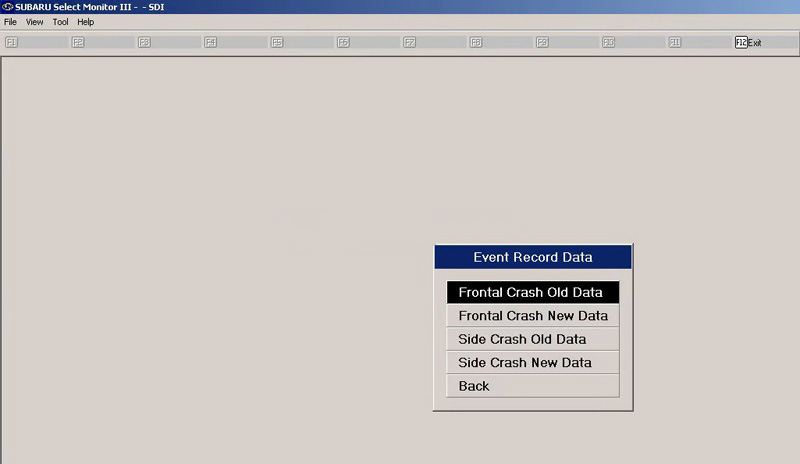
As titled, we had a customer asking is it possible to record data to a CF card when using VXDIAG Subaru SSM3 scanner.
Answer:
VXDIAG SSM3 does have the ability to log sensor data while the laptop is connected to the car. It records to a proprietary format, and it lets you export CSV afterward, for analysis in other tools.
If you buy the "real†hardware from Denso or Hitachi, then it can record to a CF card by leaving just the tool connected to the car. Then you can download the data later on the computer. But this VxDiag does not have that feature.
Posted by: youobd2 at
03:58 AM
| No Comments
| Add Comment
Post contains 116 words, total size 2 kb.
Yesterday I registered keys for Mitsubishi Outlander Classic 2.4L AT 4G69 2007Y.
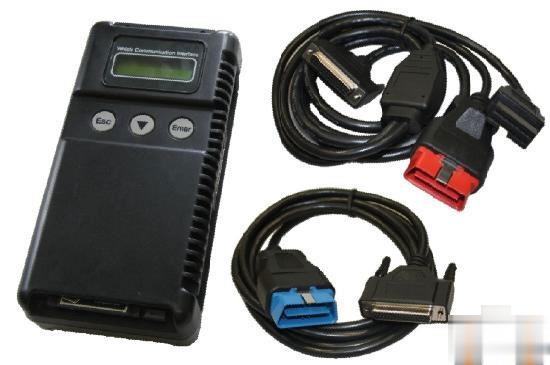
It was necessary to add 1 key. Everything was done through Mitsubishi MUT-3 diagnostic tool.
Disclaimer: The tutorial was translated from Russian. So the menu is in Russian, but have English explanation.
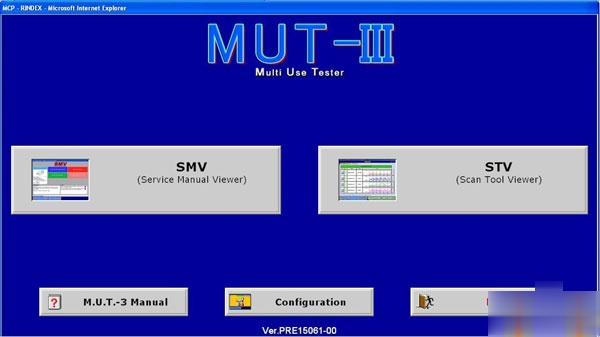
Run the software MUT 3 , select STV (Scan Tool Viewer):
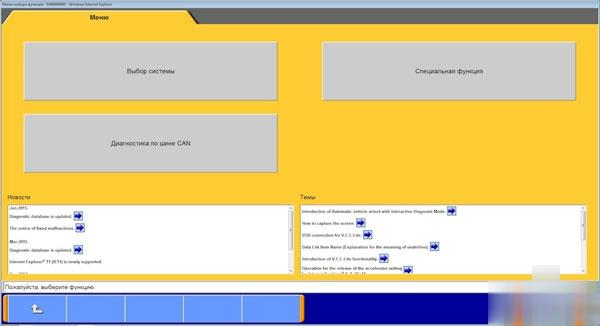
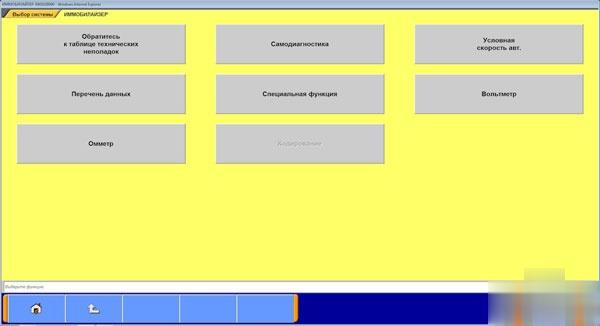
Go to the System Selection menu:
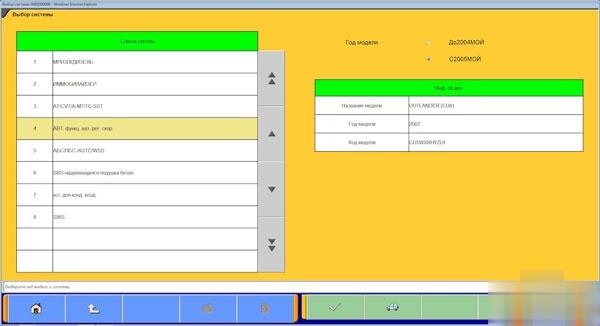
We put the year with 2005 , we enter the VIN-number, we get the active configuration, and we go further into the Immobilizer :
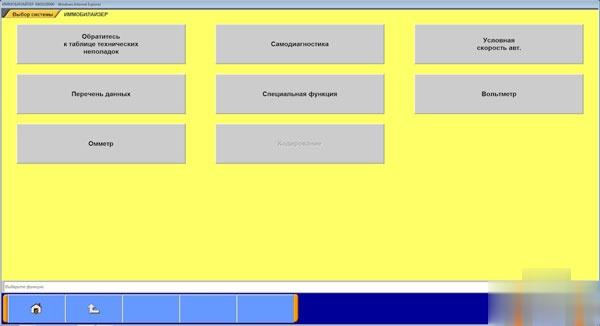
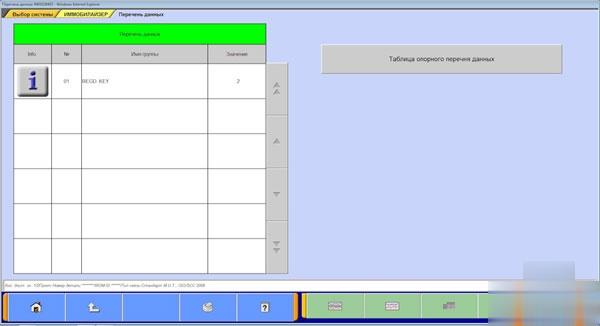
Let’s go to the list of data:
We see 2 registered keys:
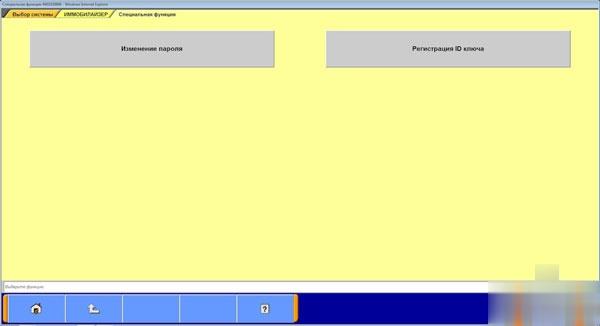
We go back to the menu, go to a special function:
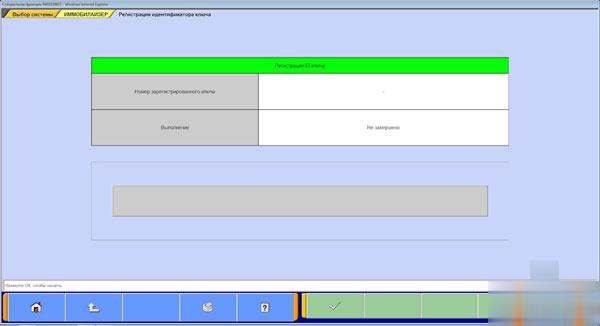
Registration of ID-key :
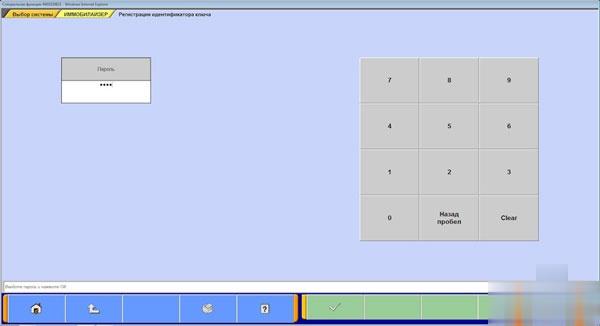
We enter the password and agree:
We see on this screen, the 1st key is already inserted in the ignition lock, we agree:
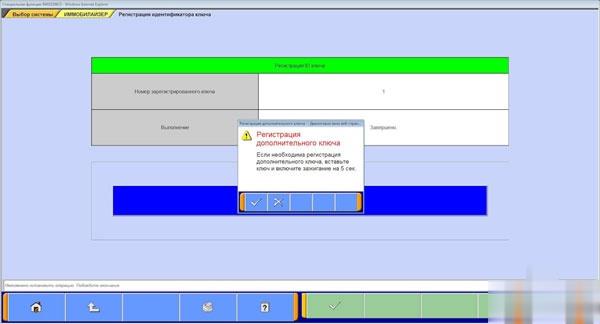
1st key registration successfully after 10 seconds, turn on the ignition with a second key, preferably do it quickly, we agree with the question of the registration of the following key:
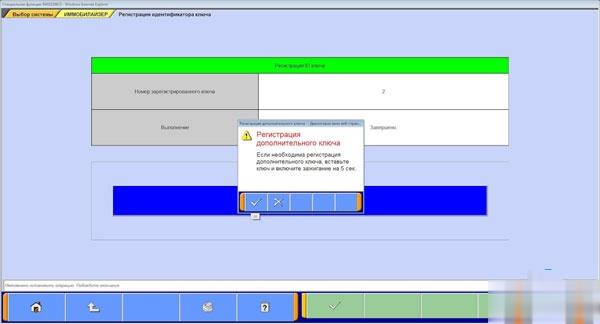
The second key is registered, we repeat the same thing for the third key:
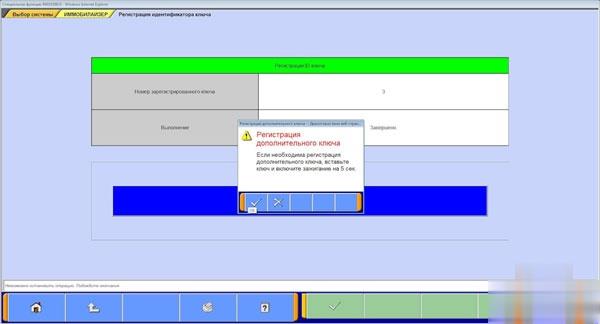
The third key is registered, because there are no more keys for registration, cancel the addition of the next possible key:
We go back and go to the data list, now we see 3 registered keys:
We go into self-diagnosis, no errors are found, then everything is ok:
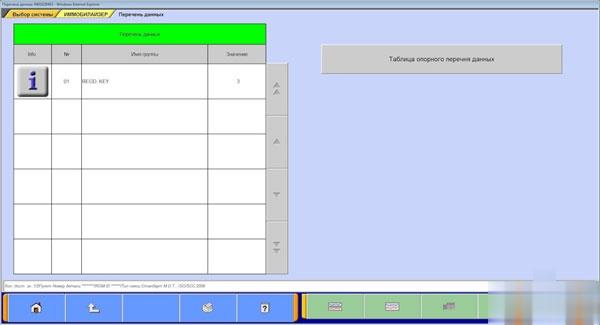
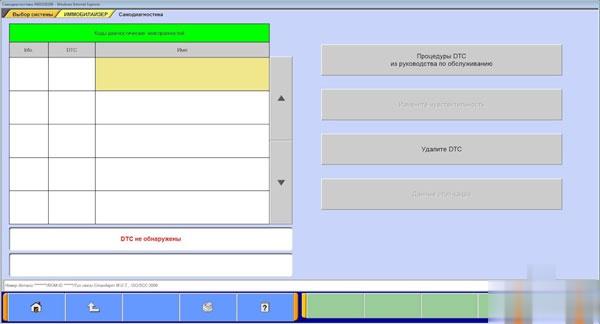
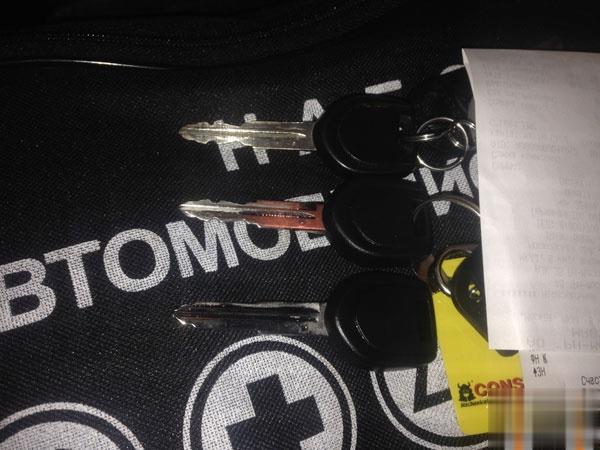
Alternately we start the engine of the car with each key, we make sure that all 3 are registered, they work:
Posted by: youobd2 at
03:40 AM
| No Comments
| Add Comment
Post contains 259 words, total size 8 kb.
October 06, 2021
Ediabas is the suite of software that BMW gives its engineers to diagnose / configure vehicles at the factory as well as on the field. Most BMWs since the 1990s have had some capability of being "coded†– that means some features can be altered / enabled with the use of the right software and hardware. Most options are there simply to allow for regional configurations, dealer configurations, different equipment, etc. But in a lot of modules, especially newer cars, there are functions that were never enabled from the factory, which can be fun to play with.
BMW Dealerships also have a set of software for diagnosis/coding. Generally they require significantly more computing resources, are somewhat clunky to use, and not much more functional than what the Ediabas suite can do. There are some diagnostic functions that can be useful. That said, I will not cover those applications in this post, they will likely be covered elsewhere.
So before you get started, you’ll need an OBDII interface. You have a few options here:
USB or Serial -> K-line interface
* Supports most BMWs from the mid 90s until 09/2007
* On E36 and earlier models, functionality is limited
* Will require pins 7 and 8 to be bridged together to access non-powertrain modules
* On cars with the 20-pin connector, you’ll need an adapter to access non-powertrain modules
* Can be used with some tuning software
* For USB interfaces, you want one with the FTDI FT232RL chip (others may work, but this is proven to be reliable)
USB -> D-CAN Interface
* Supports all the cars that K-line interfaces support, plus D-CAN BMWs (BMWs built from 09/2007 onward, however do note that functionality is limited on Fxx vehicles).
* Some will come with a built-in switch to connect or disconnect pins 7 and 8 together (2010+ BMWs need pins 7 and 8 to be disconnected at the cable end).
* The vast majority of these cables have flawed firmware that can cause some errors in D-CAN mode (no impact to K-line mode used on pre-09/2007 cars). This firmware error can cause some modules to be bricked
* It is therefore recommended to buy Bimmergeeks’ Pro Cable if you’re going to be flashing modules on MY2008+ BMWs
* Alternatively you can flash the fixed firmware yourself using an ASP programmer (search ediabaslib firmware)
* Full Disclosure: I helped Bimmergeeks with their cables and some software and was gifted one of their pro-cables as a thanks, but otherwise have not received any sort of compensation financial or otherwise.
Serial -> ADS Interface
* These cables require a true serial port (USB->Serial will not work)
* Will allow communication with all E36 modules
* Likely also works with newer pre-DCAN cars, but I never tested this.
* Not compatible with newer versions of Ediabas, so you’ll likely be limited to 32-bit versions of Windows.
* This is what dealerships use for diagnostic purposes, it is fairly expensive (a genuine "ICOM Next†costs around $700; the old version was actually even more expensive).
* Connect via ethernet or wifi (most Chinese clones will be missing wifi)
* Compatible with all BMWs ever made (including E36 era vehicles), does require an adapter for cars with the 20-pin connector
* Little bit of a pain to setup, I’m not covering that here
* Note: BMW recently released the "ICOM Nano†which is a wireless only device which is actually fairly reasonable priced (~$130). However at this time it is unclear if it works with pre-DCAN cars.
ENET Cable
* These only work with Fxx cars, I’m only mentioning it here so that you know not to buy them unless you have one of those cars
I would recommend most people buy the USB -> D-CAN cables. These do not cost significantly more than cables without D-CAN, and will generally work with most BMWs. You might also read about BMW yellowheads, OPS, OPPS, Modic, etc… – these are largely legacy interfaces that should not be necessary. For consumer use, the USB -> D-CAN is going to be enough for nearly everything. For professional use, you may want to consider a BMW ICOM (though even that is not strictly necessary).
You will also need a computer. Generally any Windows computer running Windows 2000 or newer is adequate. You can also run Windows in a virtual machine if using a mac or linux system. 32-bit and 64-bit are both fine.
Setting up the software
* Find ‘ediabas-6.4.3-full.nrg’, mount that image using your favorite image mounting tool (I like WinCDEmu) and install the software.
* * This package is circa 2004, so it’s missing stuff for newer cars
* * This package will install, but will not properly function on 64-bit cars, so see below to getting things up to date
* Download "Standard Tools 2.12.rar†and run that setup. If it gives you the option to transfer data, do so.
* Download the E46 Sp-daten files (and any other chassis you’re interested in working with). Almost any version you find online will be sufficiently up to date. Bimmergeeks typically has up to date copies.
* * Extract all the files somewhere
* Copy the contents of the ECU folder to C:\Ediabas\ECU
* Copy the contents of the sgdat folder to C:\NCSExper\sgdat, C:\EC-APPS\INPA\sgdat, C:\EC-APPS\sgdat
* Copy the contents of the "daten†folder to C:\NCSEXPER\daten\E46
* Run laden.bat with administrative privileges
* Start WinKFP, click Import -> Import Assembly Data, and then point to the "DATA†folder that you extracted
Setting up your cable
* Plug in your USB cable.
* * If you need drivers, you can get them from the ftdi website
* Go to your device manager, and find your cable under serial ports
* * Change the port to COM1 (if the system warns you it’s in use, set it anyway)
* * Change the latency to 1ms (default is 16).
That’s the basic setup, time to test things. Open up INPA, you should see two black dots. And if you try to diagnose an E46 module, it should work. You may get an error about the version not matching or something to that effect, that is normal.
Okay, that’s the basic setup. Most of you will probably be interested in messing with NCS Expert.
Posted by: youobd2 at
06:20 AM
| No Comments
| Add Comment
Post contains 1061 words, total size 7 kb.
Ediabas is the suite of software that BMW gives its engineers to diagnose / configure vehicles at the factory as well as on the field. Most BMWs since the 1990s have had some capability of being "coded†– that means some features can be altered / enabled with the use of the right software and hardware. Most options are there simply to allow for regional configurations, dealer configurations, different equipment, etc. But in a lot of modules, especially newer cars, there are functions that were never enabled from the factory, which can be fun to play with.
BMW Dealerships also have a set of software for diagnosis/coding. Generally they require significantly more computing resources, are somewhat clunky to use, and not much more functional than what the Ediabas suite can do. There are some diagnostic functions that can be useful. That said, I will not cover those applications in this post, they will likely be covered elsewhere.
So before you get started, you’ll need an OBDII interface. You have a few options here:
USB or Serial -> K-line interface
* Supports most BMWs from the mid 90s until 09/2007
* On E36 and earlier models, functionality is limited
* Will require pins 7 and 8 to be bridged together to access non-powertrain modules
* On cars with the 20-pin connector, you’ll need an adapter to access non-powertrain modules
* Can be used with some tuning software
* For USB interfaces, you want one with the FTDI FT232RL chip (others may work, but this is proven to be reliable)
USB -> D-CAN Interface
* Supports all the cars that K-line interfaces support, plus D-CAN BMWs (BMWs built from 09/2007 onward, however do note that functionality is limited on Fxx vehicles).
* Some will come with a built-in switch to connect or disconnect pins 7 and 8 together (2010+ BMWs need pins 7 and 8 to be disconnected at the cable end).
* The vast majority of these cables have flawed firmware that can cause some errors in D-CAN mode (no impact to K-line mode used on pre-09/2007 cars). This firmware error can cause some modules to be bricked
* It is therefore recommended to buy Bimmergeeks’ Pro Cable if you’re going to be flashing modules on MY2008+ BMWs
* Alternatively you can flash the fixed firmware yourself using an ASP programmer (search ediabaslib firmware)
* Full Disclosure: I helped Bimmergeeks with their cables and some software and was gifted one of their pro-cables as a thanks, but otherwise have not received any sort of compensation financial or otherwise.
Serial -> ADS Interface
* These cables require a true serial port (USB->Serial will not work)
* Will allow communication with all E36 modules
* Likely also works with newer pre-DCAN cars, but I never tested this.
* Not compatible with newer versions of Ediabas, so you’ll likely be limited to 32-bit versions of Windows.
* This is what dealerships use for diagnostic purposes, it is fairly expensive (a genuine "ICOM Next†costs around $700; the old version was actually even more expensive).
* Connect via ethernet or wifi (most Chinese clones will be missing wifi)
* Compatible with all BMWs ever made (including E36 era vehicles), does require an adapter for cars with the 20-pin connector
* Little bit of a pain to setup, I’m not covering that here
* Note: BMW recently released the "ICOM Nano†which is a wireless only device which is actually fairly reasonable priced (~$130). However at this time it is unclear if it works with pre-DCAN cars.
ENET Cable
* These only work with Fxx cars, I’m only mentioning it here so that you know not to buy them unless you have one of those cars
I would recommend most people buy the USB -> D-CAN cables. These do not cost significantly more than cables without D-CAN, and will generally work with most BMWs. You might also read about BMW yellowheads, OPS, OPPS, Modic, etc… – these are largely legacy interfaces that should not be necessary. For consumer use, the USB -> D-CAN is going to be enough for nearly everything. For professional use, you may want to consider a BMW ICOM (though even that is not strictly necessary).
You will also need a computer. Generally any Windows computer running Windows 2000 or newer is adequate. You can also run Windows in a virtual machine if using a mac or linux system. 32-bit and 64-bit are both fine.
Setting up the software
* Find ‘ediabas-6.4.3-full.nrg’, mount that image using your favorite image mounting tool (I like WinCDEmu) and install the software.
* * This package is circa 2004, so it’s missing stuff for newer cars
* * This package will install, but will not properly function on 64-bit cars, so see below to getting things up to date
* Download "Standard Tools 2.12.rar†and run that setup. If it gives you the option to transfer data, do so.
* Download the E46 Sp-daten files (and any other chassis you’re interested in working with). Almost any version you find online will be sufficiently up to date. Bimmergeeks typically has up to date copies.
* * Extract all the files somewhere
* Copy the contents of the ECU folder to C:\Ediabas\ECU
* Copy the contents of the sgdat folder to C:\NCSExper\sgdat, C:\EC-APPS\INPA\sgdat, C:\EC-APPS\sgdat
* Copy the contents of the "daten†folder to C:\NCSEXPER\daten\E46
* Run laden.bat with administrative privileges
* Start WinKFP, click Import -> Import Assembly Data, and then point to the "DATA†folder that you extracted
Setting up your cable
* Plug in your USB cable.
* * If you need drivers, you can get them from the ftdi website
* Go to your device manager, and find your cable under serial ports
* * Change the port to COM1 (if the system warns you it’s in use, set it anyway)
* * Change the latency to 1ms (default is 16).
That’s the basic setup, time to test things. Open up INPA, you should see two black dots. And if you try to diagnose an E46 module, it should work. You may get an error about the version not matching or something to that effect, that is normal.
Okay, that’s the basic setup. Most of you will probably be interested in messing with NCS Expert.
Posted by: youobd2 at
06:20 AM
| No Comments
| Add Comment
Post contains 1061 words, total size 7 kb.
Here we are, the step-by-step below:
Step 1. Connect Xtool x-100 PAD3 with 2008 Range rover sport via OBD-port,power up X100 PAD 3.
Step 2. select the function and vehicle.
immobilizer–>LANDROVER–>Range rover European –> Range Rover (Sport) –>2005-2009–>Program keys
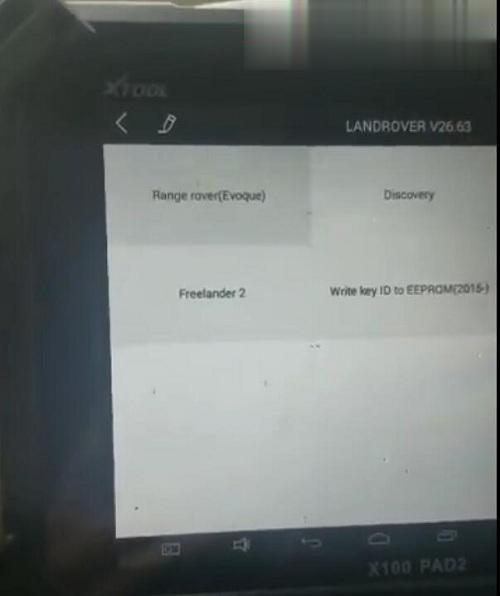
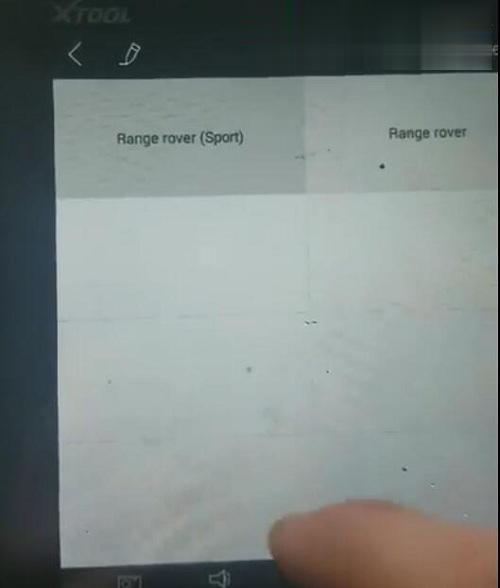
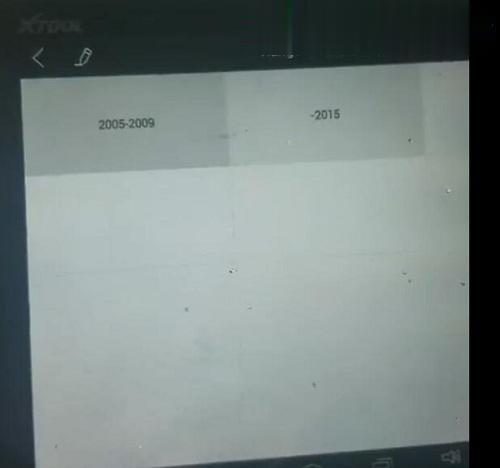
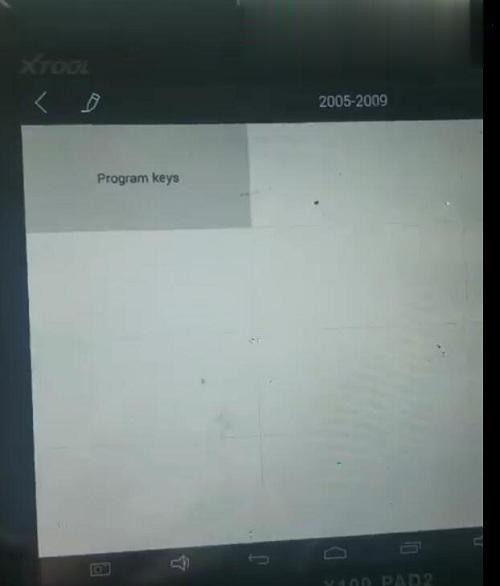
Step 3.Program keys
Note: need at least one programmed key.
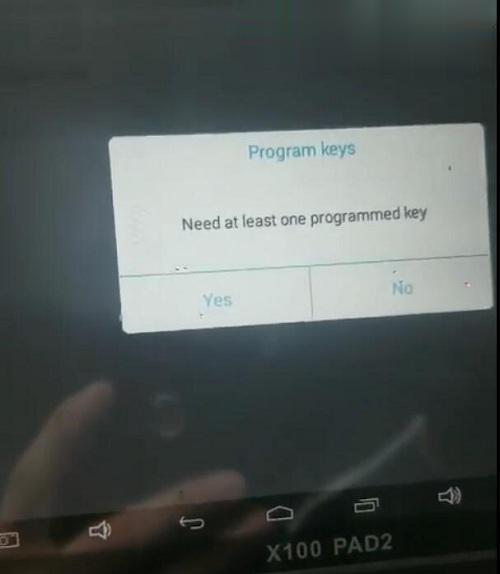
08 Rangerover Sport remote key
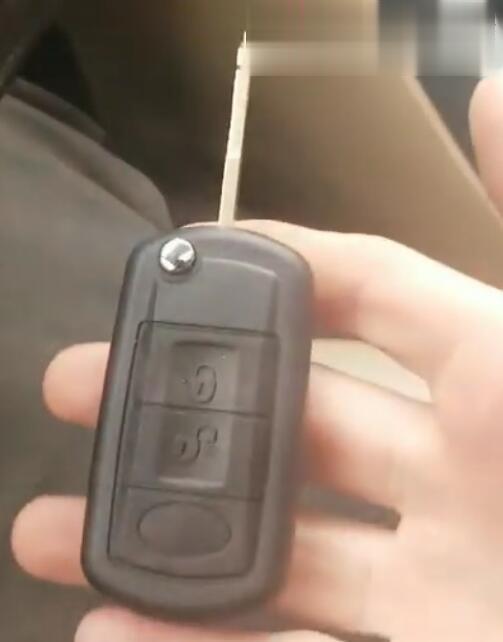
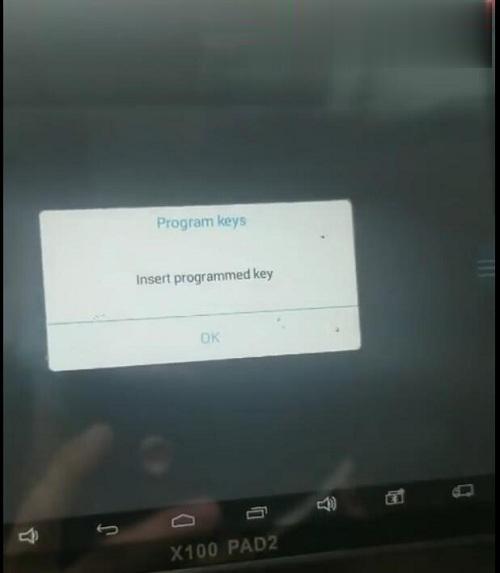
Insert the programmed key, then press OK
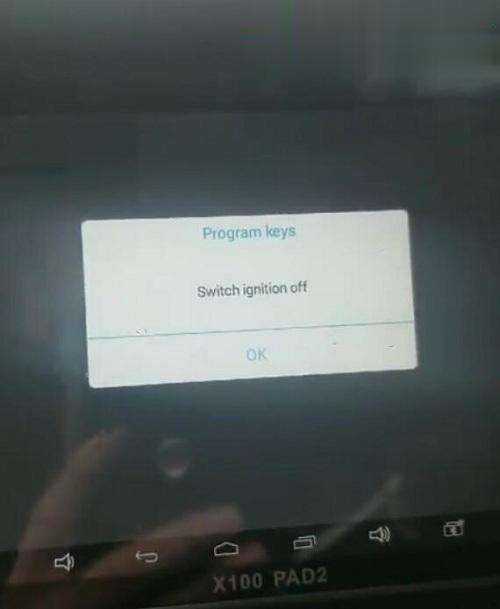
Switch ignition off
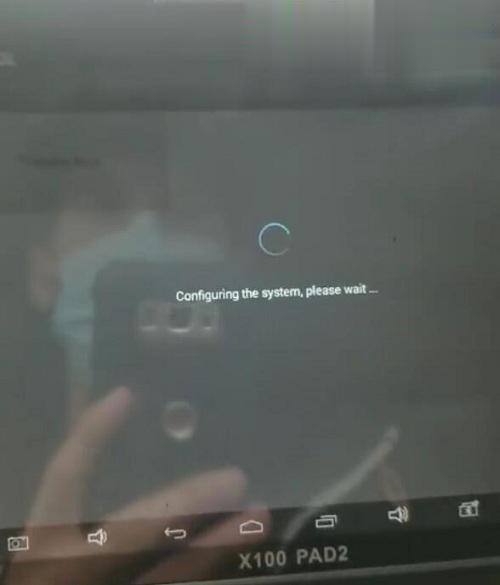
Configuring the system, It only takes five seconds please wait…
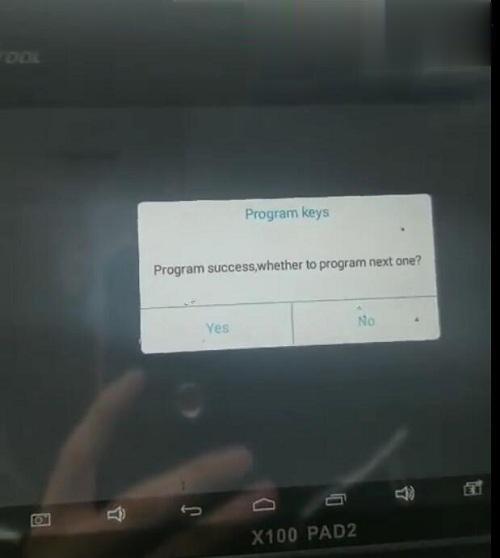
Step 4. Program the first key success. then program the next one.
Press OK to continue
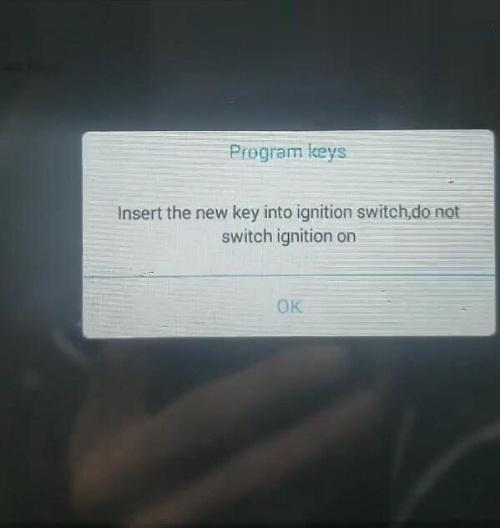
Note: Insert the new key into ignition switch, do not switch ignition on.then press OK
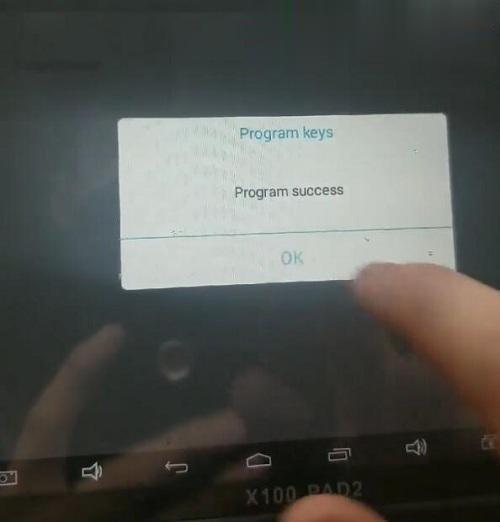
Program success!!!
Done! Xtool X-100 PAD3 add keys for 08 Range rover Sport Via OBD
Attachment:Xtool X100 PAD3 for LANDROVER IMMO Car List
| Automaker | Model/Protocol | System | Function |
| LANDROVER | Range rover(Sport) 2005-2009 | Immobiliser | 1.Program keys |
| LANDROVER | Range rover(Sport) 2010-2015 | Smart key system | 1.Add smart key 2.All smart key lost |
| LANDROVER | Range rover 2006-2009 | Immobiliser | 1.Program keys |
| LANDROVER | Range rover 2010-2015 | Smart key system | 1.Add smart key 2.All smart key lost |
| LANDROVER | Range rover 2010-2013 | Smart key system | 1.Add smart key 2.All smart key lost |
| LANDROVER | Range rover 2014-2015 | Smart key system | 1.Add smart key 2.All smart key lost |
| LANDROVER | Range rover (Evoque)-2013 | Smart key system | 1.Add smart key 2.All smart key lost |
| LANDROVER | Range rover (Evoque) 2014-2015 | Smart key system | 1.Add smart key 2.All smart key lost |
| LANDROVER | Discovery 3 | Immobiliser | 1.Program keys |
| LANDROVER | Discovery 4 -2013 | Smart key system | 1.Add smart key 2.All smart key lost |
| LANDROVER | Discovery 4 2014-2015 | Smart key system | 1.Add smart key 2.All smart key lost |
| LANDROVER | Freelander | Immobiliser | 1.Program remotes |
| LANDROVER | Freelander 2(-2012) | Immobiliser | 1.Smart key |
| LANDROVER | Freelander 2(2012-) | Smart key system | 1.Add smart key 2.All smart key lost |
Posted by: youobd2 at
06:12 AM
| No Comments
| Add Comment
Post contains 324 words, total size 7 kb.
32 queries taking 0.1386 seconds, 132 records returned.
Powered by Minx 1.1.6c-pink.

