



June 29, 2019
Porsche Piwis3 Developer Mode:
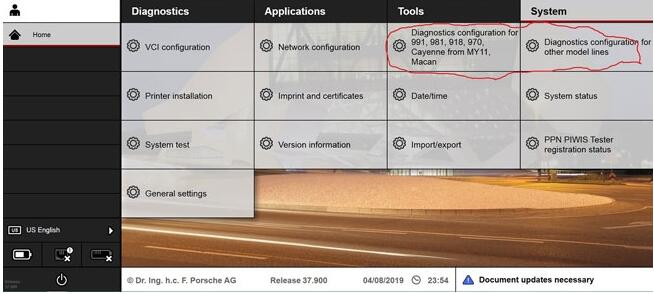
The Developer Mode in Piwis 3 is not available when you update the shell, coz you lose the menu diagnostics configuration to switch between regular and developer mode,
Problem solved if you copy the old file com.porsche.piwis.Shell.exe.config
Here is how to update the shell config. and get the diagnostic configuration boxes back, on the system tab.
After a successful update from 37.250.20 you will loose the two above mentioned boxes from the System tab.
If you did not loose them, then the [PIDT] diagnostic software did not update completely.
So it’s a good thing to loose it !
Go to C:\PiwisApps\Shel\ and carefuly edit with notepad this file –> com.porsche.piwis.Shell.exe.config
after the update the PIDT section shows up in green, after U edit it it will be blue.
First picture shows, red underlined, 2 places, beginning and the end of the green section, what to remove.
On top [Line 568 on mine] U delete these four symbols !–< on the bottom [line 603 on mine] U delete these 3 symbols –>
Then U save the config file.
Restart the PC and your Diagnostic config box for 991,981,970 and Diagnostic config for other models RE-APPEAR.
rm996 has the solution how get the developer functionality back up and running, !!! PM him.
[Similar solution for the lost with the Update Wiring Diagrams ]
Another tip might help you also.
It’s how to enable Developer Mode for Piwis 3
Developer mode is a special Piwis program that allow a lot of advanced coding normally reserved only to Factory.
With this function you will have a tool that can do more than software of official Porsche Dealer.
For example, you can reprogram all ECUs completely offline.
How to use Piwis Developer Mode:
Install winrar and winhex on your computer.
-1-locate the file c:\program files\porsche\PIDT_P_MIG_DLSS3\pidt\plugins\de.dsa.pidt.datatype.jar and copy it on your desktop in order to modify it.
Open it with winrar,in the wirar windows locate the file
\de\dsa\pidt\datatypes\utils\Helper$1.class and drag it on your destop , delete it from the archive after the copy, keep the winrar window open.
Open Helper$1.class on your desktop with winhex and goto offset E81, replace 9A by A7 and save.
Drag back the save file on the winrar windows still open and click OK.Close winrar
Copy the new file de.dsa.pidt.datatype.jar you just made in
c:\program files\porsche\PIDT_P_MIG_DLSS3\pidt\plugins, overwrite it.
copy the file aftersales.sig on your desktop and rename it development.sig.Copy this file back in the folder
Do exactly the same method given above with the folder c:\program files\porsche\PIDT_P_MIG_DLSS3 with its own files.
To transform it in developer :
Settings
Diagnostic configuration
981-991, mode, operating mode, E= development, P= production, V= aftersales (Car Diagnostic Toolpiwis)
Other models line, mode, operating mode, E= development, P= production, V= aftersales ( regular piwis)
This method to switch between regular and developer works only with my backup and will not work anymore after
an update.
Images:

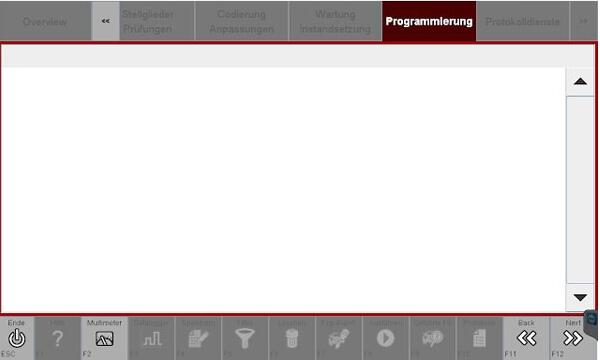
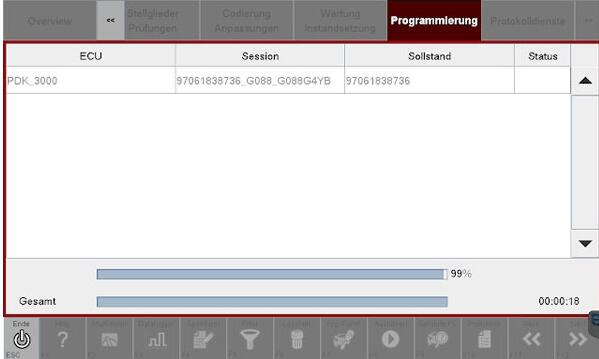
Maybe this helps Folks some.
Posted by: youobd2 at
12:45 PM
| No Comments
| Add Comment
Post contains 477 words, total size 5 kb.
This is the instruction on how to install Workshop Information System V2015.10 for 2015.09 mercedes star diagnostic mb sd connect c4 multiplexer.
Free download MB WIS ASRA 10/2015 FULL Torrent:
https://www.dropbox.com/s/bwotrms6vi7o3vg/WIS_1015.zip?dl=0
Version: 3.11.12.0
Language: Multilingual
Crack: None
Description: Mercedes-Benz WIS / ASRA Information Base repair of cars and trucks, Mercedes-Benz buses for the European and American markets.
Extras. Info.: This is a full release, suitable for installation "from scratch.â€
WIS installation instruction:
Install Admin Tool
Select start
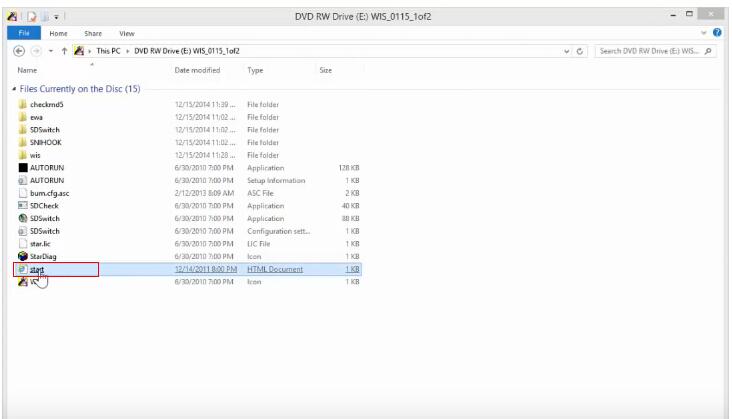 (1)
(1)
Internet Explorer prompt: select Yes.
Select Start registration.
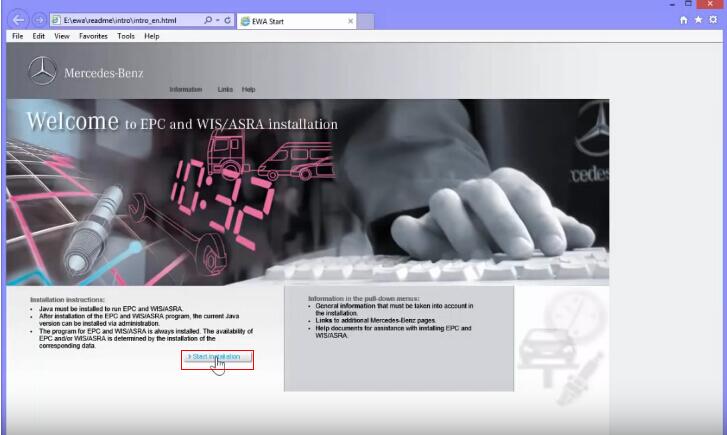
Select Run at the bottom prompt.
Select Run at the bottom prompt.
Installing …
Select a language and click OK.
Click Next.
Click Next.
Installing EWA…
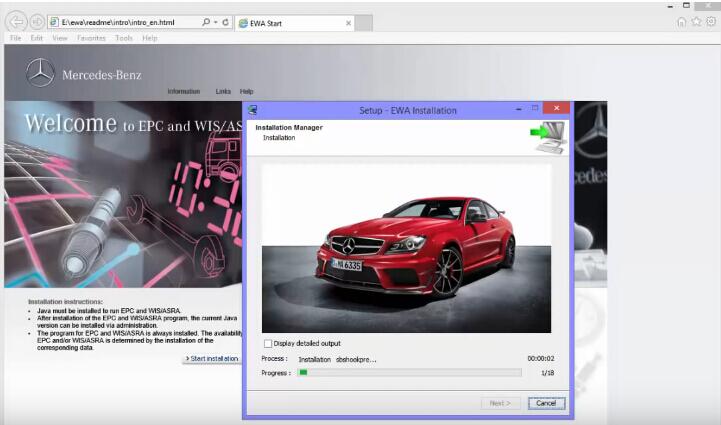
Click Next.
Finished installing EWA Admin Tool, and click Finish.
Check WIS Startkey
Select Startkey and copy NAC address to ID in HP-EVA Keygen interface.
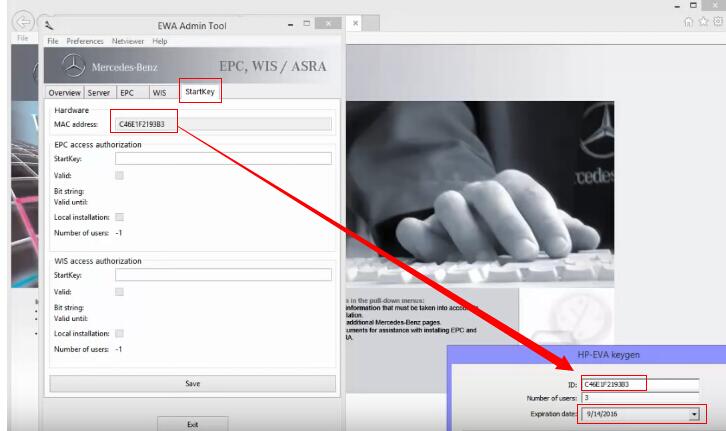
Set the Expiration dates.
Copy EPCnet to its Startkey, and WISnet to its Startkey.
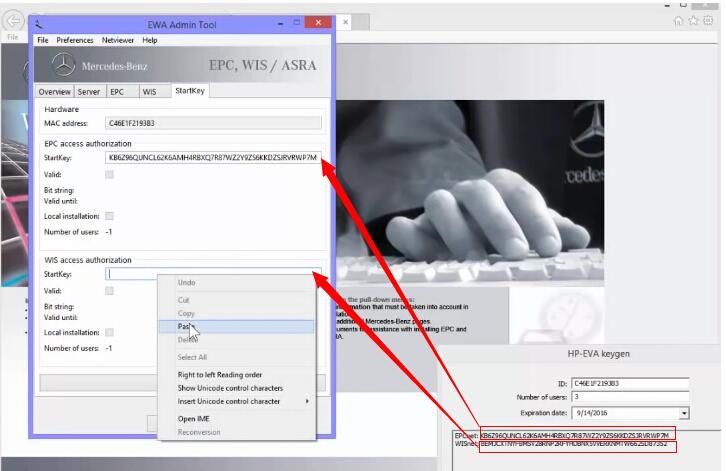
Close HP-EVA Keygen interface.
Click Save in EWA Admin Tool.
Startkey successfully saved. Click Exit.
Install WIS database
Select WIS and click Install WIS database.
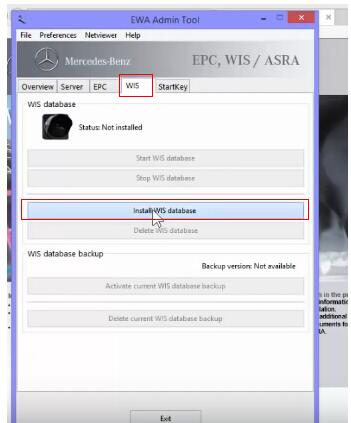
Prompt: WIS installation
1 check WIS Startkey
2 check WIS information medium
3 copy all WIS files to hard disk
4 install new EWA software version (optional)
5 test new WIS database
6 install new WIS database
7 carry out correction of work steps
8 set up latest WIS documents
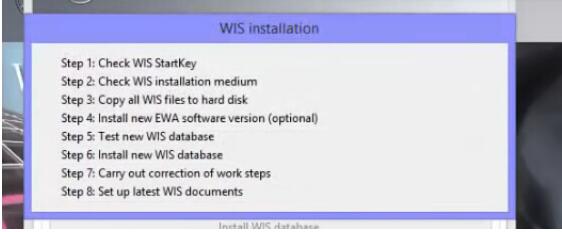
Installing WIS database…
Click Continue.
Click Continue.
Click Confirm.
Click Continue.
Click Continue.
Click Continue.
WIS database installation completes.
Click Exit.
Select Yes to exit Admin Tool.
Set up EWA
Select Favorites>>EWA net>>EWA net.
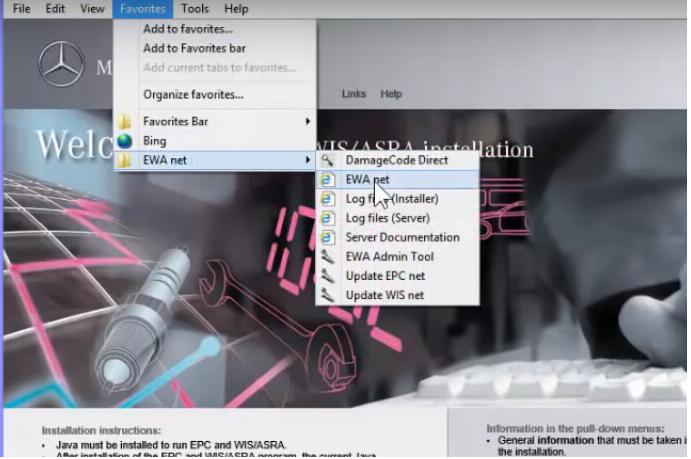
Enter User and Password (admin, admin) to Log in.
Change password and click OK.
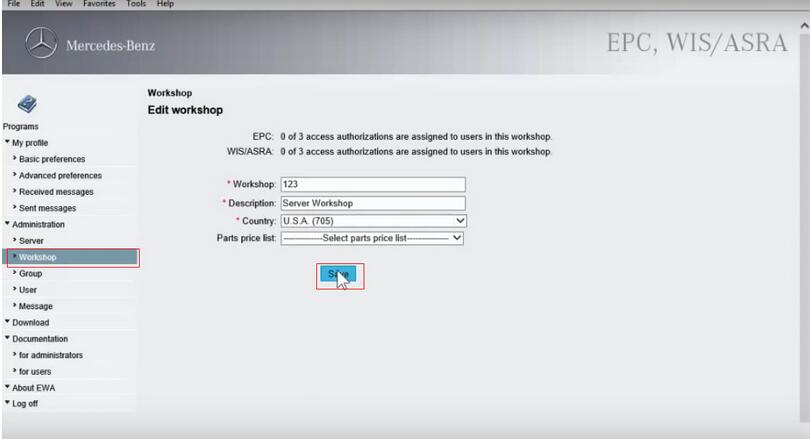
Select Workshop.
Workshop: 123
Country: U.S.A.(705)
Click Save.
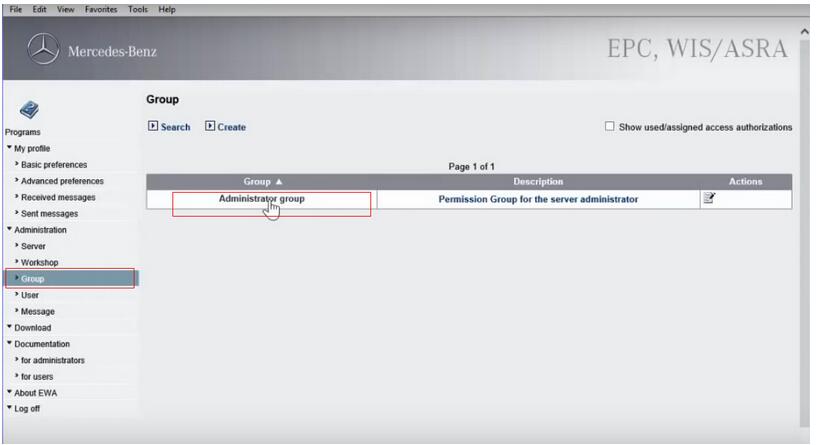
Select Group>>Administrator group.
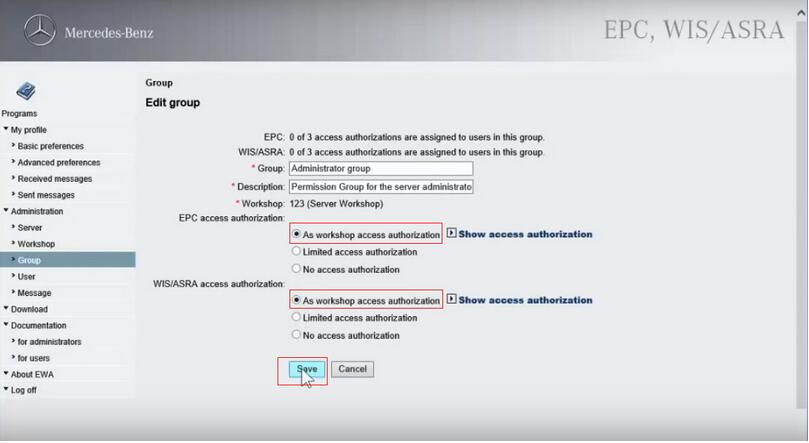
Select EPC access authorization: As workshop access authorization
Select WIS/ASRA access authorization: As workshop access authorization
Click Save.
Click OK.
Run EWA
Again, select Favorites>>EWA net>>EWA net.
Log in with new password.
Click WIS/ASRA.

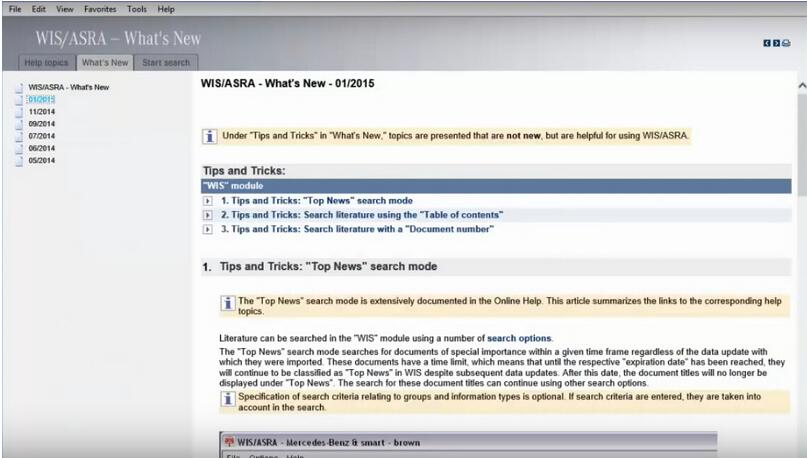
Close the interface of " WIS/ASRA-what’s new…â€
WIS diagnostic interface…
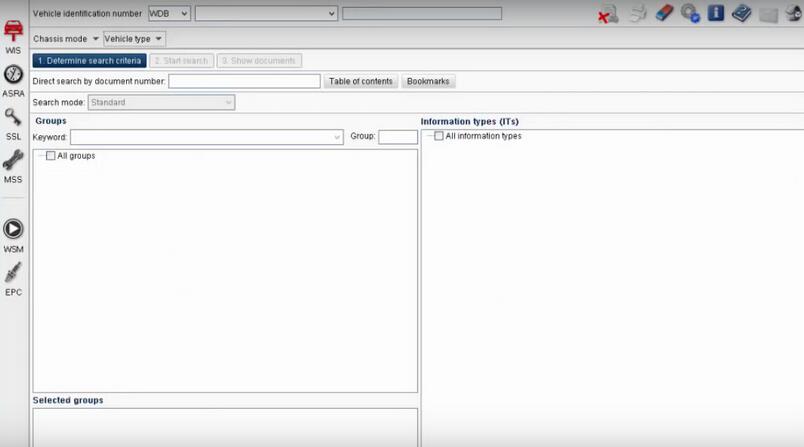
(note: Mercedes software 2019.07 forMB SD C4atobd2toolcomes with pre-installed WIS, no need to install yourself)
Posted by: youobd2 at
11:11 AM
| No Comments
| Add Comment
Post contains 353 words, total size 7 kb.
June 23, 2019
Tested successfully!Lonsdor K518 key programmer is able to add a smart key to BMW CAS3++ system.
Here’s the programming instruction in detail (with images)…
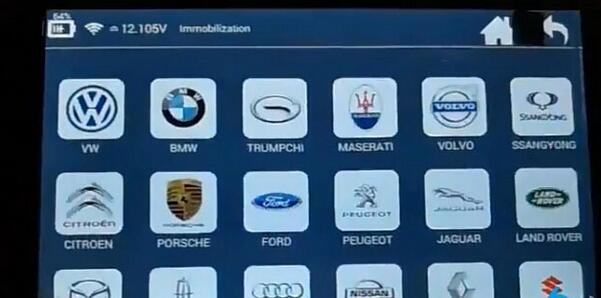
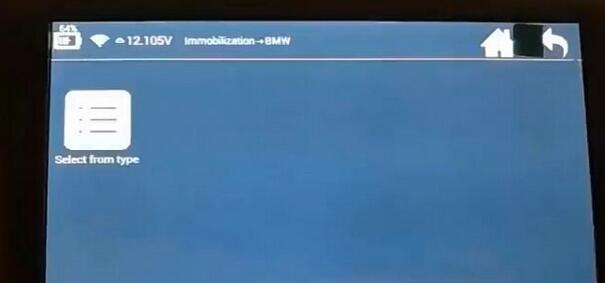
Lonsdor K518ise: Immobilizer – BMW
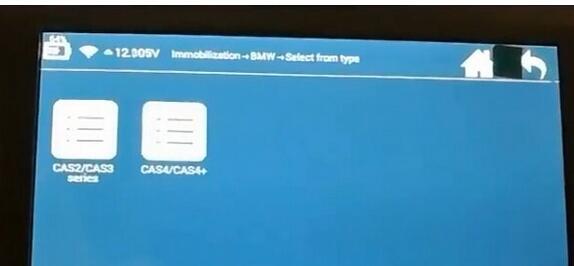
Select from type: CAS2/CAS3 series
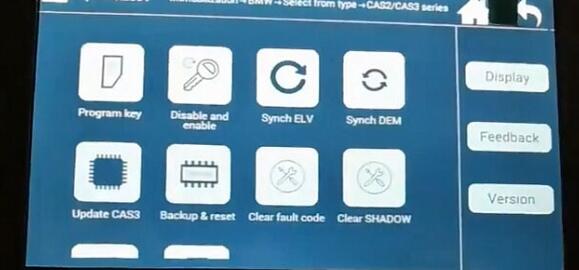
Program key
Will start to make a dealer key
this can add one key (select blank position)
this can replace the original key (choose non-blank position)
this can generate a key via OBD or K518 slot

Pls press the Start button once
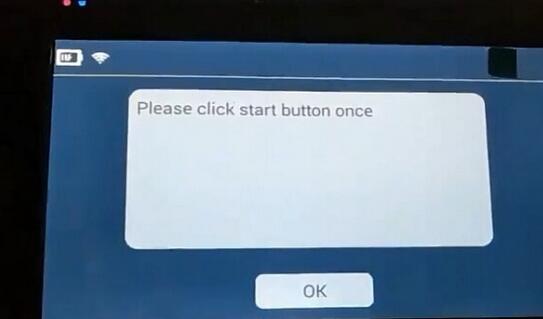
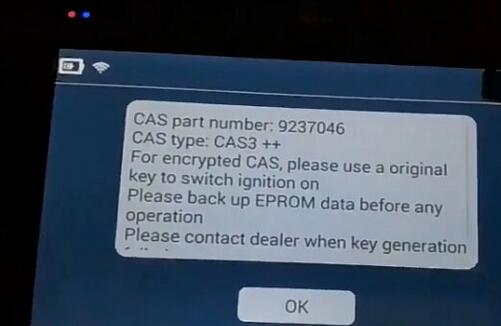
CAS part number: *******
CAS type: CAS++
For encrypted CAS. pls use an original key to switch ignition on
Pls back up eeprom data before any operation
Pls contact the dealer when key generation failed
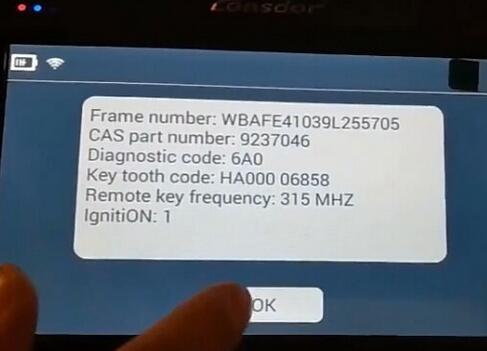
Lonsdor read out frame number, cas part number, diagnostic code, key tooth code and remote key frequency and ignition
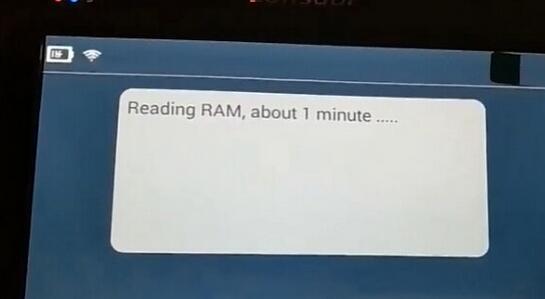
Reading ram, for about 1 min…
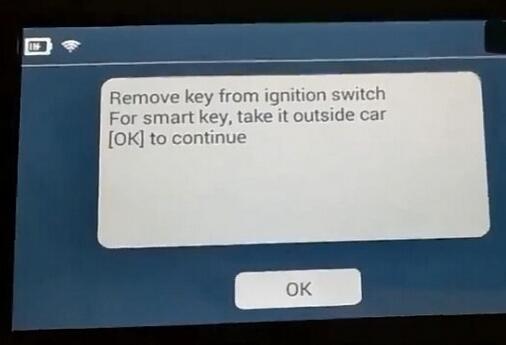
Remove the key from the ignition switch
For a smart key, take it outside the car
Ok to continue
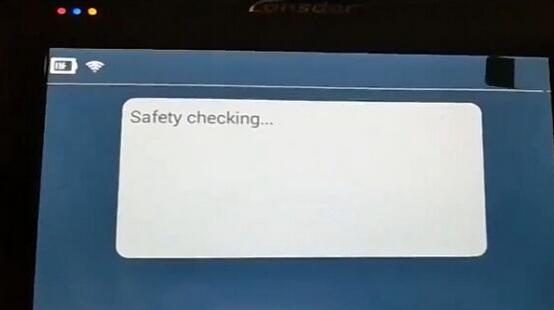
Safety checking…
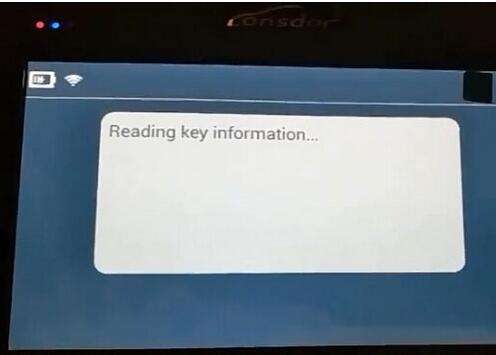
Reading key information…
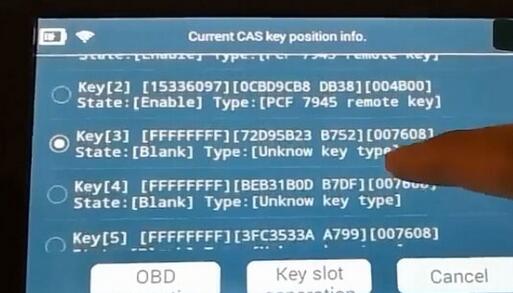
Current CAS key position info: Key 3
Note: If the key is an original key, pls pre-pro-process it first.
If the key has been programmed but failed, pls do key unlocking and CAS key data restoring first

It’s a remote key
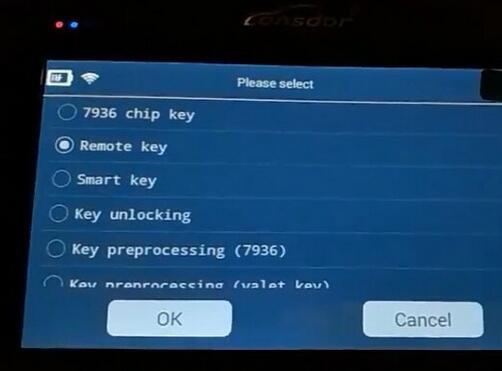
Pull K518 key slot to the right and insert the key to program (to identify id the key is legal and to pre-process

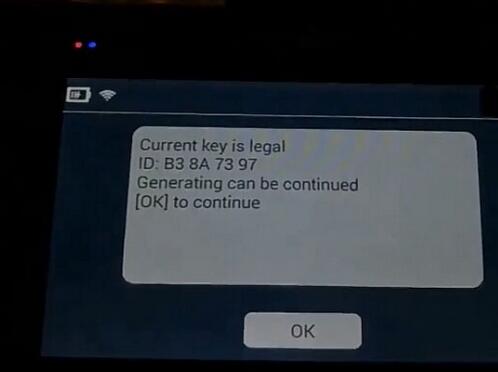
Current key is legal
Generating can be continued
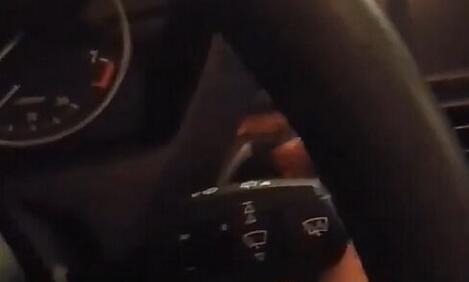
Pls insert the key for programming into the car slot

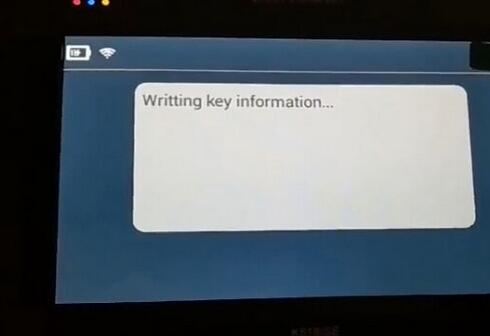
Writing key data…
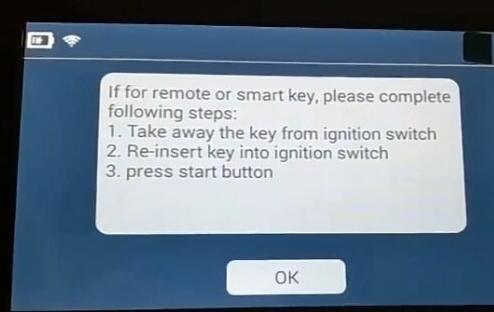
If for a remote of smart key, pls complete following steps:
take away the key from theition switch
re-insert the key into the ignition switch
press the start button
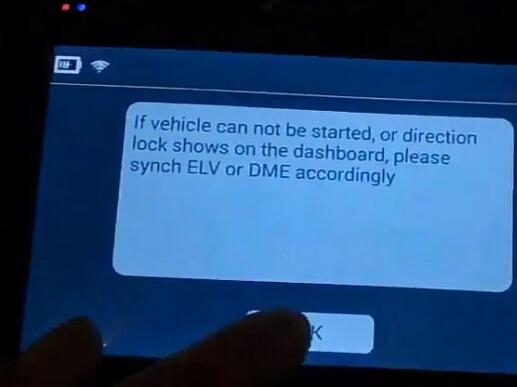
If the vehicle cannot be started, or the direction lock shows on the dashboard, pls synch ELV and DME accordingly
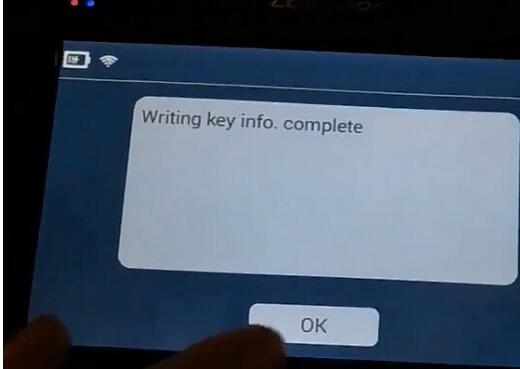
Writing key data – completed!
Job’s done!
Lonsdor K518ise successfully added a CAS3++ smart key!
Posted by: youobd2 at
09:33 AM
| No Comments
| Add Comment
Post contains 317 words, total size 9 kb.
June 16, 2019
1.First of all, the language of the Android Tablet need to change from Spanish to English.
Double check System setting —- language —-English
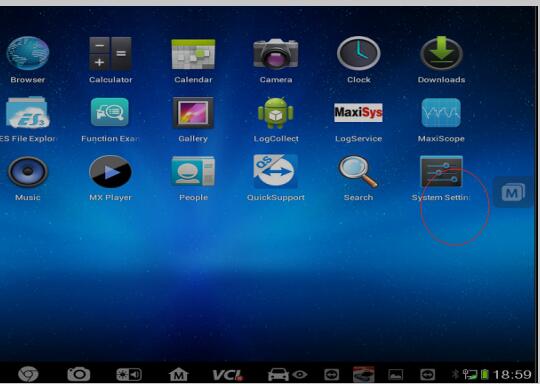
2.The language of Diagnostic need to change.
To change the language from Spanish to English.
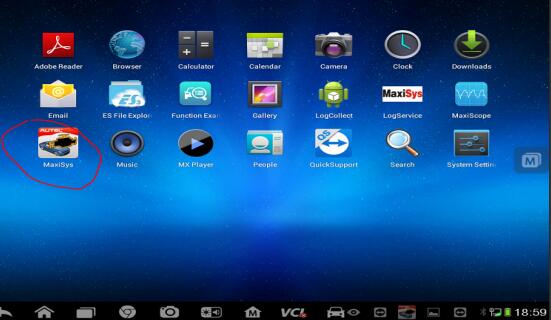
Step 1: Click at Maxisys.
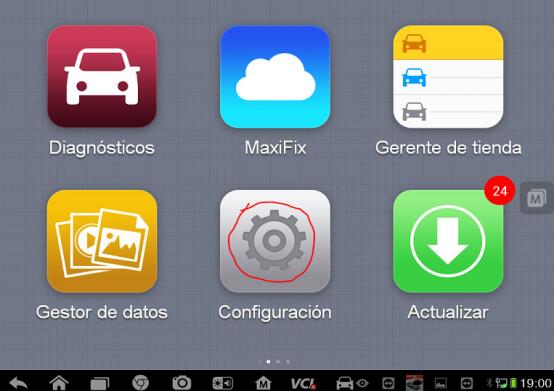
Step 2: Click at "Settingsâ€.
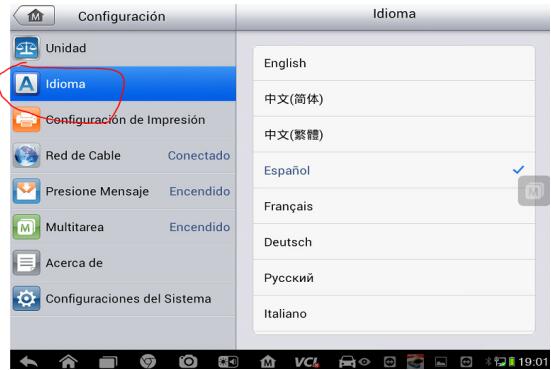
Step 3: Click at " Languageâ€
Step 4: Select " Englishâ€
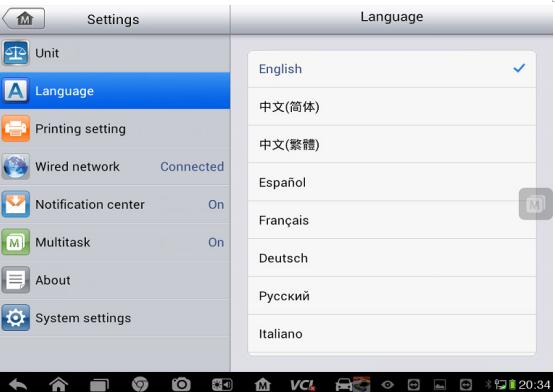
Then you can see that the language is in English now.
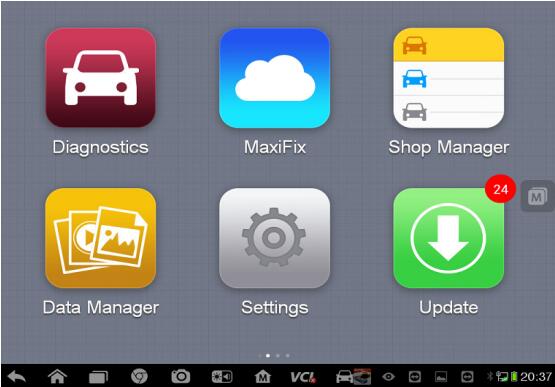
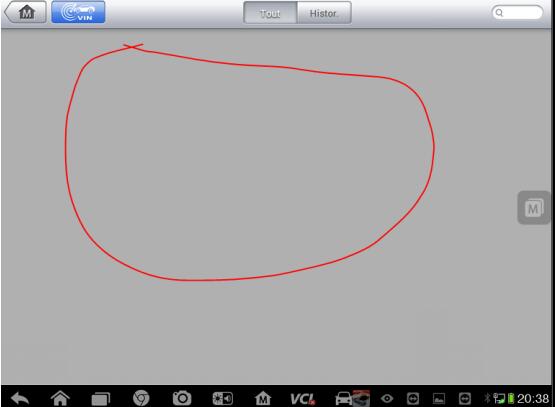
After changing language to English and if you found it is blank here(Maxisys—Diagnostic).
Please go to Update and select vehicles software and reload them.
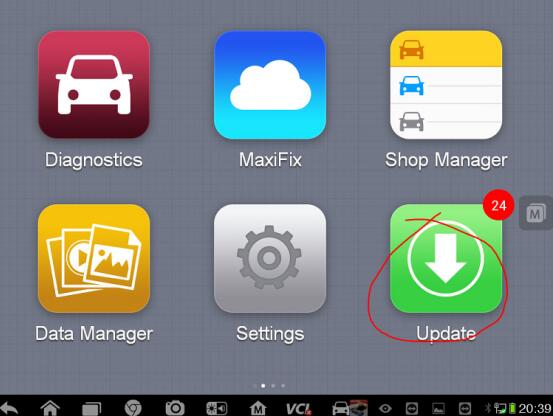
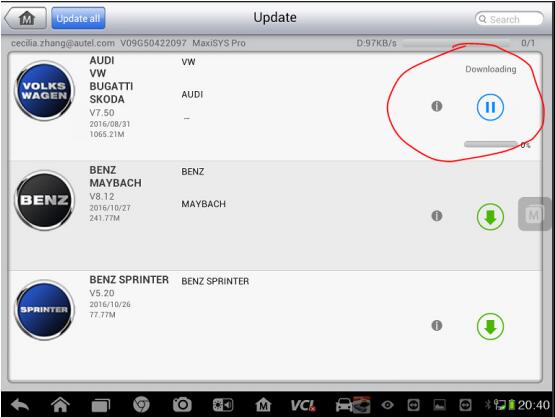
the video of How to change language and updateAutel Maxisys
Posted by: youobd2 at
10:49 AM
| No Comments
| Add Comment
Post contains 111 words, total size 4 kb.
June 07, 2019
In this CGDI MB Prog programmer instruction,OBD2TOOLwill show you how to use CGDI MB programmer to add new keys for old Mercedes Benz W202 W208 W210 kline 38 pin car from 1997-1998.
Procedures:
Step 1:Calculate Password
Connect CGDI MB Programmer to vehicle and your laptop,then run CGDI MB software.
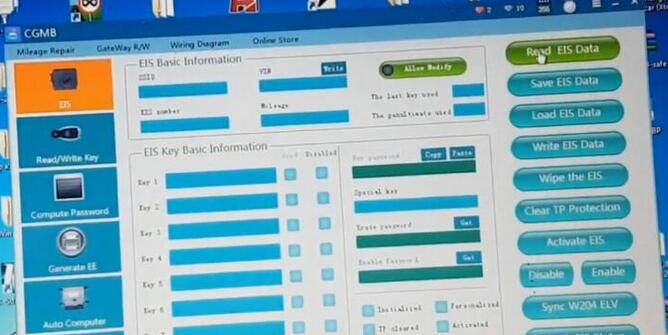
Select [EIS] menu,then click [Read EIS Data]
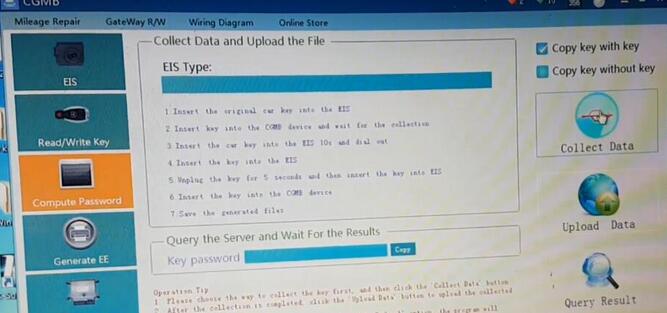
Go to [Compute Password] menu,then [Copy key with key][–>Collect Data]
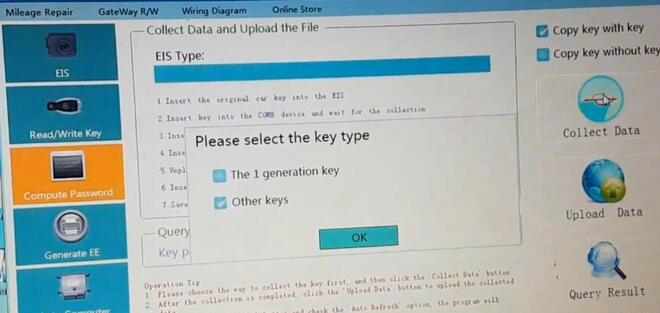
Select key type:Other keys,click [OK] to continue
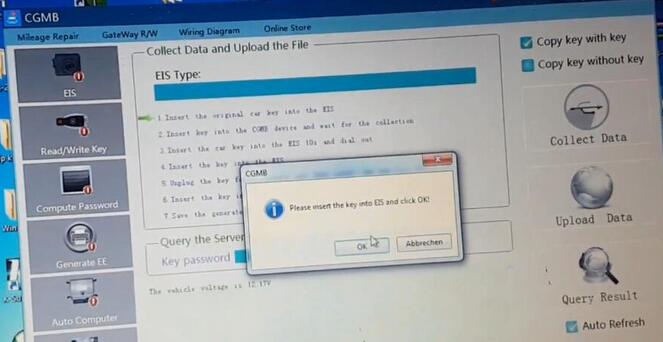
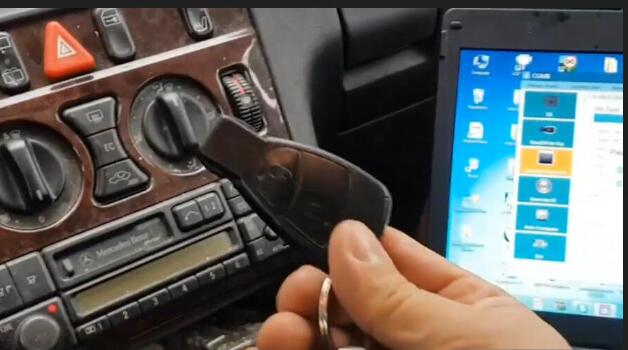
Please insert the key into EIS and click [OK] to continue
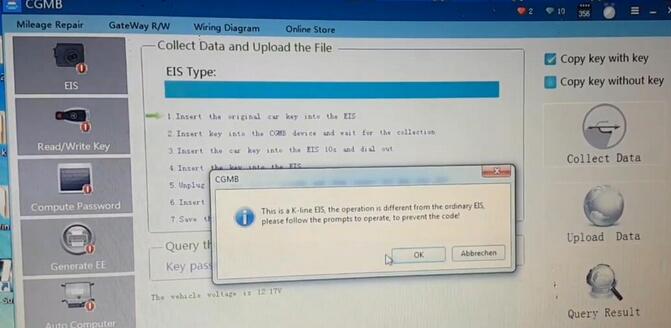
This is a -Kline EIS,the operation is different from the ordinary EIS,please follow the prompts to operate,to prevent the code!
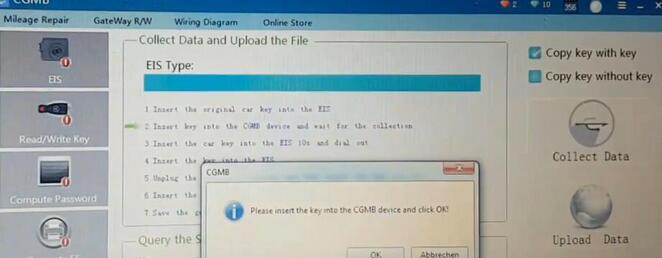
Please insert the key into the CGDI MB device and click [OK] to continue
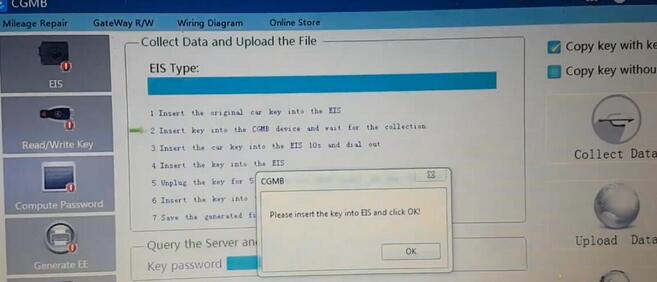
Wait until it prompt you to insert the key into EIS and click [OK]
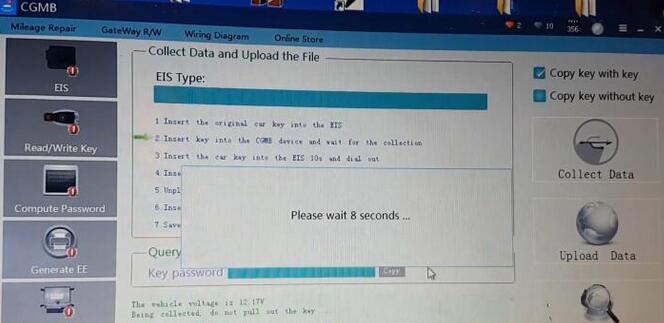
It will ask you to wait several seconds
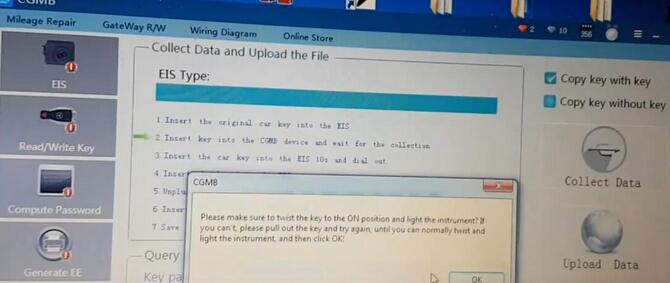
Then prompt you to make sure the key to the ON position and light the instrument?If you can’t,please pull out the key and try again,until you can normally twist and light the instrument and then click [OK]
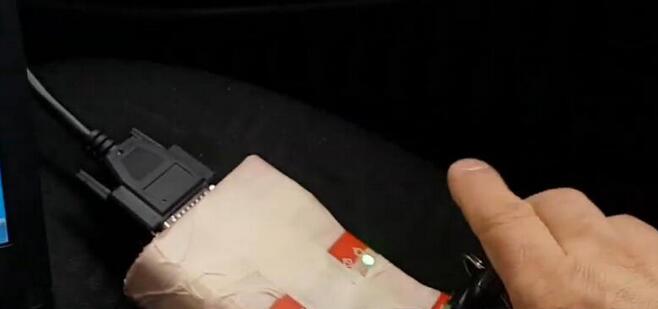
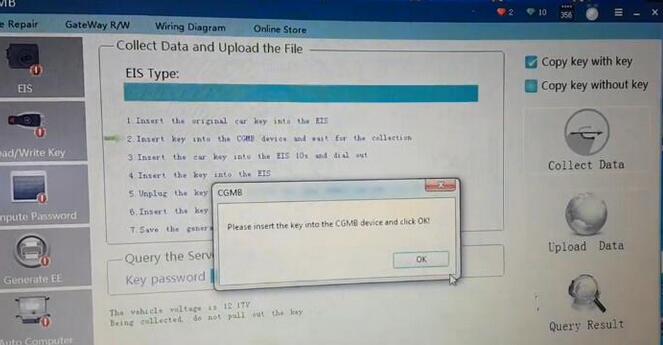
Please insert the key into the CGDI MB device and click OK
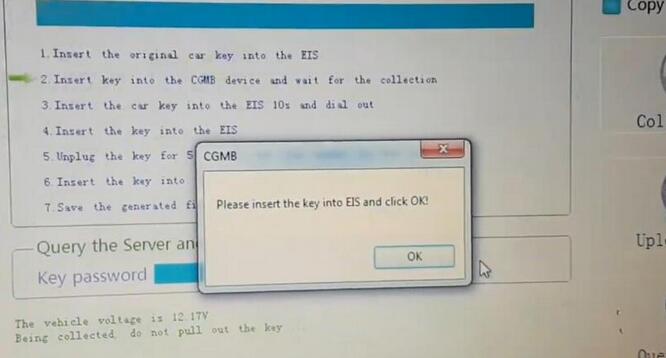
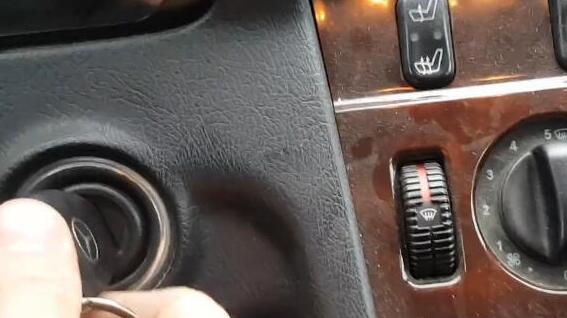
Now you need to insert the key into ESI again,then click [OK]
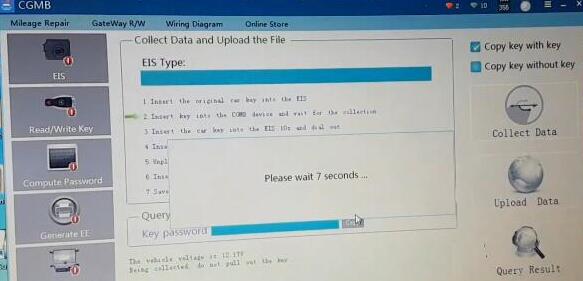
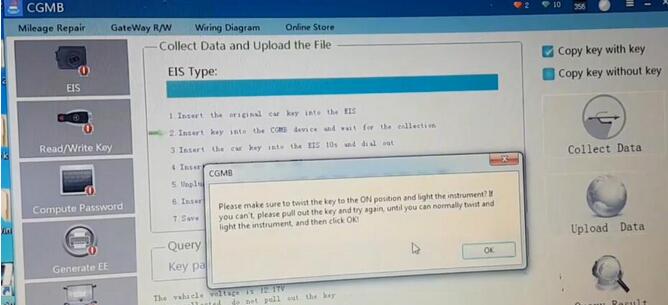
Perform it again,click OK
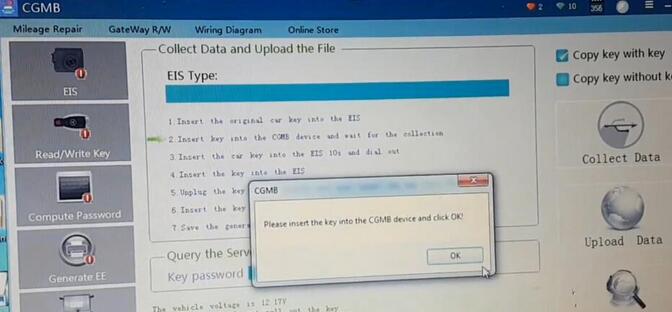
Insert the key into theMB Key Programmer,then click [OK] to continue
If it prompt yo with same operation instruction,just follow it.
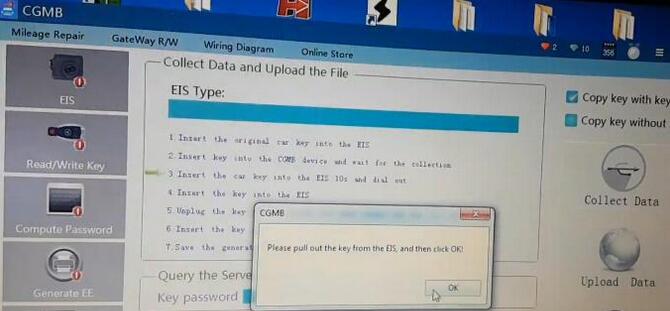
Insert the car key into the EIS 10s and dial out
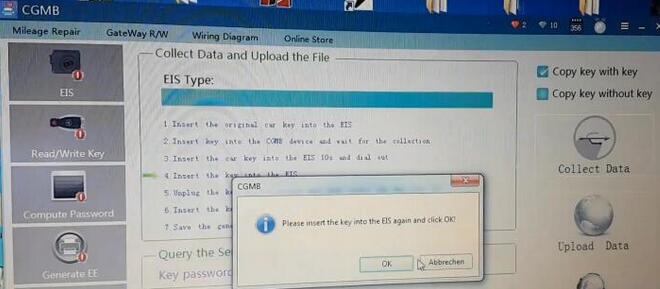
Please insert the key into the EIS again and click OK
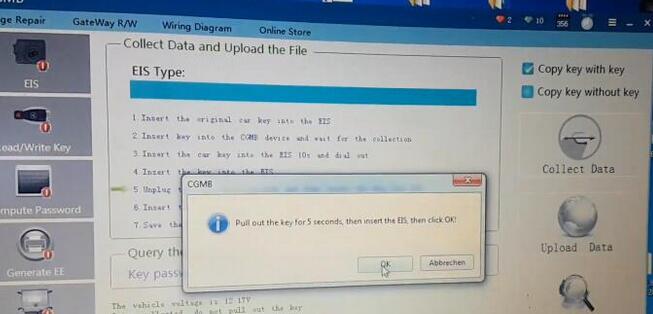
Pull out the key for 5 seconds,then insert the EIS,then click OK
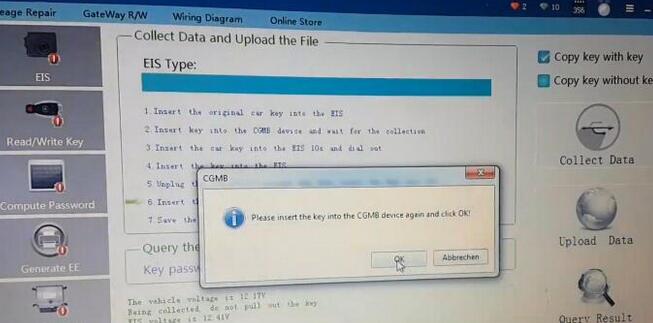
Please insert the key into the CGDI MB Benz device again and click [OK]
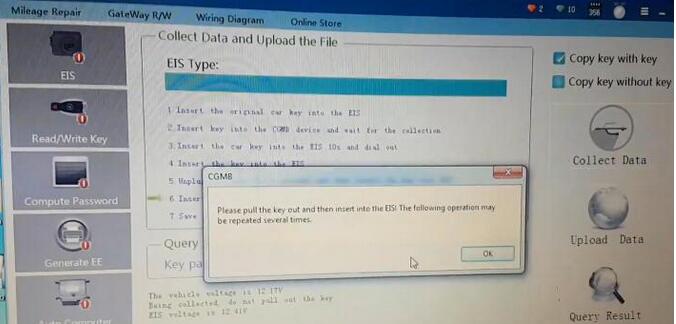
Please pull the key out and then insert intot he EIS!The following operation may be repeated several times.
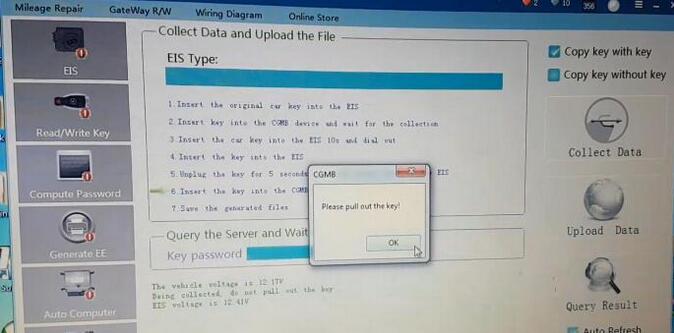
Please pull out the key
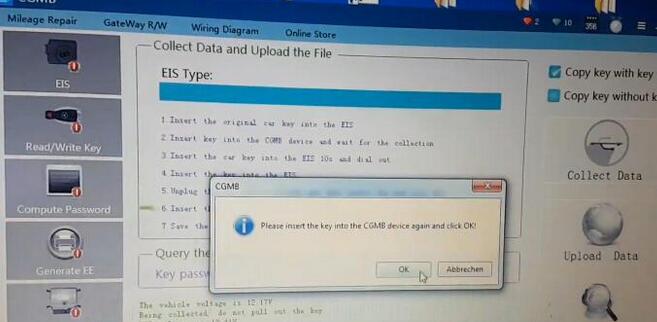
Please insert the key into the EIS again and click OK
….
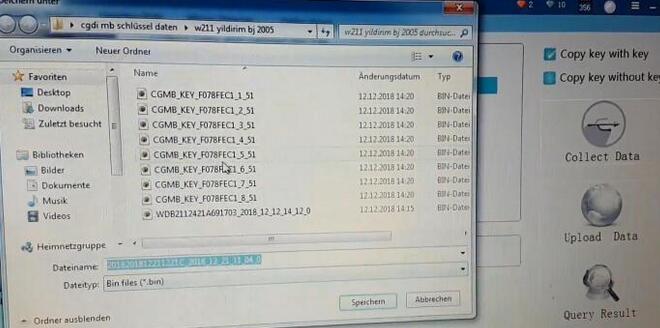
Now save the generated files
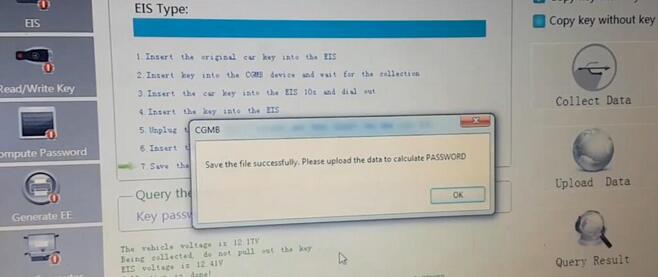
Save the file successfully,please upload the data to calculate PASSWORD
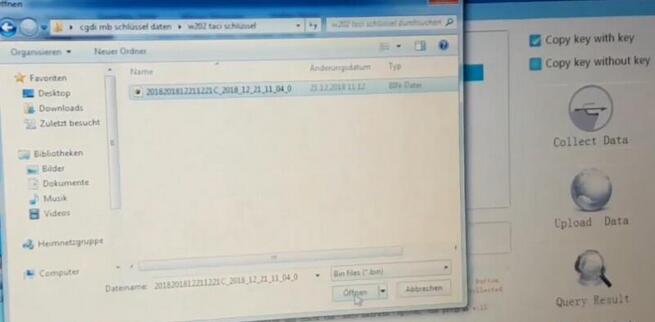
Click [Upload Data],then upload the file you saved just now
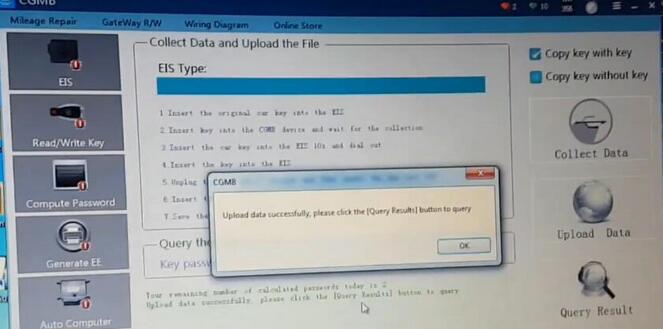
Upload data successfully,please click the [Query Result] button to query.
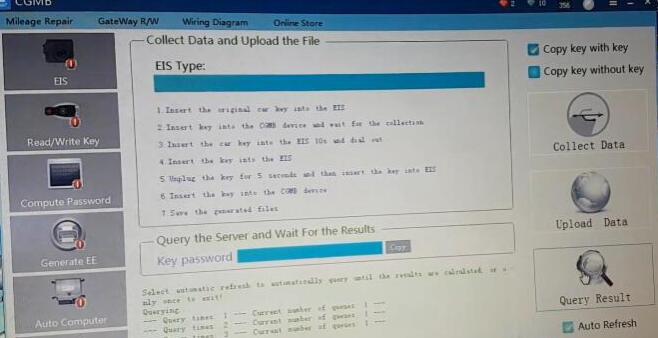
Click [Query Result],it will take you several minute to query result
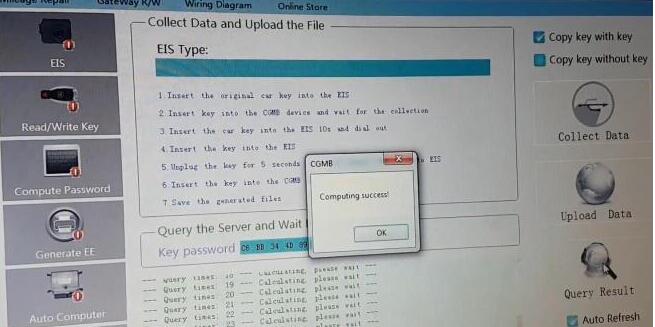
Computing success!Click [OK] to continue
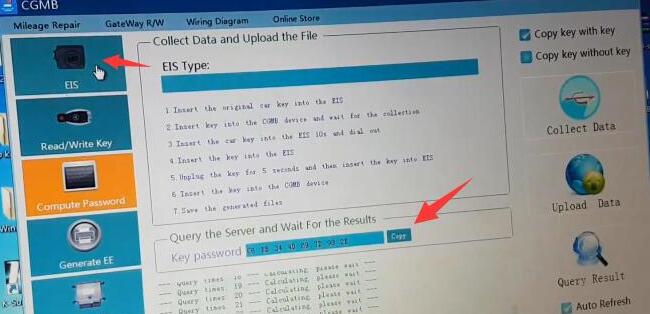
Here we get password,click [Copy] button,then select [EIS] menu
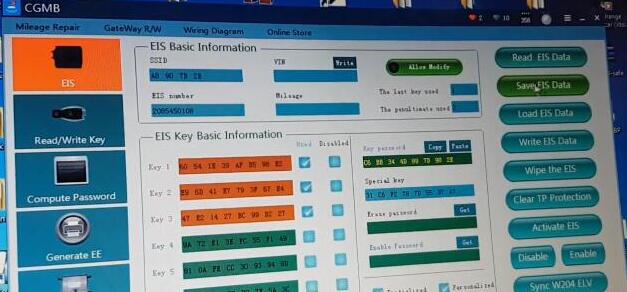
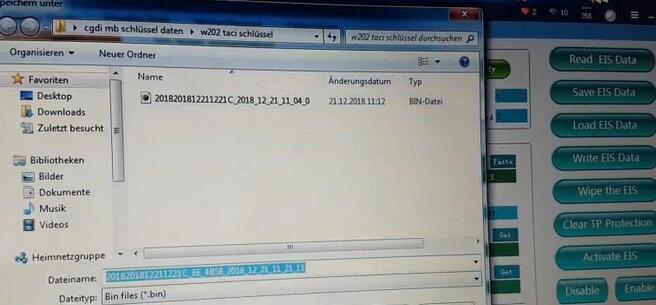
Click [Paste] button to paste password,then click [Save EIS Data]
Step 2:Generate Key File
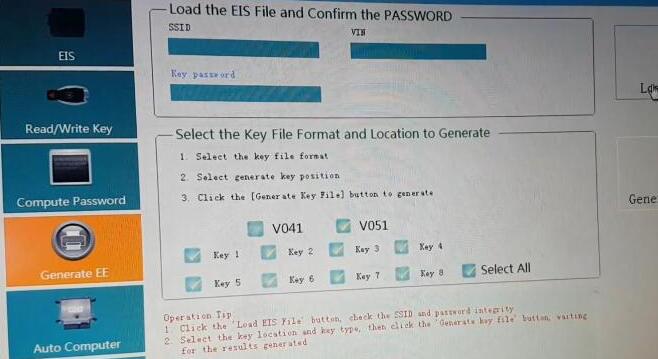
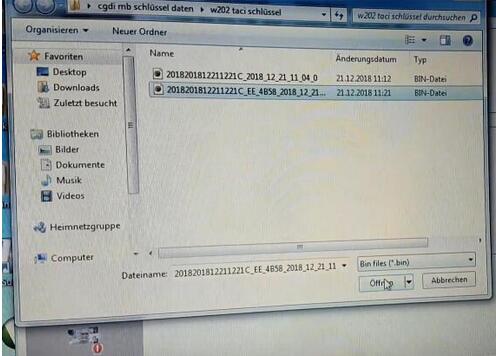
After saving EIS data successfully,select [Generate EE] menu
Select key file format "V051â€,then click [Load EIS File] you saved just now
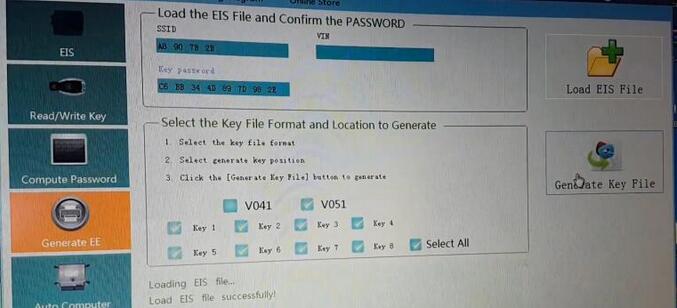
Click [Generate Key File]
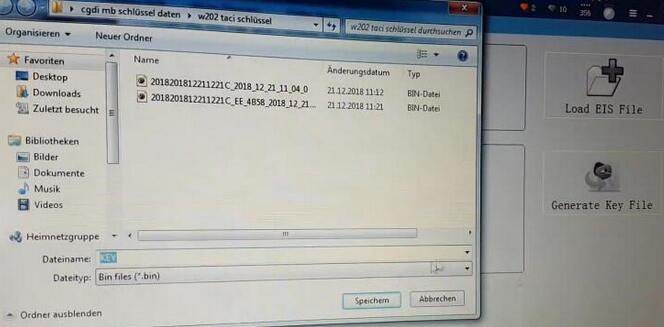
Now,save the key file generated
Step 3 rogram New Key
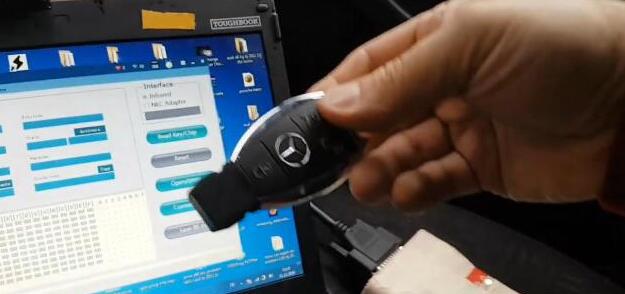
Insert the new key into CGDI MB device
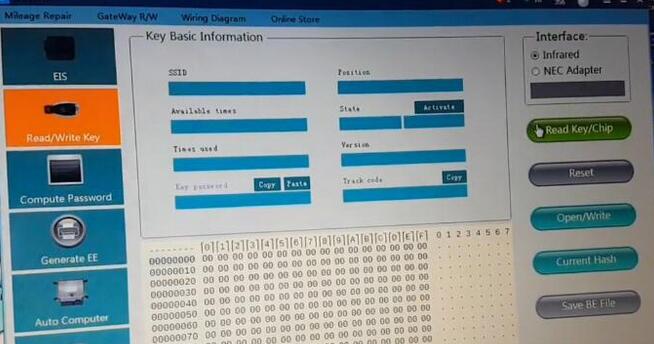
Select [Read/Write Key] menu,then click [Read Key/Chip] button
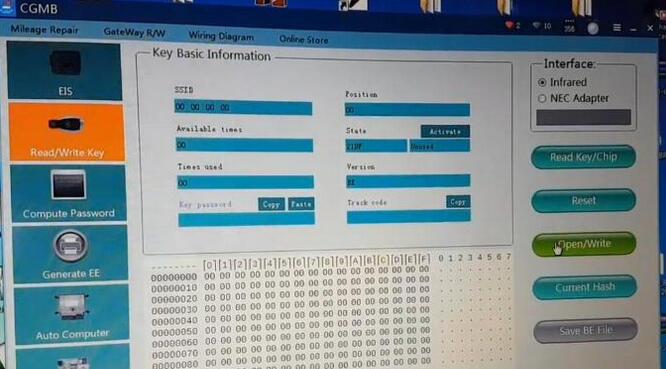
Click [Open/Write]
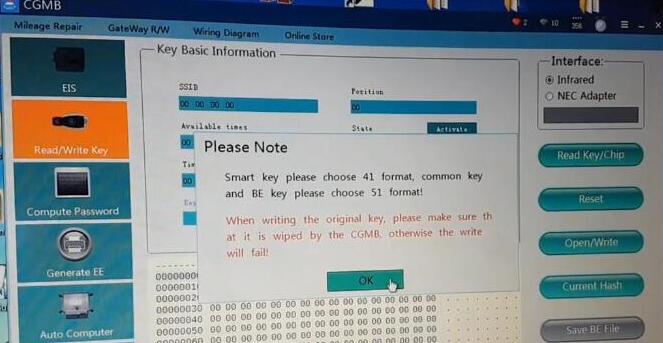
And it prompt you to choose key type format:41 format and 51 format,click [OK] to continue
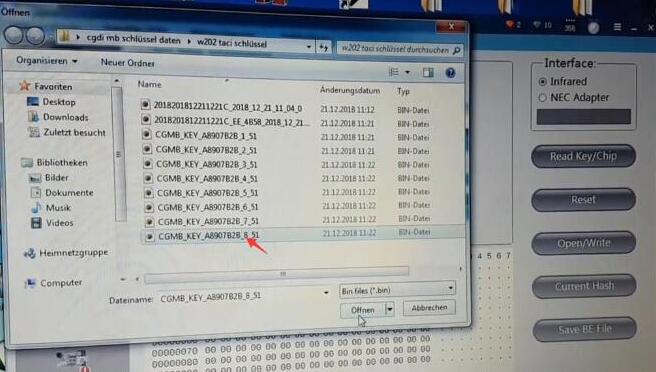
Select a key file to write
Write success!Click [OK] to continue
Test new key on vehicle,it can light instrument and start the engine!
Done!
Posted by: youobd2 at
06:41 AM
| Comments (1)
| Add Comment
Post contains 444 words, total size 19 kb.
34 queries taking 0.0701 seconds, 134 records returned.
Powered by Minx 1.1.6c-pink.

