



October 30, 2020
For the newest Porsche model after 2017 year (i.e 2018 Macan), requires piwis tester 3;
For the older Porsche model (i.e a 99 Boxster), don’t need the newest version, then piwis 2 is okay.
Question:
As I’m researching this myself, given that you don’t have a model year
that requires it, what is driving you to upgrade from piwis II, to piwis
III? Is it just this: "The PIWIS III testerhas a built in multimeter and oscilloscope and the cables are
included.â€, or other factors that you can note here, for reference?
Reply:
I also have a 2018 Macan that requires the piwis3. I hope to help
people in my community and I also plan to rebuild another. I’m excited
my PIWIS III arrives tomorrow. I will review after I test it out. I have
PSM module arriving Saturday that will need the module replacement
procedure.
An interesting thing happened to me the other day. I had just received my PIWIS III and was going to use it to change out the PSM module and before I did I had it run a full diagnostic. At the time I didn’t realize that the unit was in development mode. My Piwis 2 would only show one code, a faulty recirculation servomotor which I have struggled to physically change due to its location. When the diagnostic was complete two things happened; one I realized it was in development mode since all the responses were in German (in development mode the menus can be changed to English but the responses from the modules appear in German) And two there were more error codes. After having Google translate the German responses I discover that the b piller servomotors were mechanically jammed. It also found a fault in the brake light switch which was working properly. I switched the unit to after sales mode( the dealer mode) and those codes weren’t there Then I used the unit to monitor the servomotors in question. What I discovered was that they were indeed not moving from 0 to 100. After finally figuring out where they were located (under the front seats) I pulled one out and took it apart and the motor shaft was seized. Un seizing it didn’t do enough to fix it so I ordered 3(one for the recirc). Anyways the point is that developers mode not only tested the motors it tried to run them from stop to stop which normal mode does not. The brake light switch after checking the voltage while pressing on the switch was showing only 7 volts so it was partially shorted something else missed by the regular mode. If you have mysterious issues with no codes and have access to Porsche tester, try running it in development or engineering mode as it is sometimes called, and see if it reveals any new codes.
Question:
Do you know if it is possible to activate the rear DRL and the LED Matrix headlamps with the PIWIS III?
Answer:
activation codes are not included with the tester. You can add them if
you have them but this is an online programming function and the dealer
must pay Porsche for the options that he installed. When he sends a work
order to Porsche he receives the activation codes then enters them into
the PIWIS. Now there are some Russians who have hacked porches codes
and will sell you an activation code for new options. I haven’t tried
them but I did pay $125 for my original activation codes so I code
reprogram a pcm and a new clock spring.
Question: Porsche diagnostic tool PIWIS III clone or original, which one should i buy?
Answer:
I recall now that I encountered a Chinese PIWIS at a local "indy†shop.
I had my Turbo in there in Sep. of 2019 to get new O2 sensors installed
and the tech — recently from the local Porsche dealer I use — was there
and after the sensors were replaced he grabbed what looked like a PIWIS
but when I expressed surprise that an indy shop would own one he told
me it wasn’t the real thing but a Chinese clone. He said it worked
pretty good.
Question:
PIWIS Chinese knock-off is way too expensive for me and offers no online updates. Is it true?
Answer: No. It depends on where you buy one Piwis 3, this one comes with U disk update tool and allows user to update online
Posted by: youobd2 at
07:00 AM
| No Comments
| Add Comment
Post contains 754 words, total size 5 kb.
October 21, 2020
2020A is an upgraded version of 2019C , A represents the first quarter, and C is the software updated in the third quarter.
2020A /2019C Cat ET software as Cat Caterpillar ET 2018C 2019A 2019C Software update version, 20120A Caterpillar Electronic Technician softwarer With CAT ET 3 Cat caterpillar adapter 3 support caterpillar diagnostic till 2020.
Procedures:
Connect CAT3 interface to DLC,and then run CAT ET diagnostic software and build connection
Select "Service†calibration function

Perform injector replacement programming,and click "Changeâ€
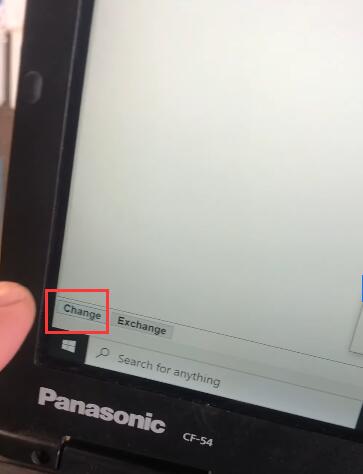
Load the injectors matched trim files

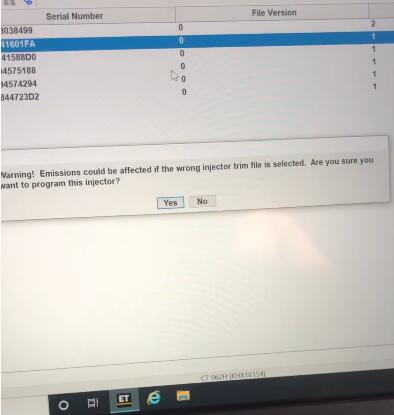
Warning message!
Emissions could be affected if the wrong injector trim file is selected.Are you sure you want to program this injector?
Click "Yesâ€
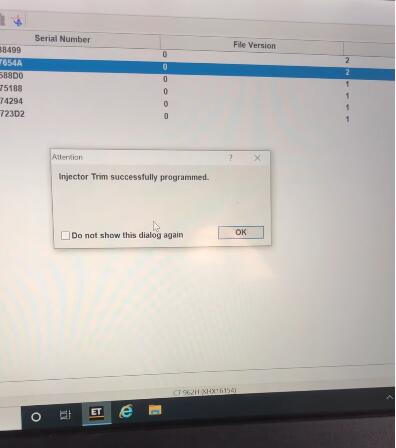
Injector Trim successfully programmed.
Posted by: youobd2 at
08:54 AM
| Comments (2)
| Add Comment
Post contains 130 words, total size 2 kb.
October 15, 2020
Here is how you can Enable IMMO and Programming in Seek advice from nissan consult III plus with no spending out on the intelligent card.
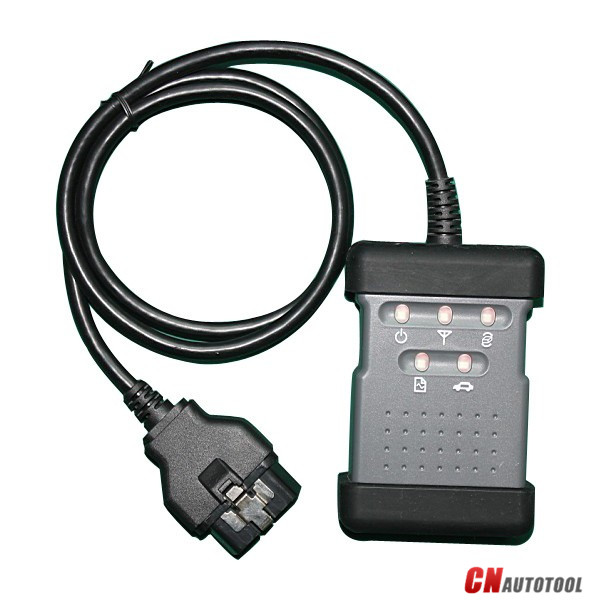
Find the seek the advice of diagnostictool.ini file
open with notepad
copy and paste this at the bottom
Here for Seek the advice of Nissan Consult 3 Plus:
C:\CONSULT-III_plus\System\Application\ApplicationData\CommonSetting\DiagnosticTool.ini
Instruction:
[current_geographical_zones]
market=2
area=3
country=USA
[current_language]
language=GB
[unit_conversion]
unit_conv_1=G001.S002
unit_conv_2=G002.S004
unit_conv_3=G003.S006
unit_conv_4=G004.S009
[current_channel]
channel=0
[system_management]
access_mode=1
[device]
vi_device_name=J-Box
[vehicles]
tab_index=2
[mode]
debug_mode=TRUE
debug_mode_vehicle_battery=TRUE
[vehicles]
tab_index=0
That is operating on my setup
Copy this into your diag.inx folder transform the area location and J2534 name and also you needs to be good to go .
Question and answer:
Could be the Seek the advice of 3+ working a 100% with J2534?
Do I will need any further files or media to download to become in a position to program?
Answer: You happen to be pretty limited working with a Pass-Thru with Seek advice from software I believe. Study and Delete fault codes yes. Programming and Safety I think not. Ideal to utilize a Consult3 or 3+ interface. You’ll be able to plan working with Nissan Ners software with a Pass-Thru although.
For the files, You are going to must invest in access on Nissan web-site for the flash files. I feel you could buy a 4 hour access but you should verify this. It varies according to Nation and how Nissan are feeling it seems. Diagnostic computer software is often found around the forum.
Posted by: youobd2 at
12:56 PM
| Comments (2)
| Add Comment
Post contains 248 words, total size 3 kb.
SUBJECT:
Connecting to the DRB III Emulator for Cummins Engines
MODELS:
1998 – 2002 (BR) RAM Pickup
1998 – 2002 (BE) RAM Pickup/Quad Cab
2003 – 2005 (DR) RAM 1500/2500 Pickup
NOTE: This bulletin applies to vehicles equipped with the 5.9L I6 Cummins 24V Diesel Engine (Sale Codes ETC) or 5.9L I6 HO Cummins Turbo Diesel Engine (Sale Codes\ ETH).
DISCUSSION:
Proper diagnosis and connection of the DRBIII emulator to wiTECH
DEVICE:
wiTech Micropod II with proper DRB III software or wiTech VCI Pod with DRB3
CAUTION! Extreme care must be taken when programming the flash file of a generic ECM.
Do not randomly select a flash file. If in doubt, contact the STAR Center for assistance. Installing an incorrect flash file into an ECM can cause severe engine damage. Once a flash file is selected and programmed, the controller cannot be reprogrammed with a different flash file.
NOTE: For vehicles that are equipped with the SKIM, the DRB III scan tool is still needed to program the SKIM. Failure to install the SKIM pin number into the module after flashing the Cummins ECM will cause a start and stall condition.
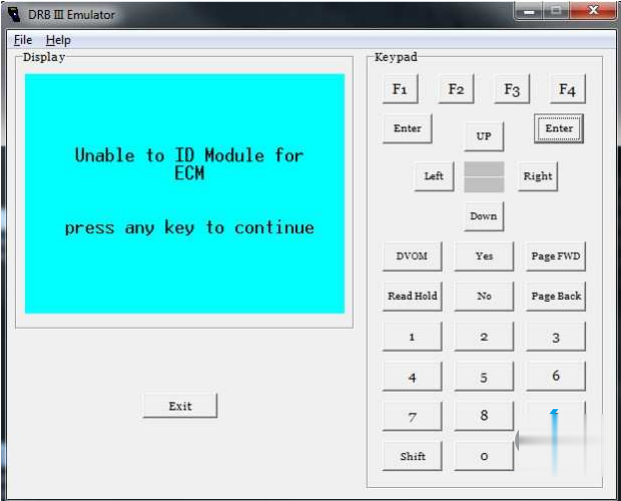
NOTE: Connecting the DRB III Emulator to the ECM before flashing will result in the following message "Unable to ID Module For ECM†(Fig. 1) . This is normal because
the ECM has not been programmed yet. It does not indicate the replacement module is faulty.
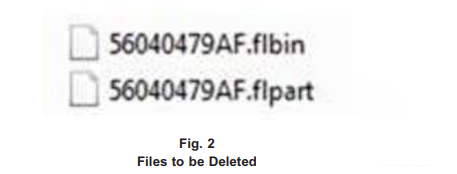
NOTE: Before beginning the programming procedure, all previous flash files must be removed from your computer, any previous flash files will be located at
(c Users\{username}\AppData\Local\Temp\Low(. The files that need to be removed will have a FCA part number followed by a (.flbin) and (.flpart) (Fig. 2) .
Following are Step-By-Step screen shots of ECM programming using DRBIII Emulator:
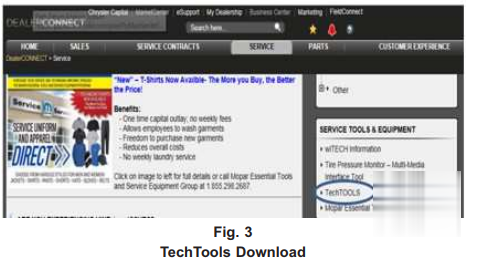
1. Download TechTOOLS from DealerConnect (Fig. 3) .
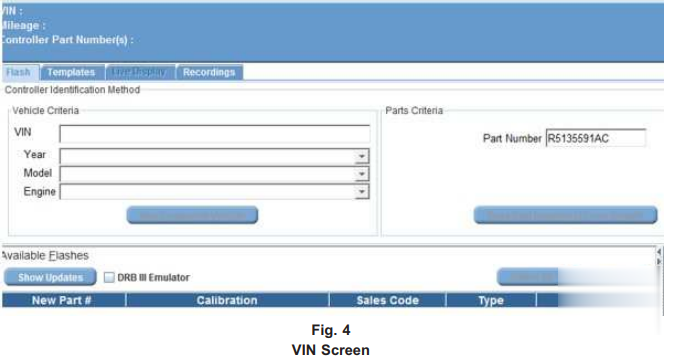
2. In TechTOOLS, enter the VIN or ECM part number(Fig. 4) .
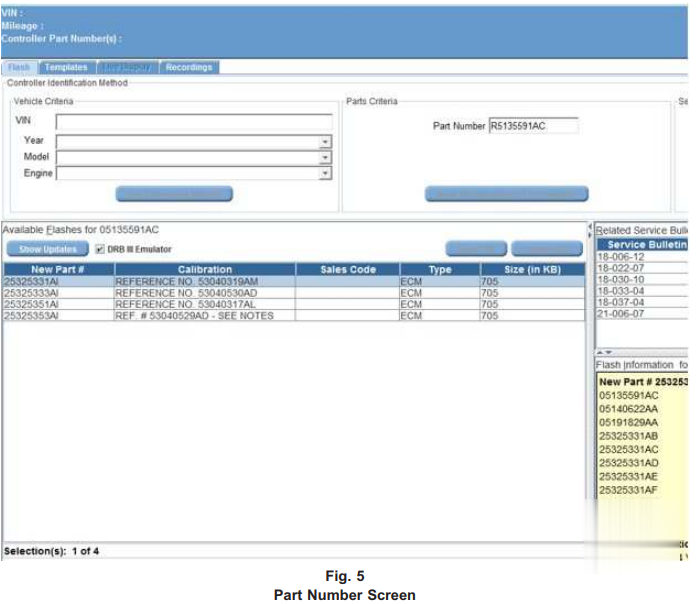
3. Select the DRBIII Emulator check box and then select "Show Updates†to display all available flashes (Fig. 5) .
4. Select the appropriate ECM calibration, based off the engine reference number located on the valve cover. (Fig. 6) .
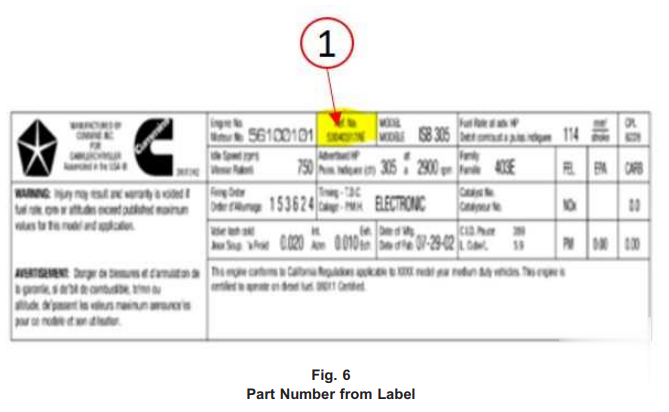
NOTE: Based on the reference number, the software selected with be the latest available
5. Press "Download†tab to download the chosen file to the computer (Fig. 7)
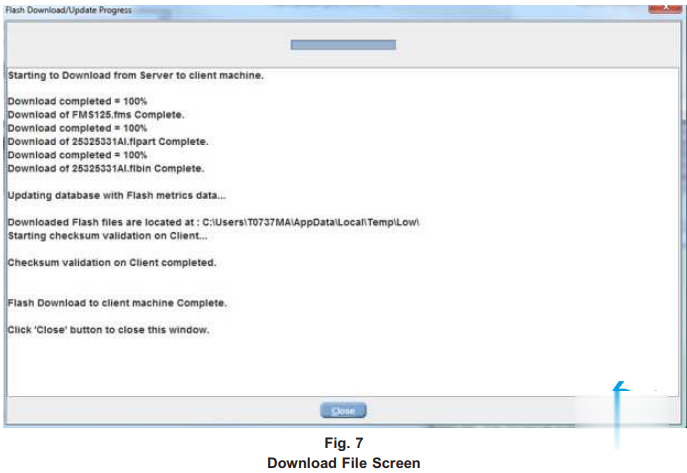
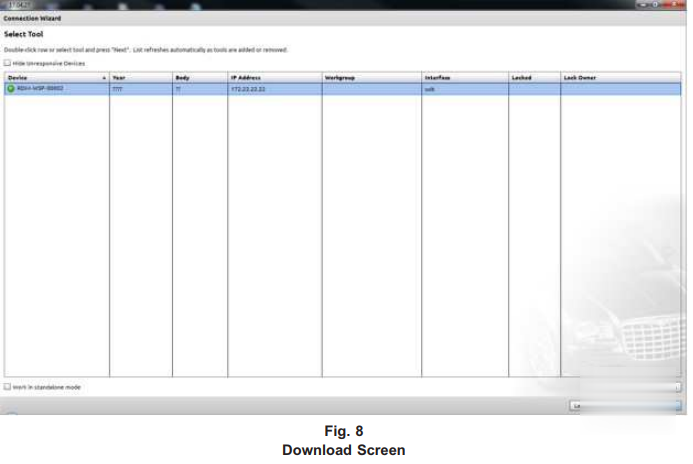
6. When download is complete, log off DealerConnect then connect to wiTECH (Fig.  .
.
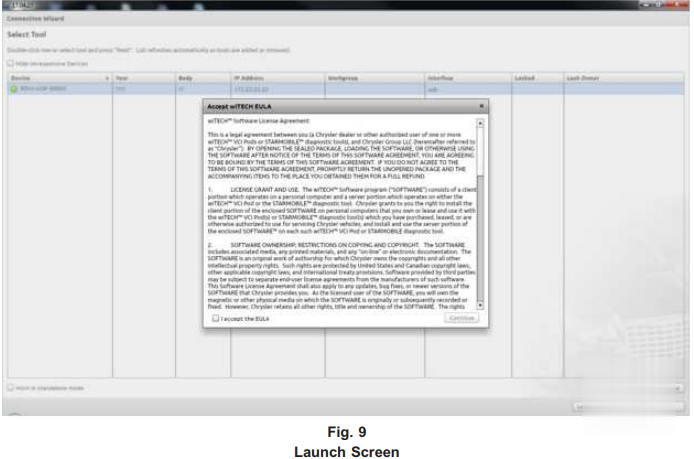
7. Launch DRB III Enhanced (Fig. 9) .
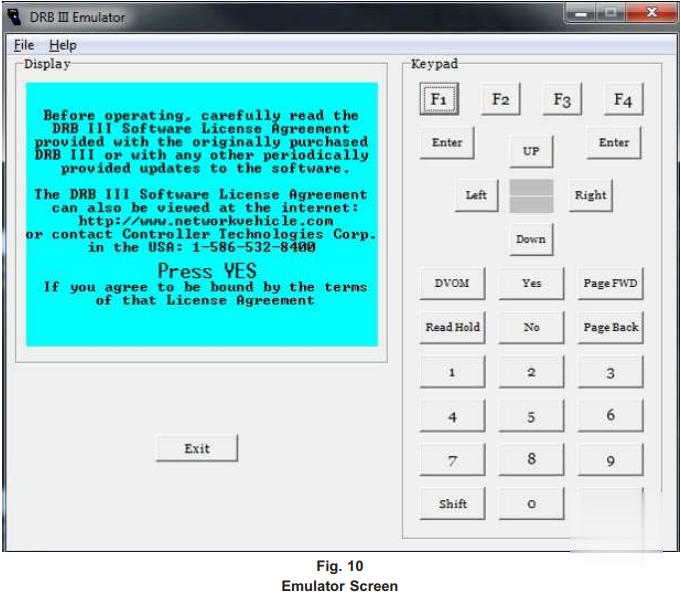
8. You will see the DRB III Emulator screen. Press "Yes†(Fig. 10) .
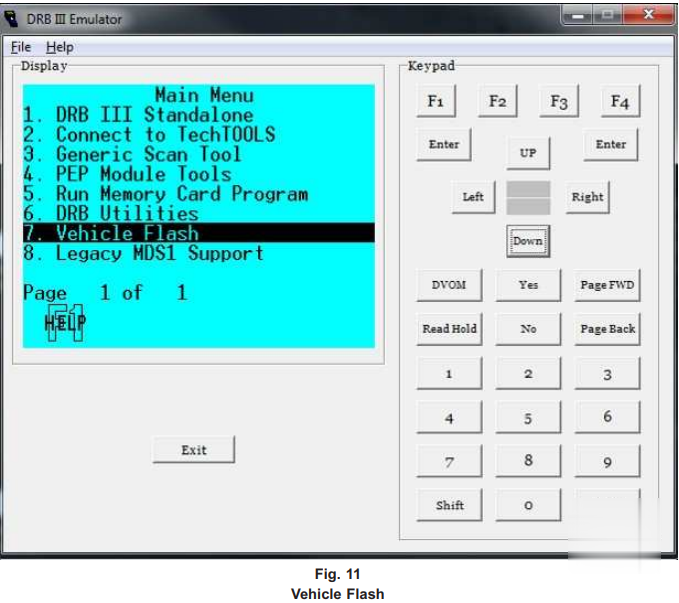
9. Select "Vehicle Flash†(Fig. 11) .
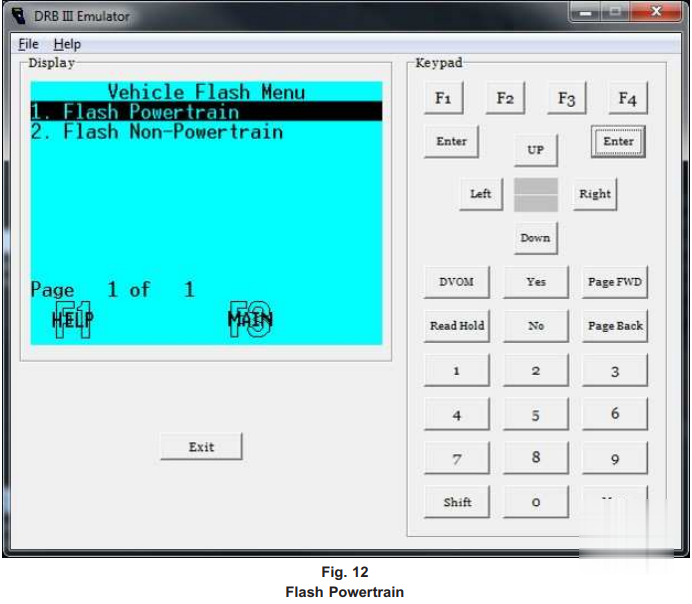
10. Select "Flash Powertrain†(Fig. 12) .
11. You will see the following screen but, with no data displayed. This does not mean ECM does not communicate (Fig. 13) .
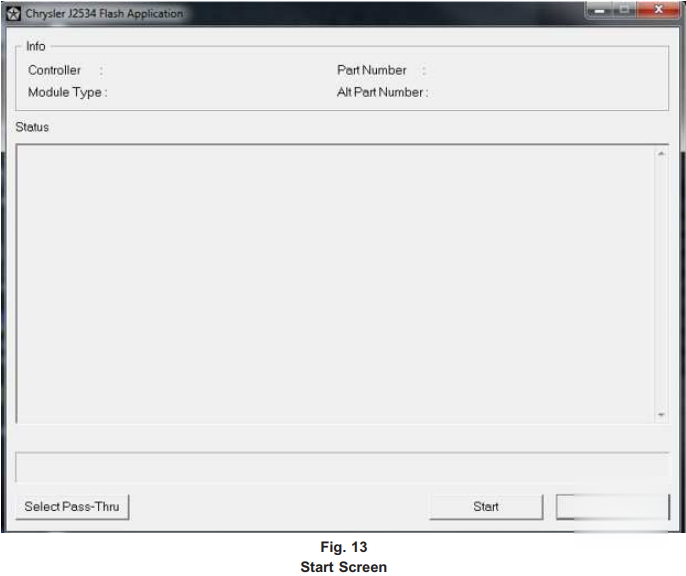
12. Select "Start†(Fig. 14) .
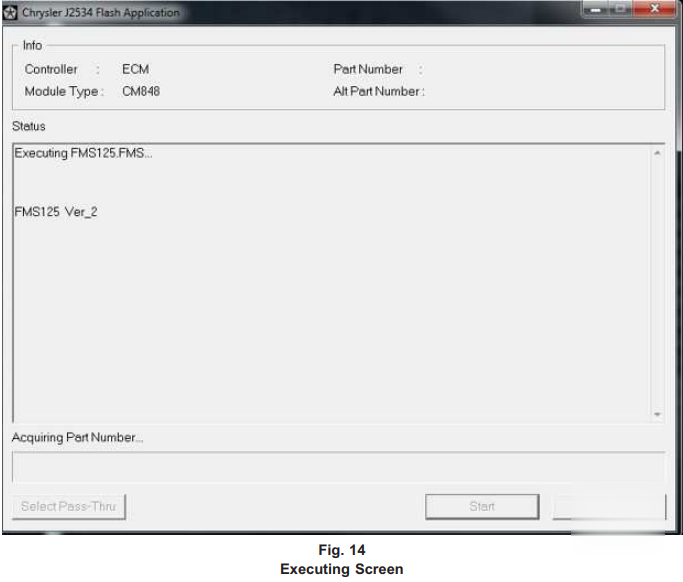
13. The screen will populate with Module and Part Number information and an option to download (Fig. 15) .
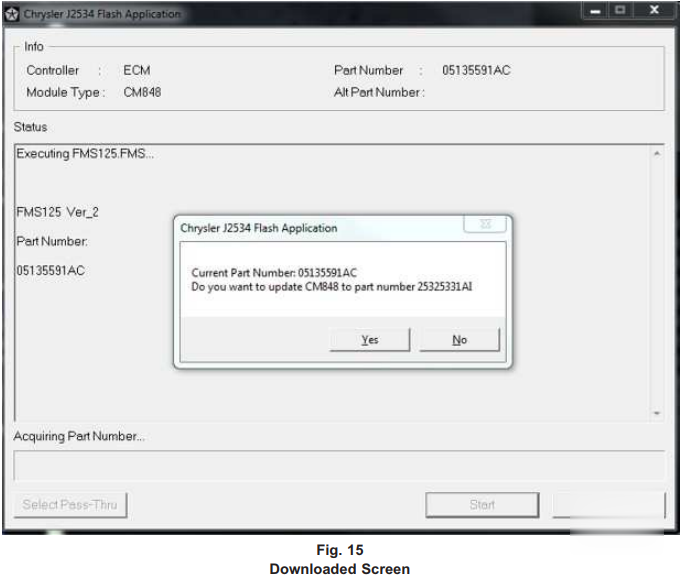
CAUTION! Failure to install the SKIM pin number into the module after flashing the Cummins ECM will cause a start and stall condition.
14. Is the vehicle equipped with SKIM?
• YES>>> Proceed to Step 15.
• NO>>> Proceed to Step 16.
15. On vehicles equipped with SKIM, transfer the VIN and Security Key information from the SKIM to the ECM. Using the DRB3 select:
a. "DRBIII Standaloneâ€
b. "1998 – 2005 Diagnosticsâ€
c. "Allâ€
d. "Theft Alarmâ€
e. "SKIMâ€
f. "Miscellaneousâ€
g. "Cummins ECM Replacedâ€
h. Clear all DTCs that may have been set prior to the repair. The wiTECH application will automatically present all DTCs and allow them to be cleared. Process is complete.
16. On vehicles not equipped with SKIM, manually enter the VIN in the ECM. Using the DRB 3 emulator select:
a. "DRBIII Standaloneâ€
b. "1998 – 2005 Diagnosticsâ€
c. "Engineâ€
d. "Cummins Controller (ECM/ENGINE)â€
e. "Miscellaneousâ€
f. "CM84X Check VINâ€
g. Follow the directions on the DRB-III screen. When the process is complete, proceed to next
step.
h. Clear all DTCs that may have been set prior to the repair. The wiTECH application will automatically present all DTCs and allow them to be cleared. Process is complete.
Posted by: youobd2 at
06:17 AM
| Comments (1)
| Add Comment
Post contains 695 words, total size 10 kb.
Here’s the step-by-step guide of how to use Launch X431 V 8 inch Full System Diagnostic Tool to Oil reset on Hyundai I10 2014-2018
Procedure:

Go to "Resetâ€.
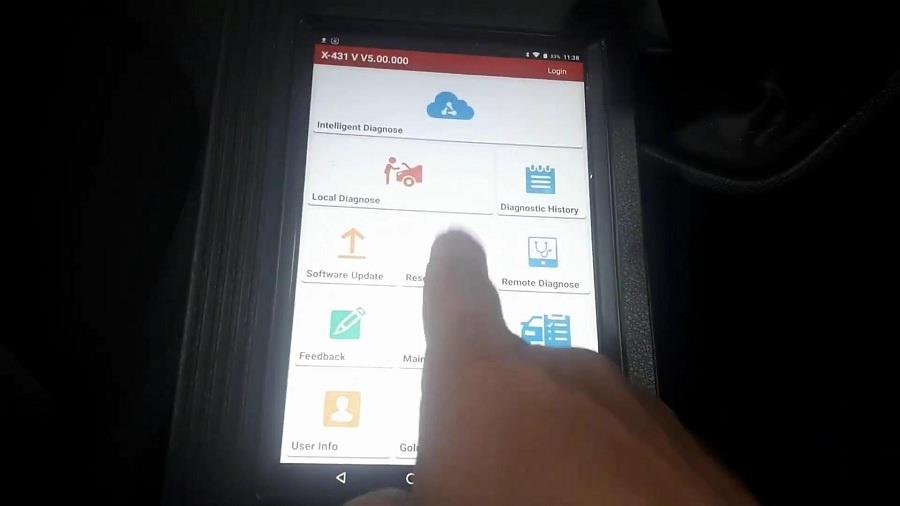
Oil reset.

Tap "OKâ€.
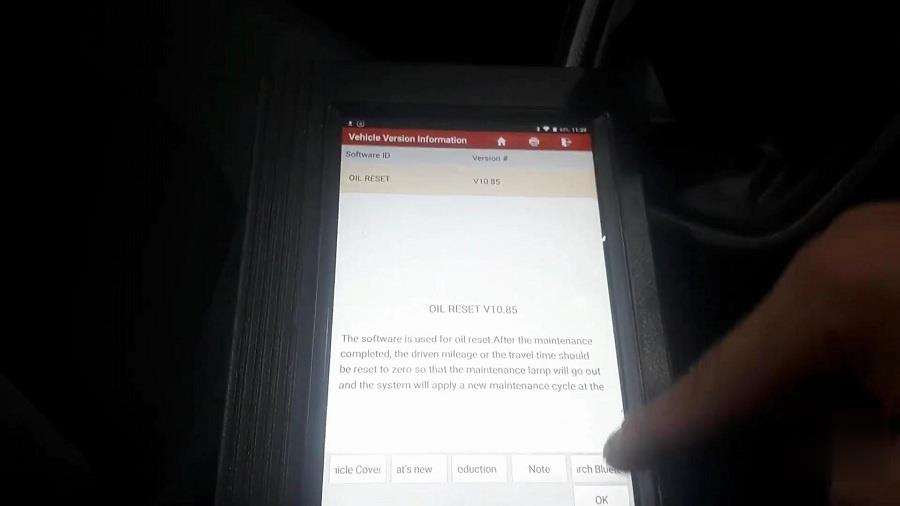
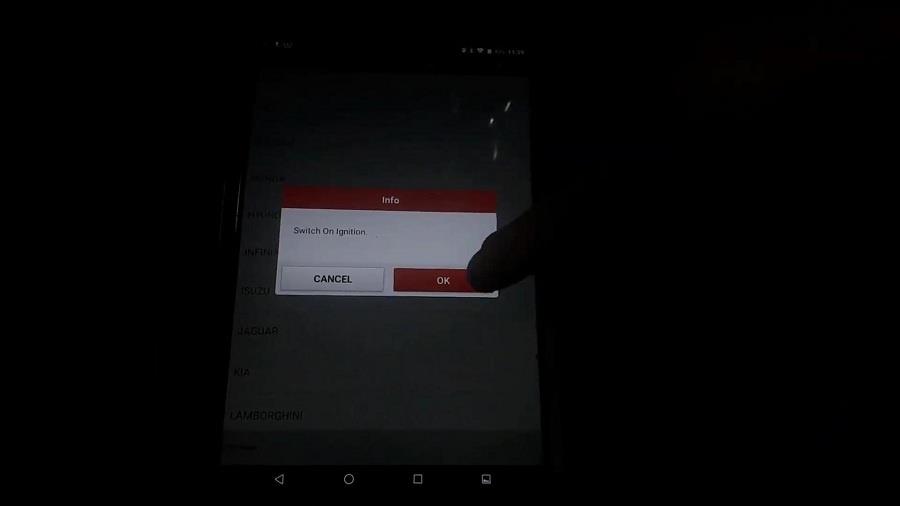
Go to "Hyundaiâ€.

Switch on ignition as the screen pops up.
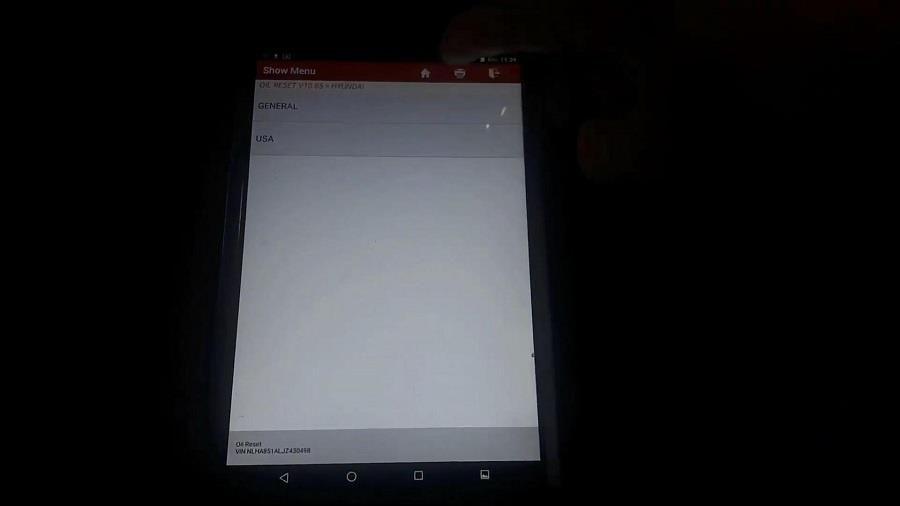
It will automatically read out the Vin number.
Tap "Generalâ€.
Tap "I10 (IA)â€.
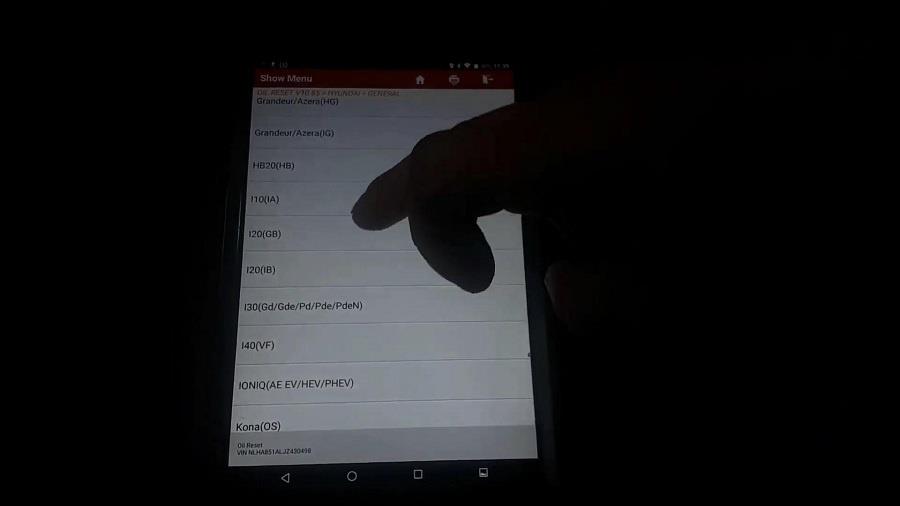
2014 – 2018.

Special function.
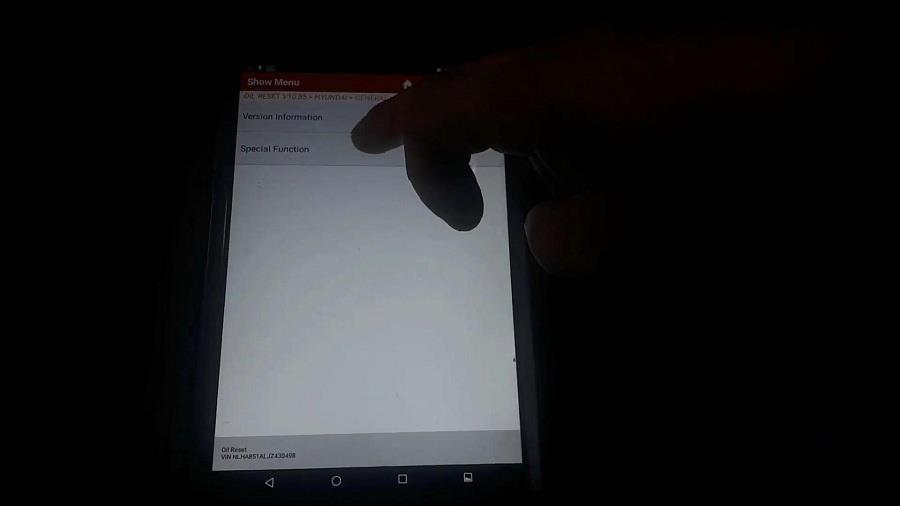
Service reminder setting.

Tap "OKâ€.
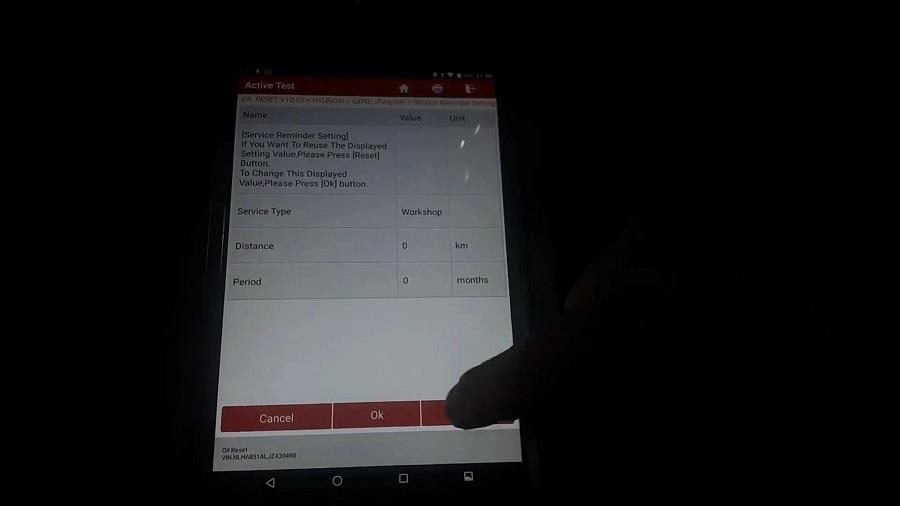
You see "Coding Not completedâ€, tap "Workshopâ€.
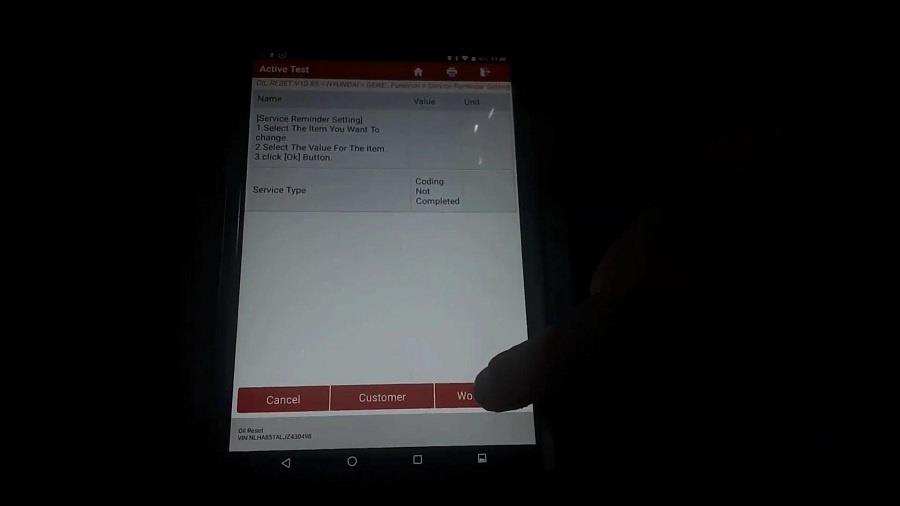
Tap "OKâ€.
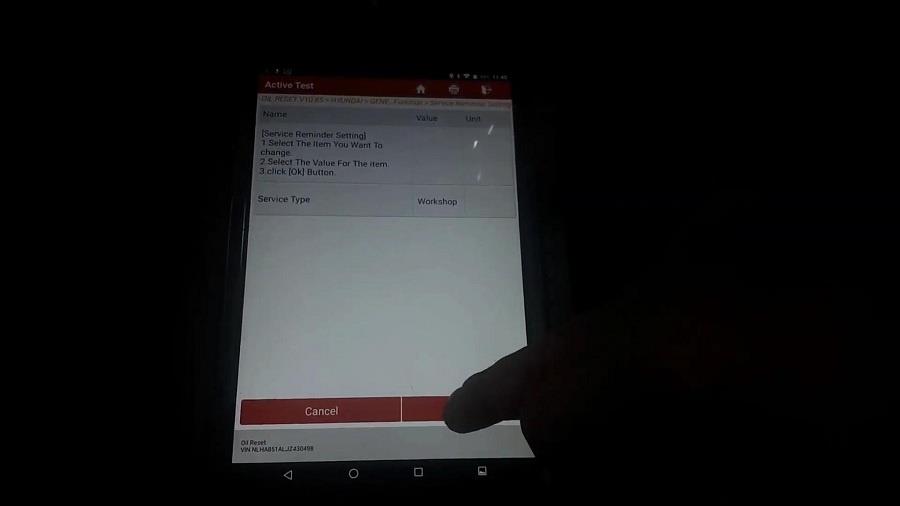
Save completed!
Press [OK] button.

Tap "Distanceâ€.
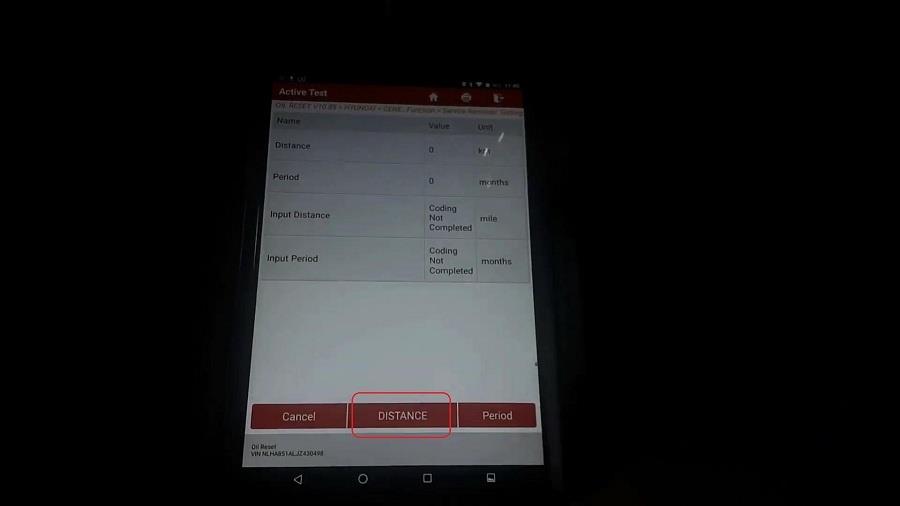
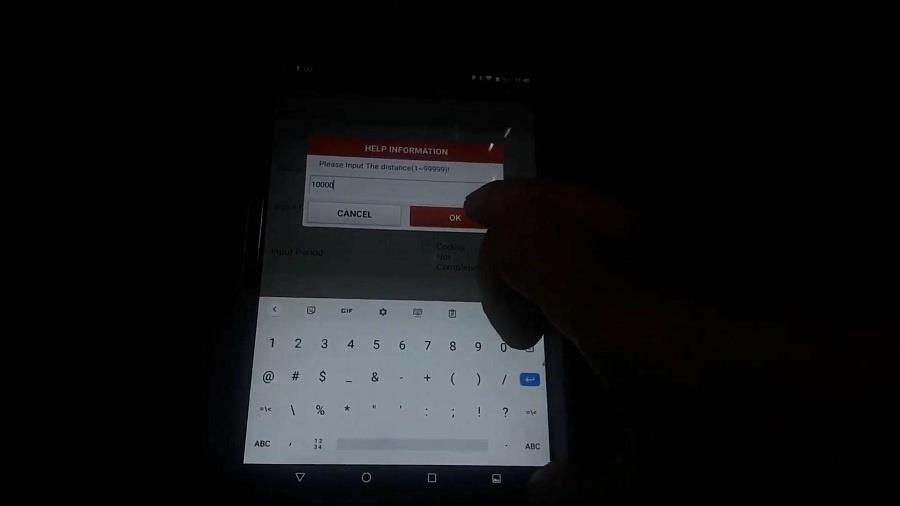
Please input the distance.
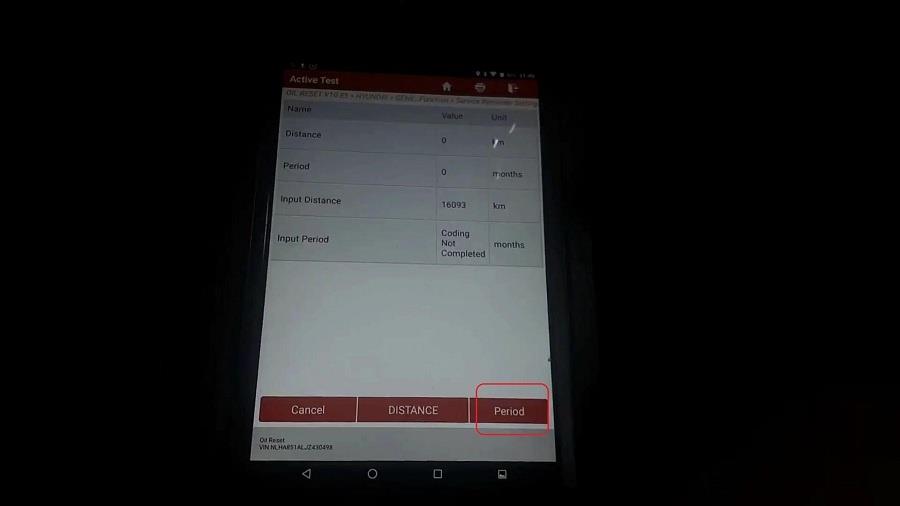
Go to "Periodâ€.
Input the period "12â€.
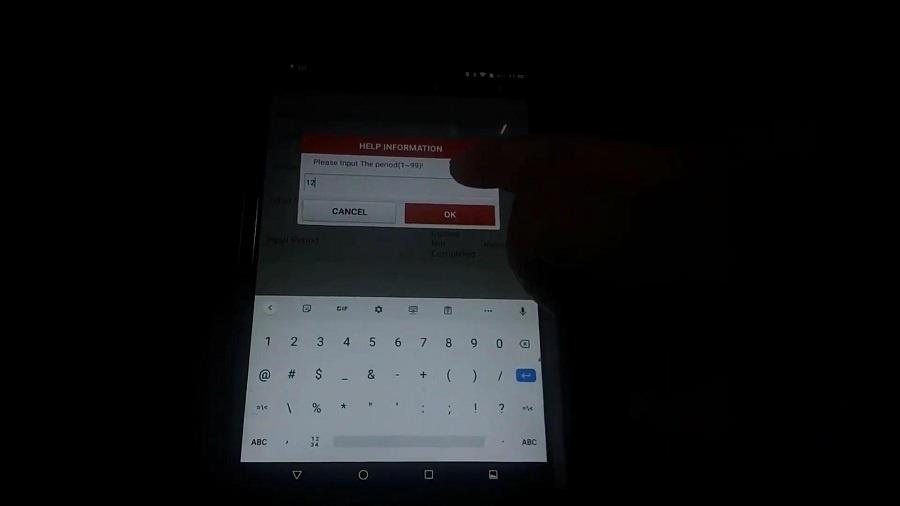
Tap "OKâ€
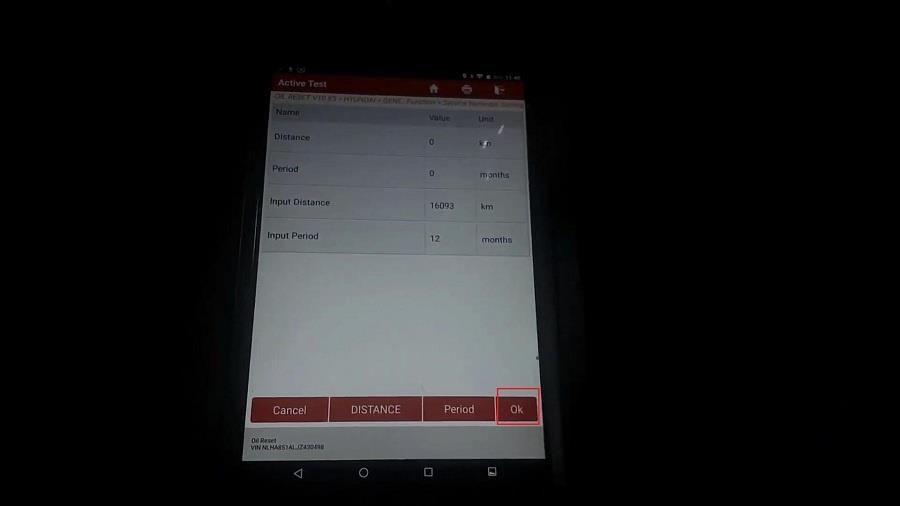
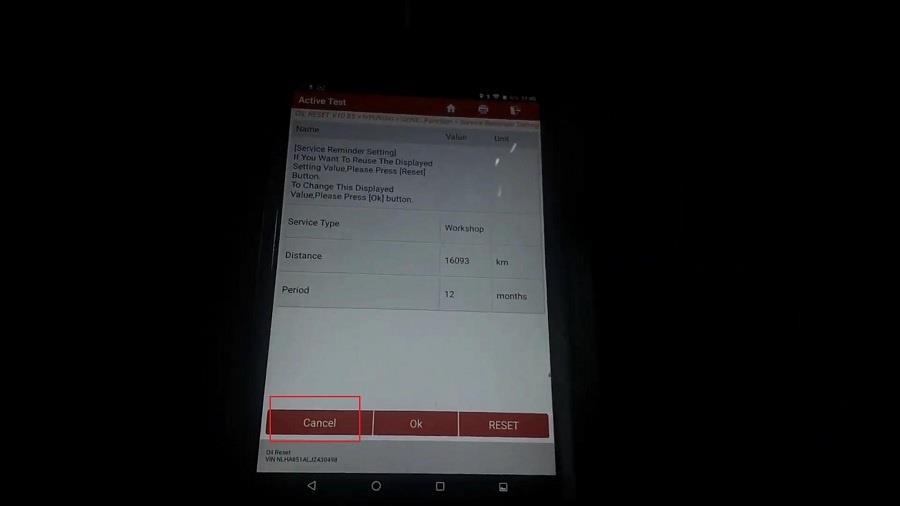
Save completed!

Tap "Cancelâ€.
If you go down on the dash, let me write up a bit, let’s go drip drip drip and 365 days and 10000 miles.
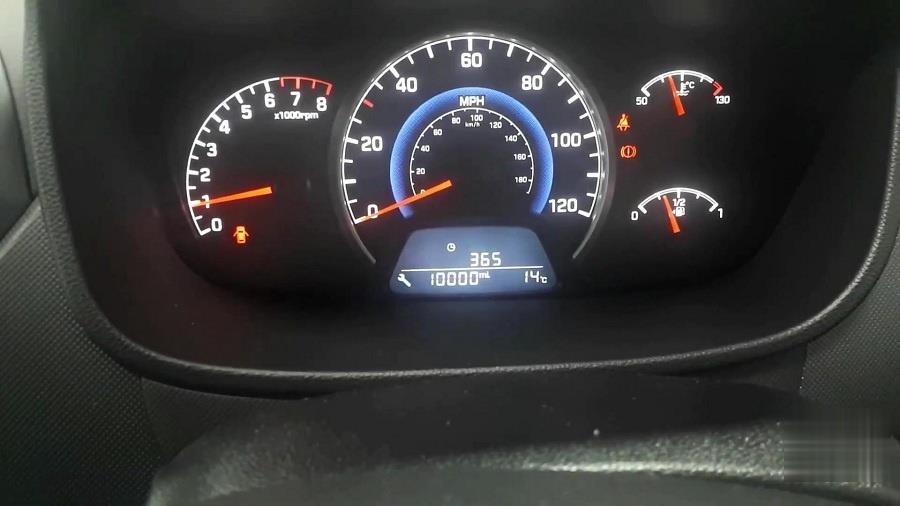
So this is how you set up the Service Interval, if it has not been setup, unfortunately you can only do it with the diagnostic machine like X431 V.
All right, thanks, hope it helps.
Posted by: youobd2 at
05:44 AM
| Comments (1)
| Add Comment
Post contains 165 words, total size 9 kb.
October 07, 2020
Honda City CNG 2013 all keys lost: program new remote and add new key by OBDSTAR X300 PAD 2.
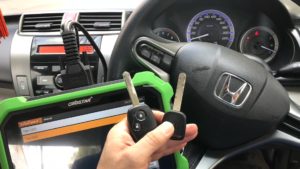
FYI, program Honda City CNG 2013 all keys lost ok or not by using OBDSTAR DP PLus, it depends on which area of Honda City CNG 2013. If you have DP PLus device, just have a try.
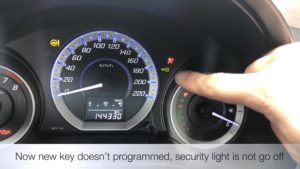
Now new key doesn’t program, security light goes off.
New remote key can’t start and remote doesn’t work.
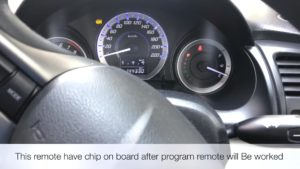
This remote have chip on board after program remote will be worked.
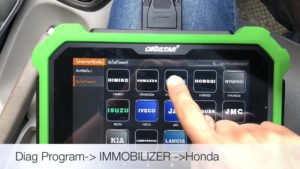
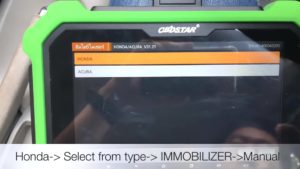
Diag program -> Immobilizer -> Honda.
Honda -> Select from type -> Immobilizer -> Manual.
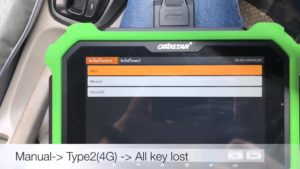
Manual -> Type2(4G) -> All keys lost.
Turn ignition on.
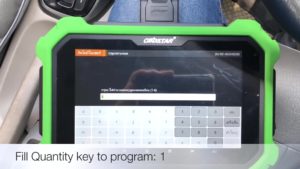
Enter the key quantity to program:1
Turn off
Turn on.
Turn off within 15 seconds.
Turn on
Turn off
Turn on
OBDSTAR DP plus prompts †Whether security light go off or not?â€, click on "Yesâ€.
Turn off
Turn on
Program success.
Security light go off and can start engine.

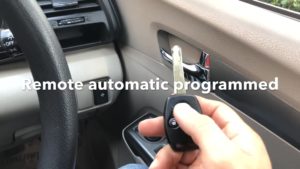
Remote automatic programmed.
Now I will show you how to add more keys.
Turn on ignition with a programmed key.

Adding key doesn’t program, security light still blink.
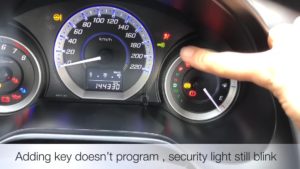
Turn on with the programmed key.
Tap "add key†– "Turn onâ€.
Turn off.
Turn on.
Turn off.
Following the message on the DP Plus display †Insert adding key and turn on within 15 secondsâ€.
Turn off.
Turn on.
Turn off.
Turn on.
Whether security light go off or not? [Yes].
Turn off.
Turn on.
Program success.
Adding key can start.
Posted by: youobd2 at
03:16 AM
| No Comments
| Add Comment
Post contains 266 words, total size 8 kb.
OBDSTAR X300 PAD2 is tested working flawlessly for 2014 Audi A3 MQB key programming via OBD. This post will share the step-by-step procedure.
Guide:
Here 2014 Audi A3 with MQB IMMO.
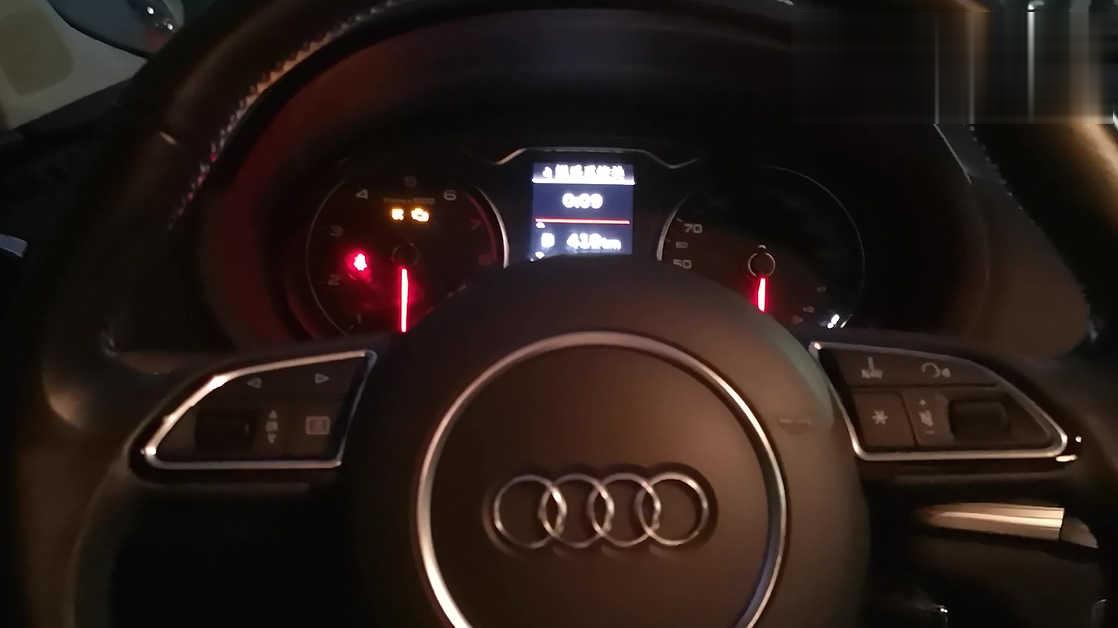
Connect OBDSTAR DP Plus to the OBD port of Audi A3.
Turn on the machine.
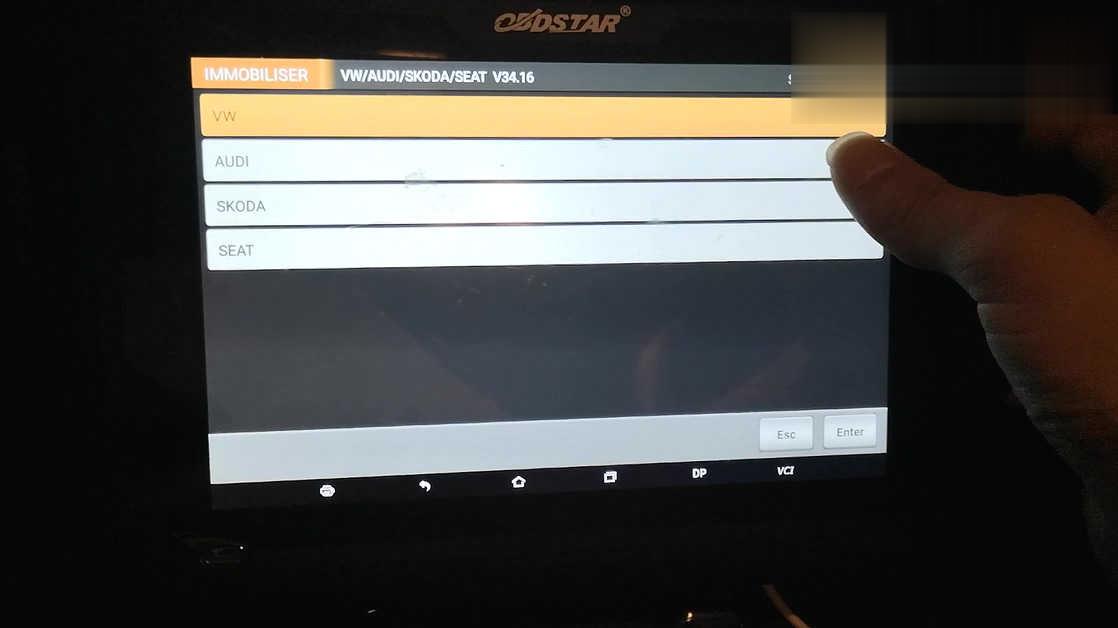
Tap "Immobilizerâ€, then "VW /Audi/ Skoda / Seat V34.16â€.

Quick to authorization…
Tap "Audiâ€.
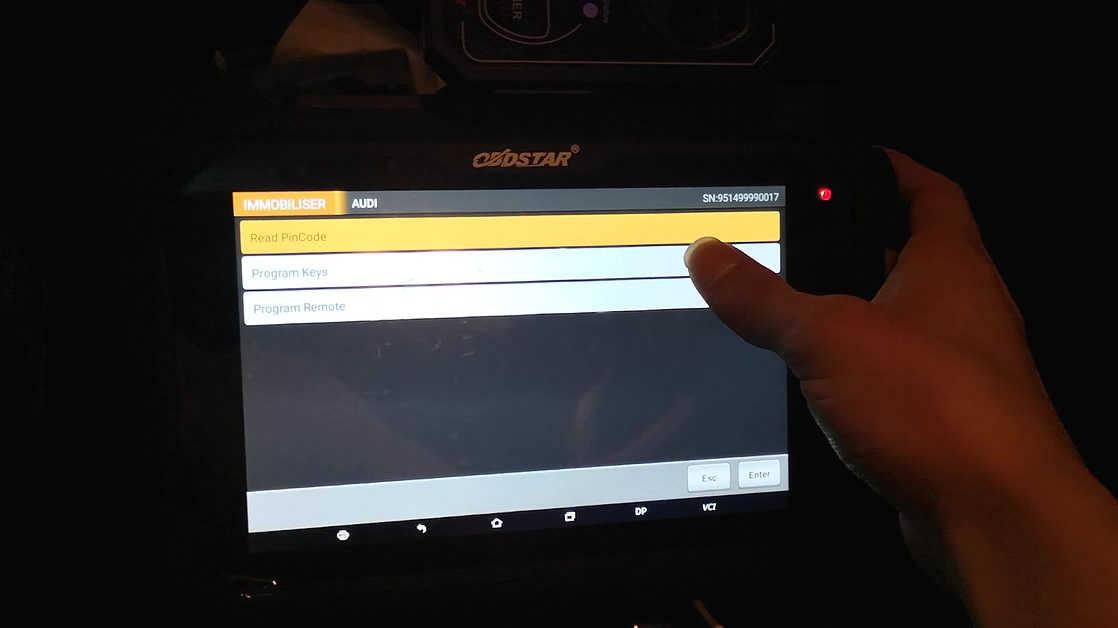
Have option:
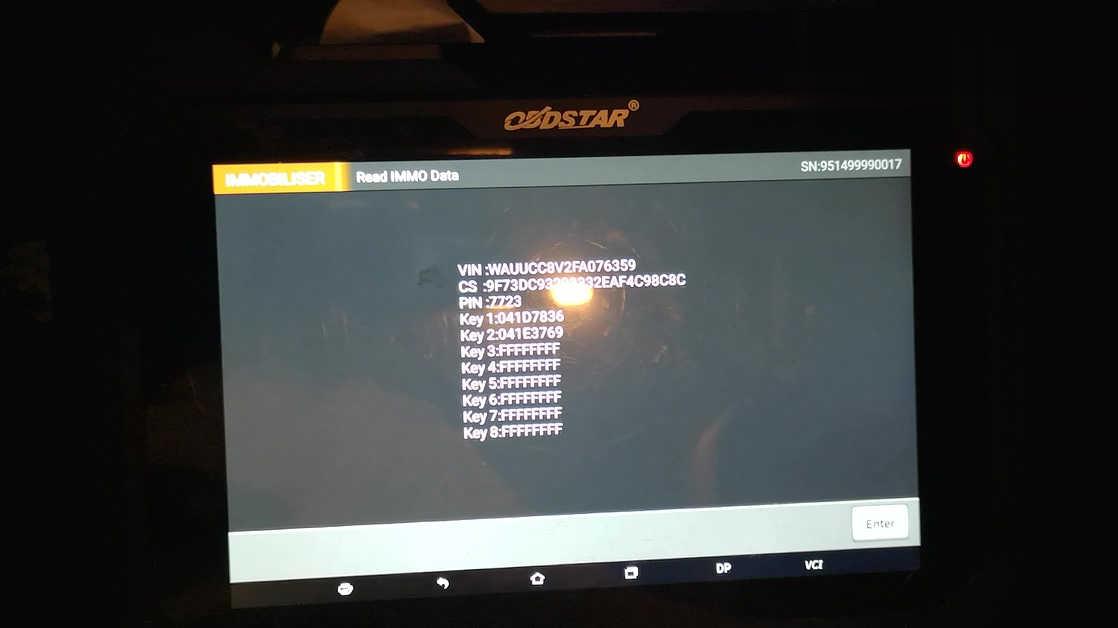
Read Pincode
Program Keys
Programming Remote
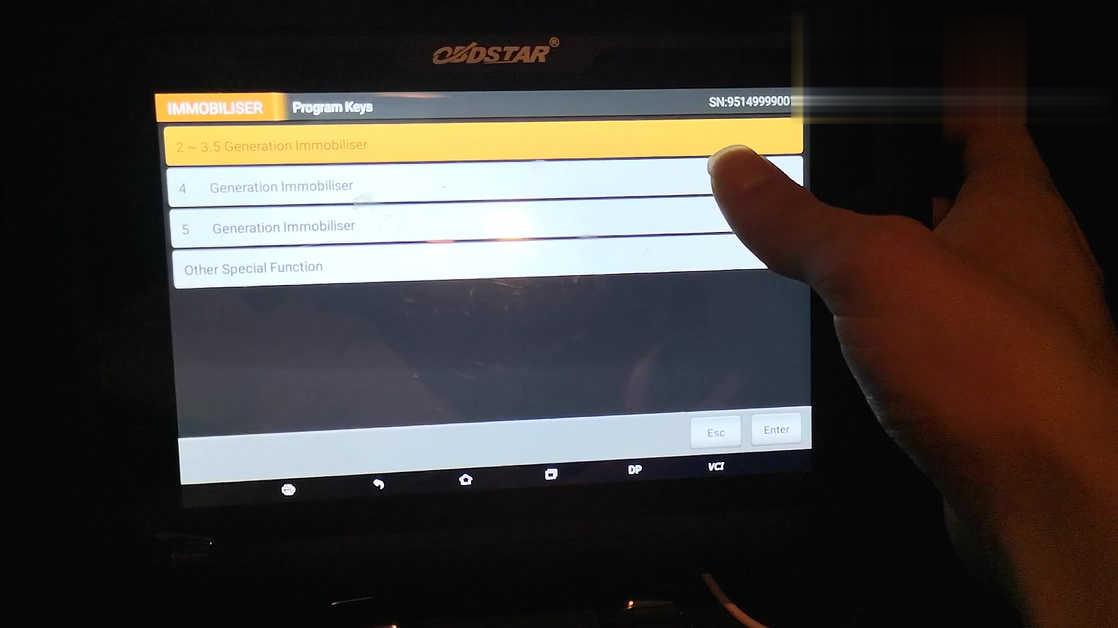
Tap "Program Keysâ€.
Tap †4 generation Immobilizerâ€.
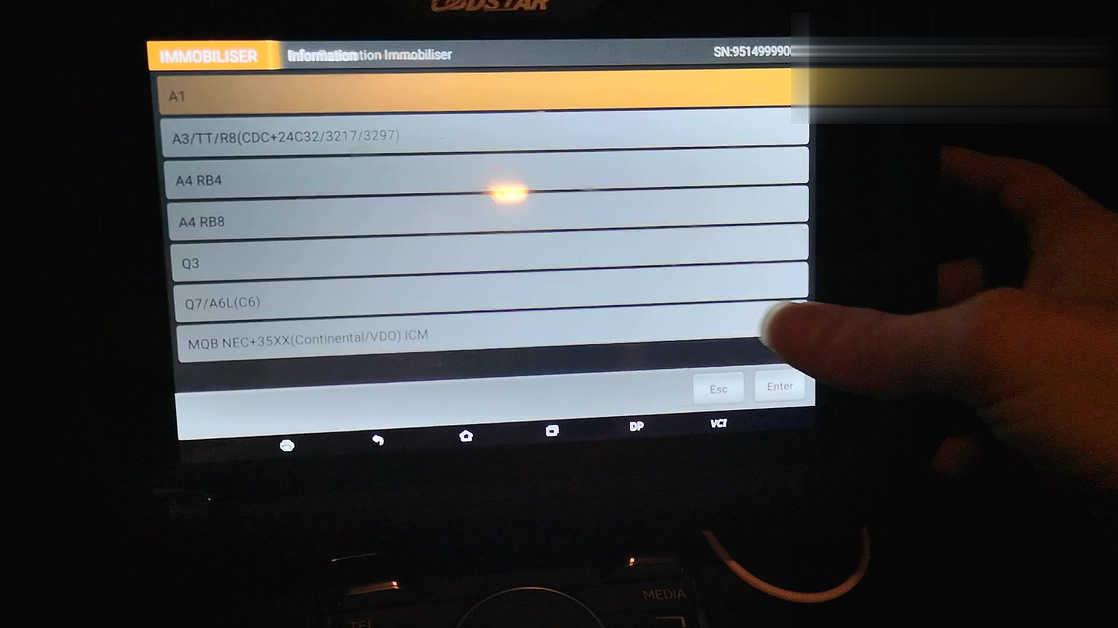
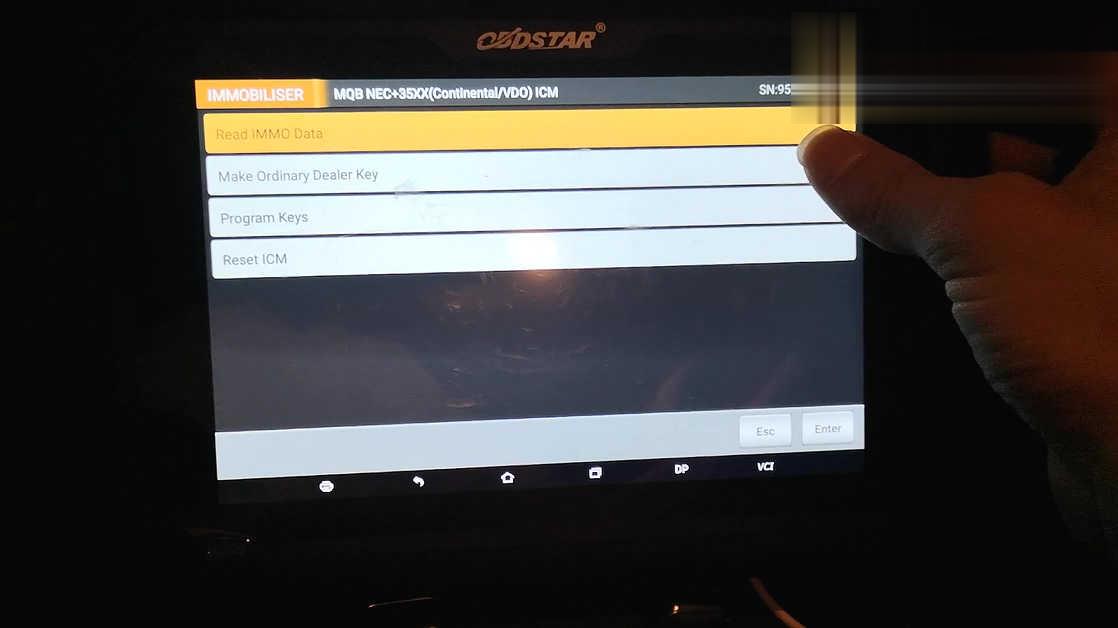
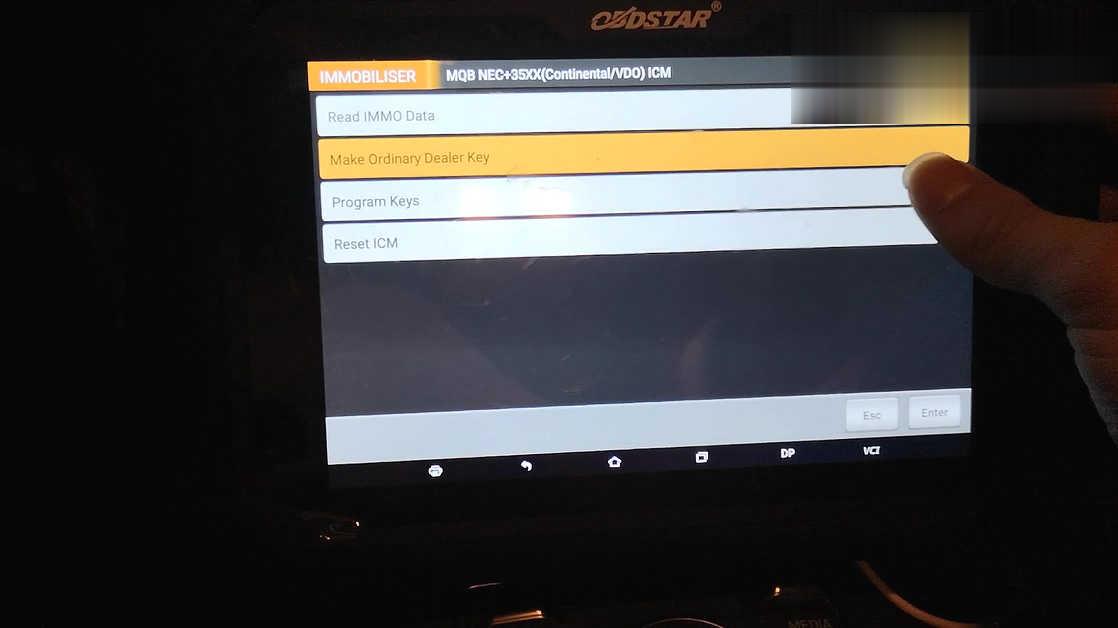
Tap "MQB NEC+35XX (Continental /VDO) ICMâ€.
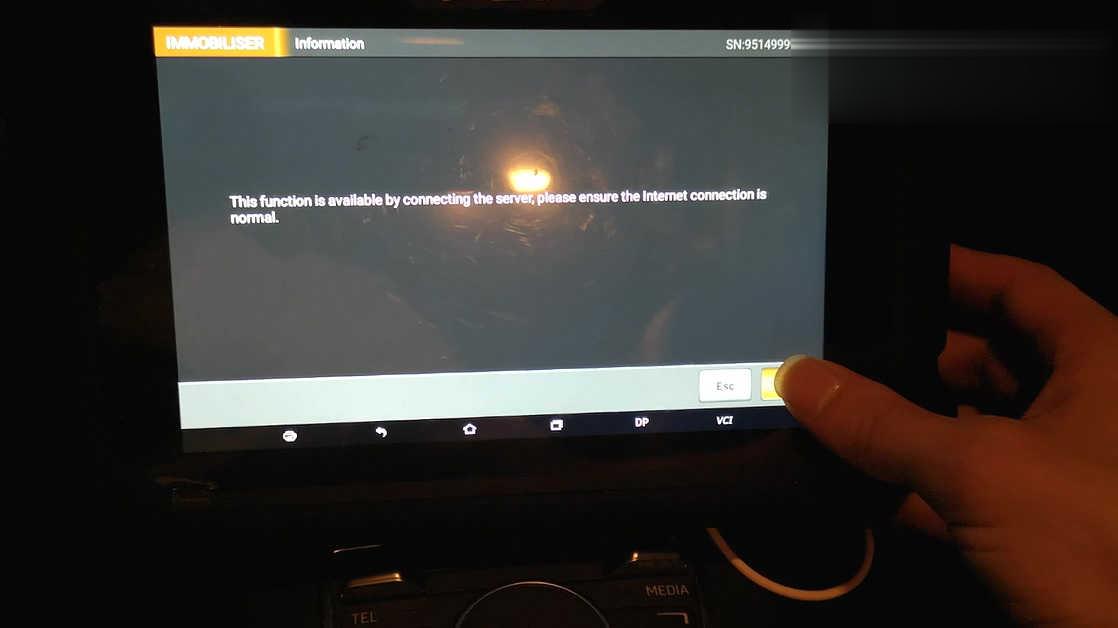
Follow the message "This functions is available by connecting the server, please ensure the Internet connection is normal.â€.
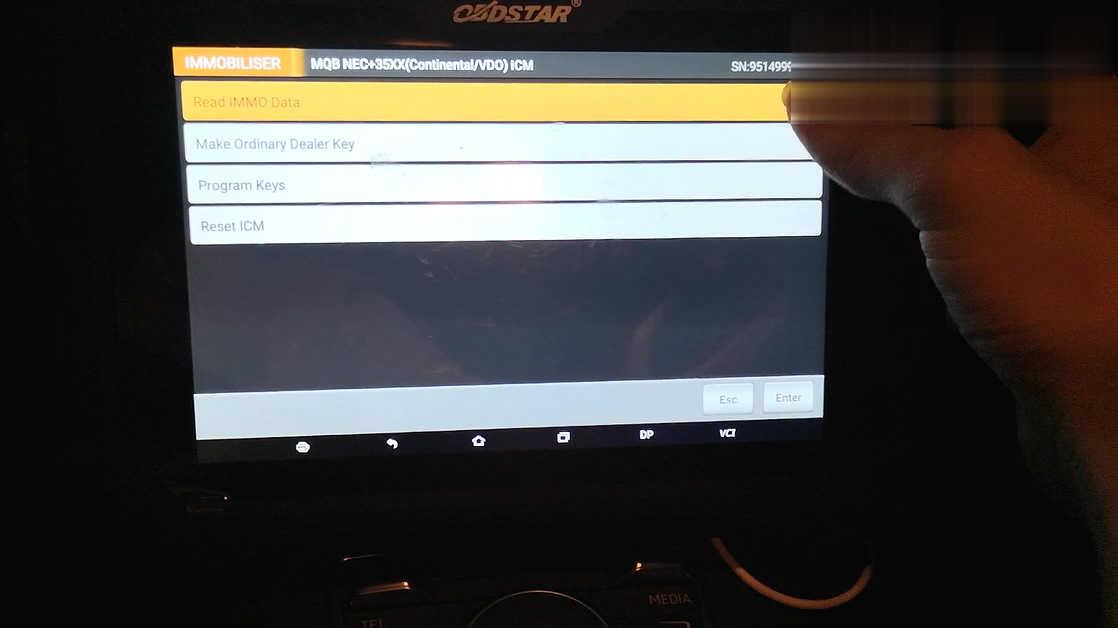
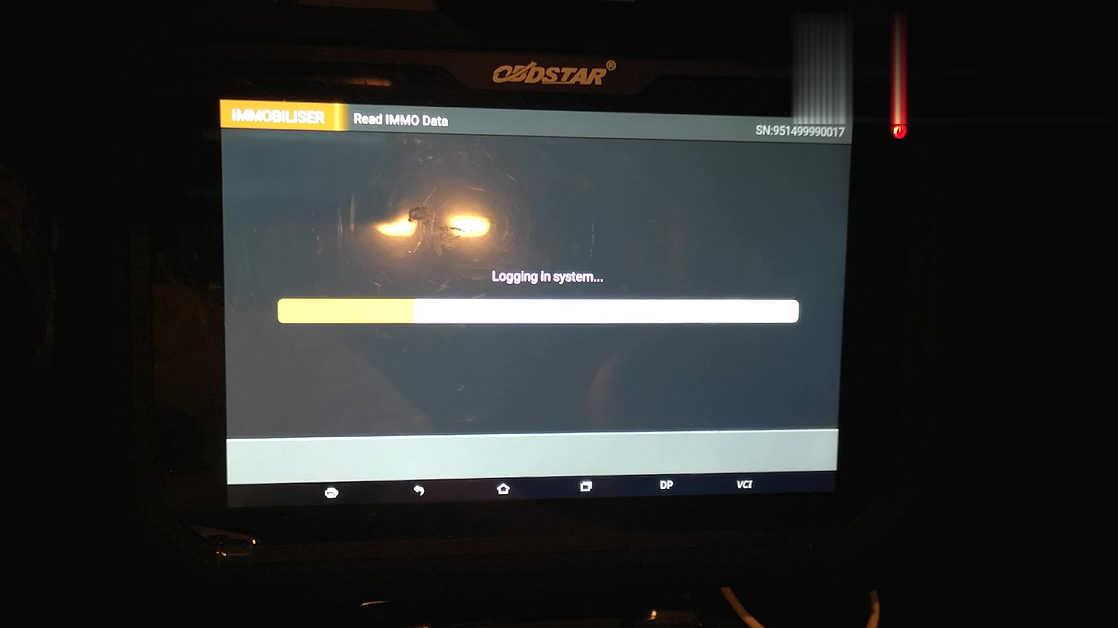
Tap "Read IMMO dataâ€.
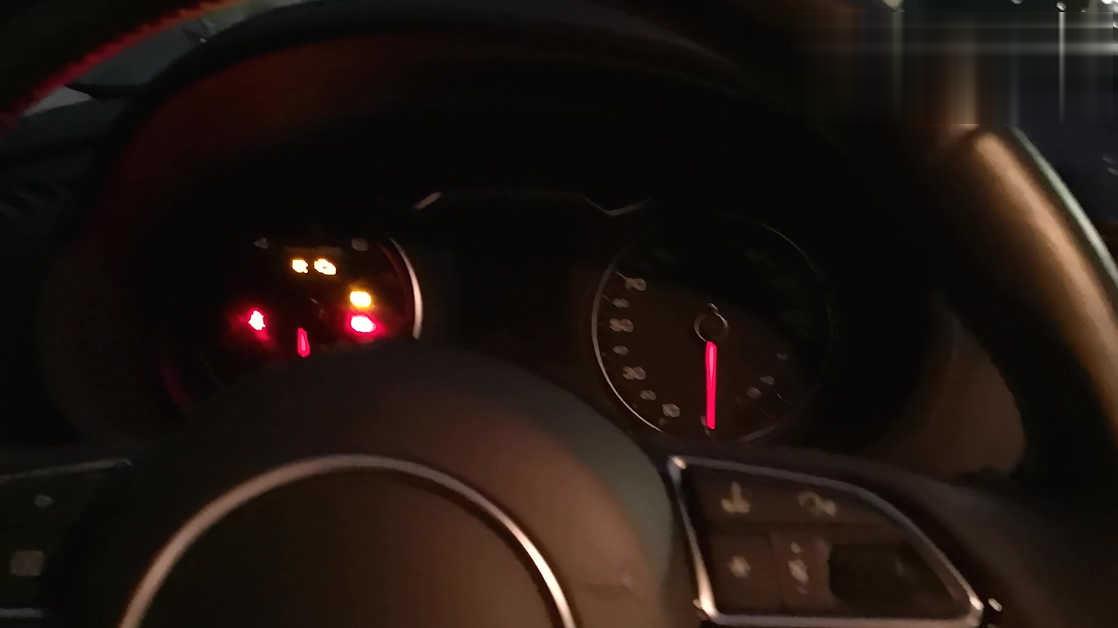
The dashboard lights off for a while and on again.
Logging in system.
Reading out data.
Tap "Make ordinary dealer keyâ€.
Communicating…
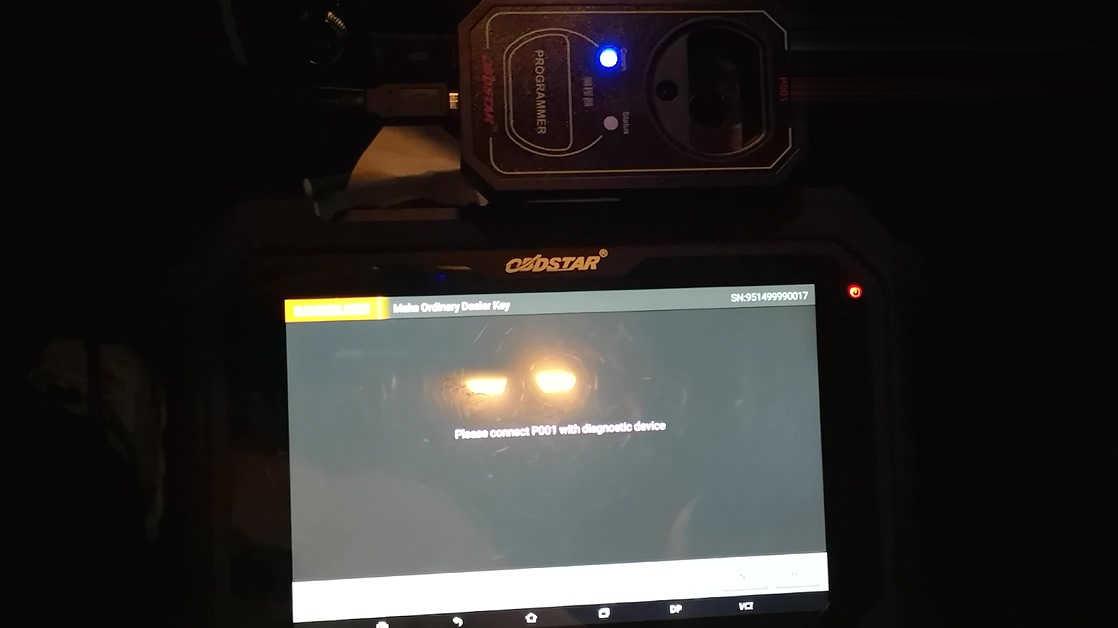
Please connect P001 with diagnostic device (The upper black one is P001 adapter).
Put the original key in P001.

Reading data.
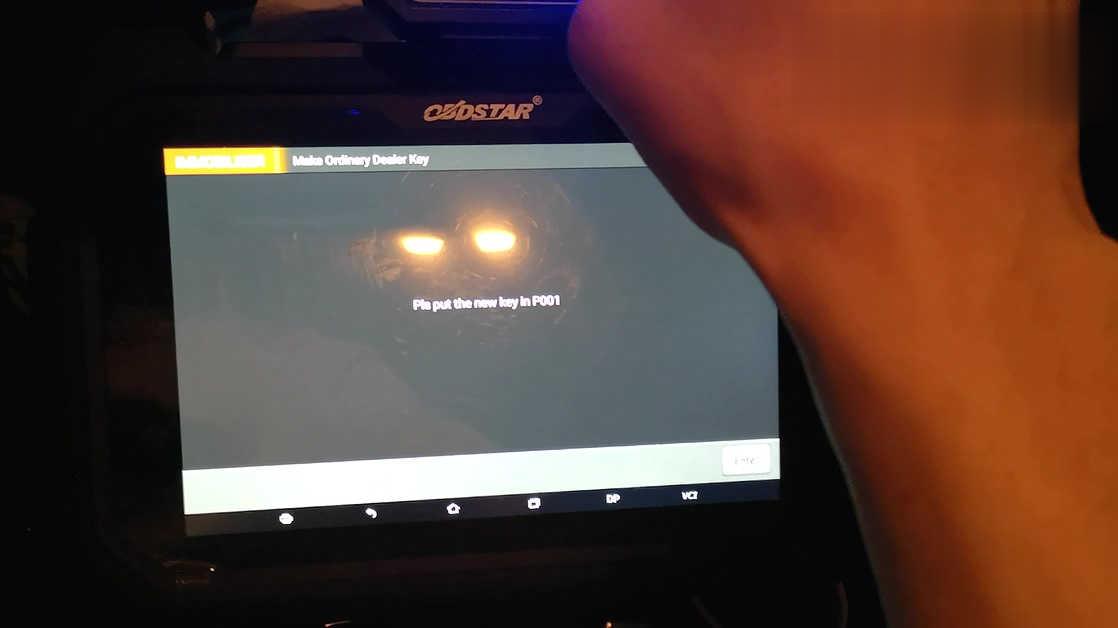
Please put the new key in P001 adapter.
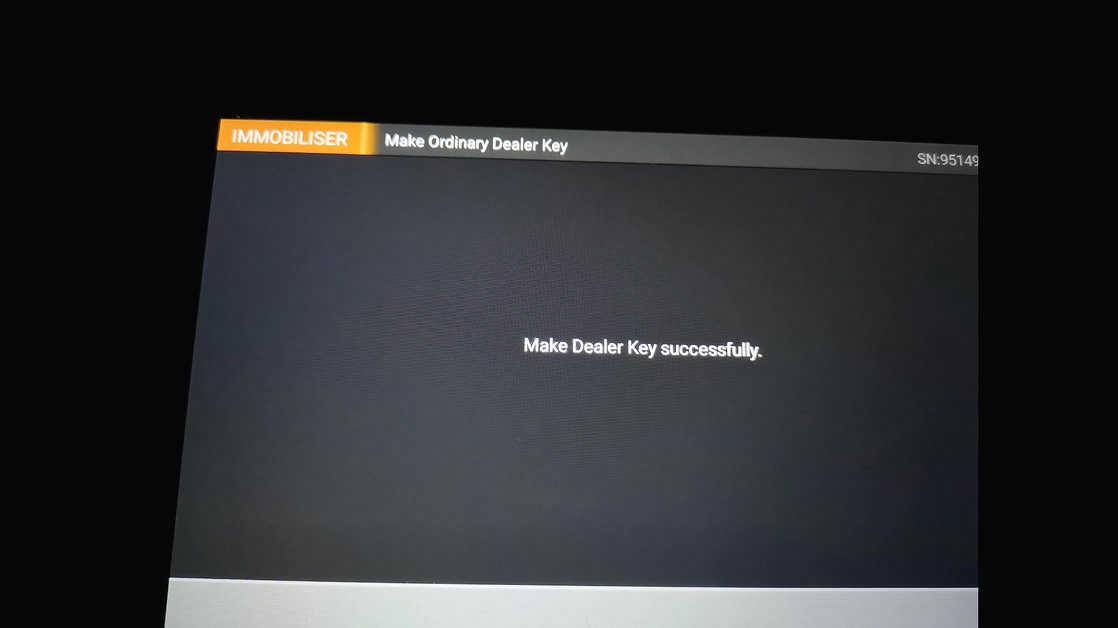
Make dealer key successfully.
Tap "Program Keysâ€.
Communicating…
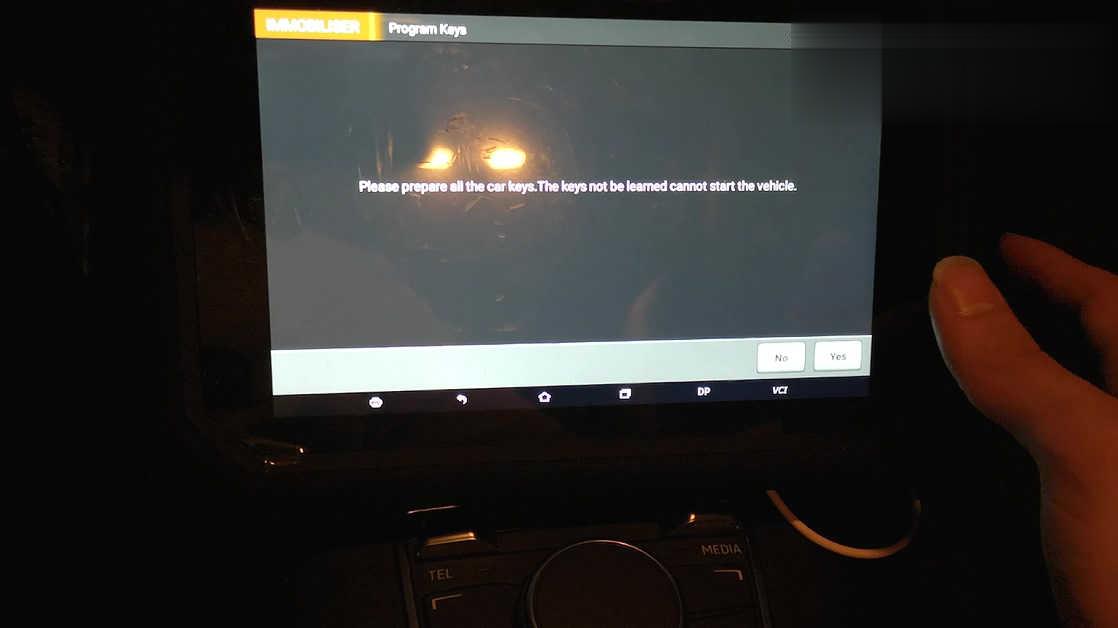
Please prepare all the car keys. The keys not be learned and can’t start the vehicle.
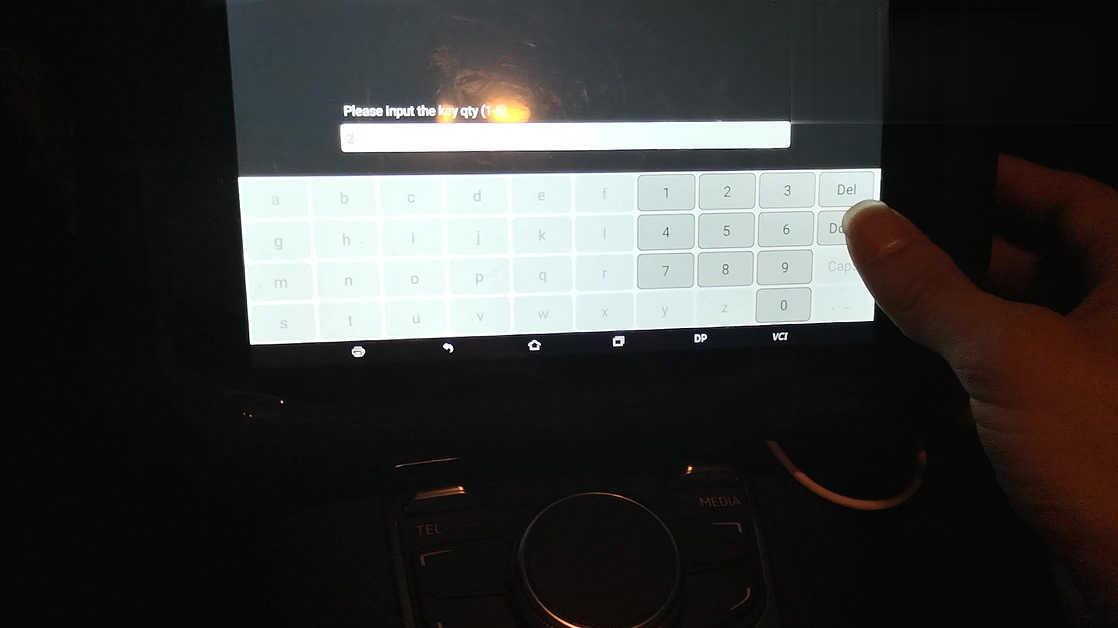
Input 2 (key quantities).
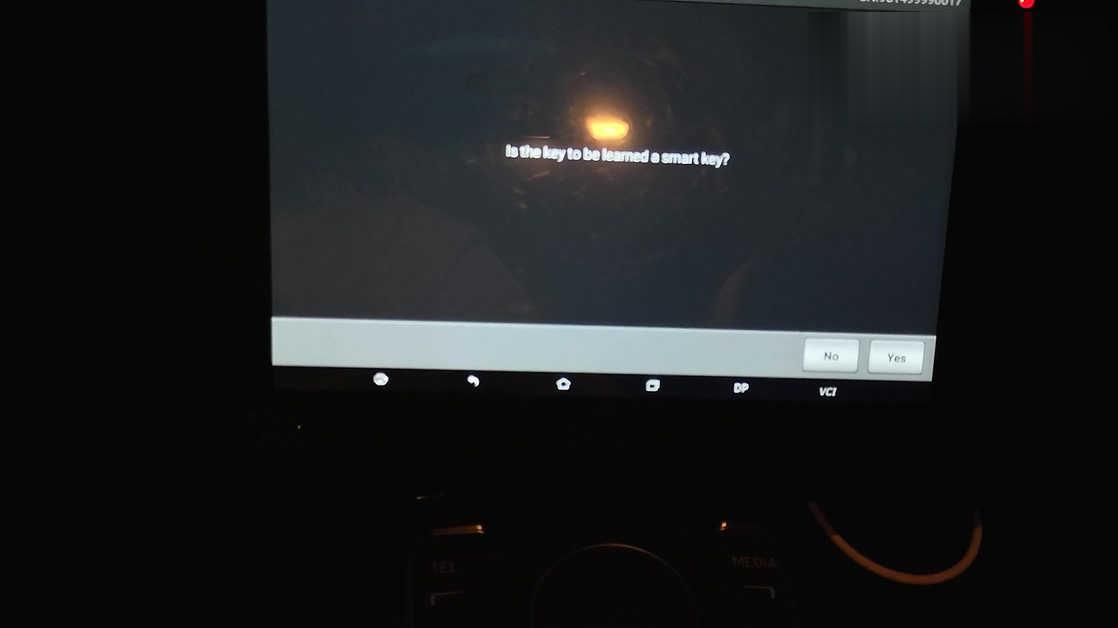
Is the key to be learned a smart key? Select "NOâ€.
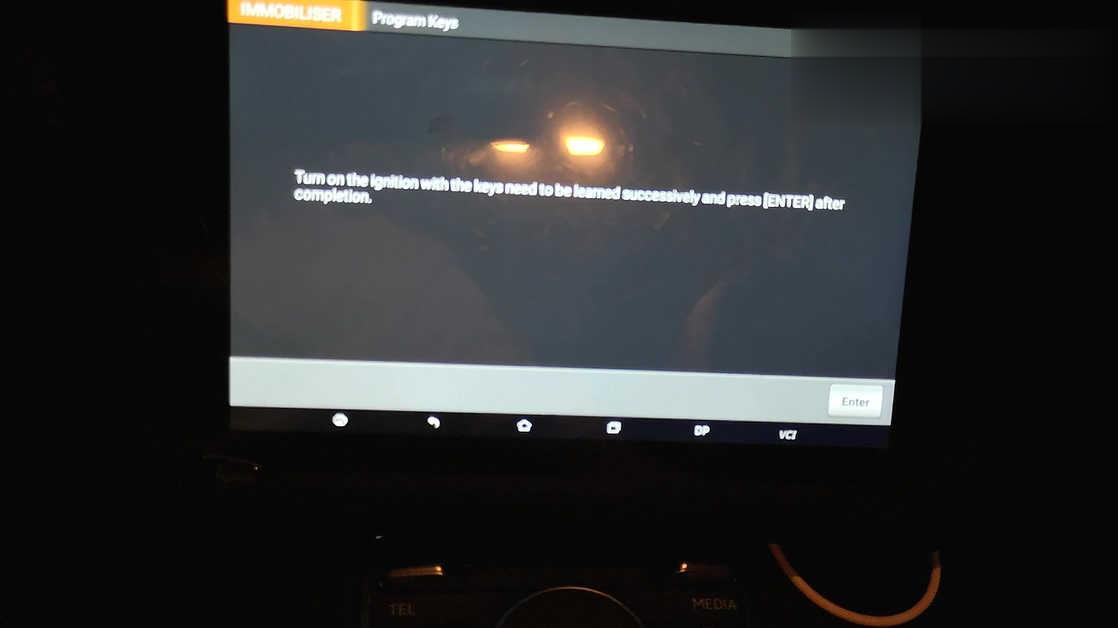
Turn on the ignition with the keys need to be learned successively and press [Enter] after completion.
Please pay attention to the dashboard change: from OFF to ON is normal.
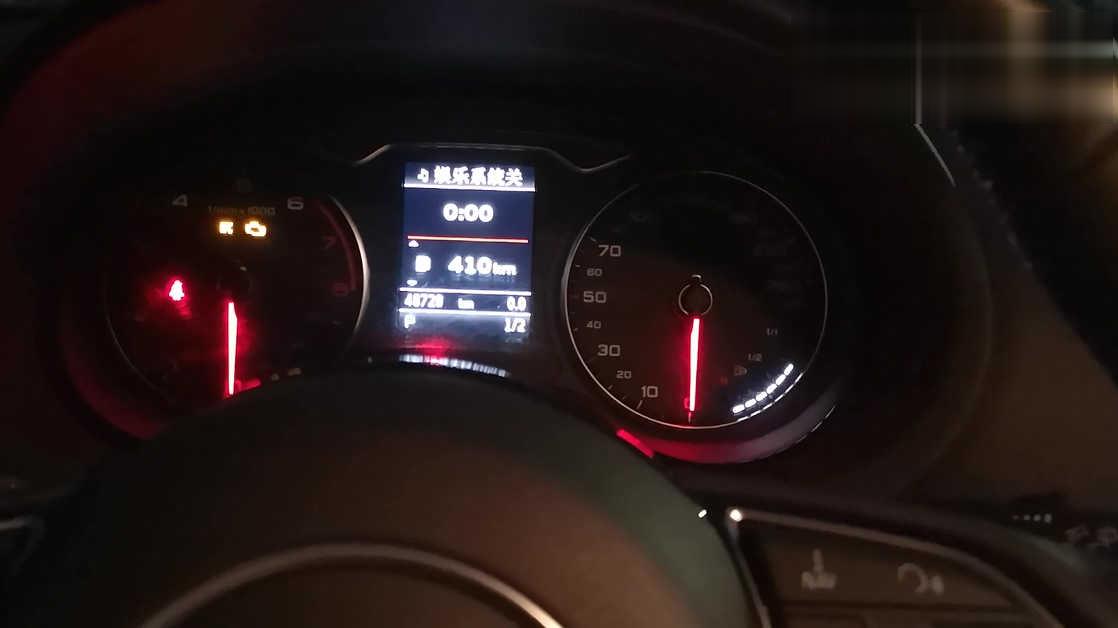
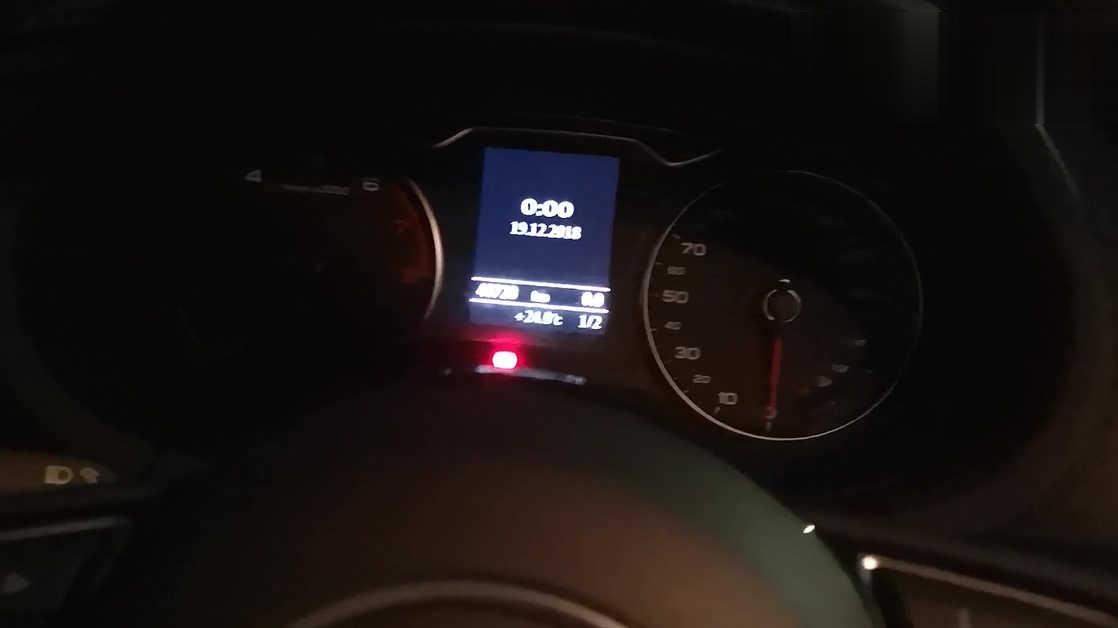
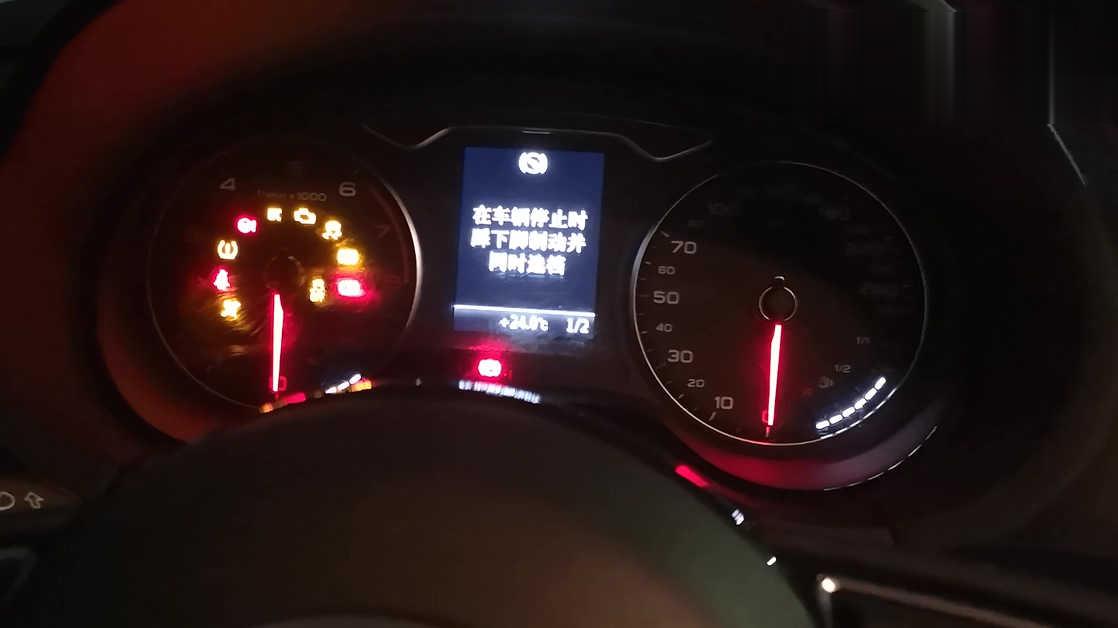
Turn on the ignition with the keys need to be learned successively and press [Enter] after completion. Tap "Enterâ€.
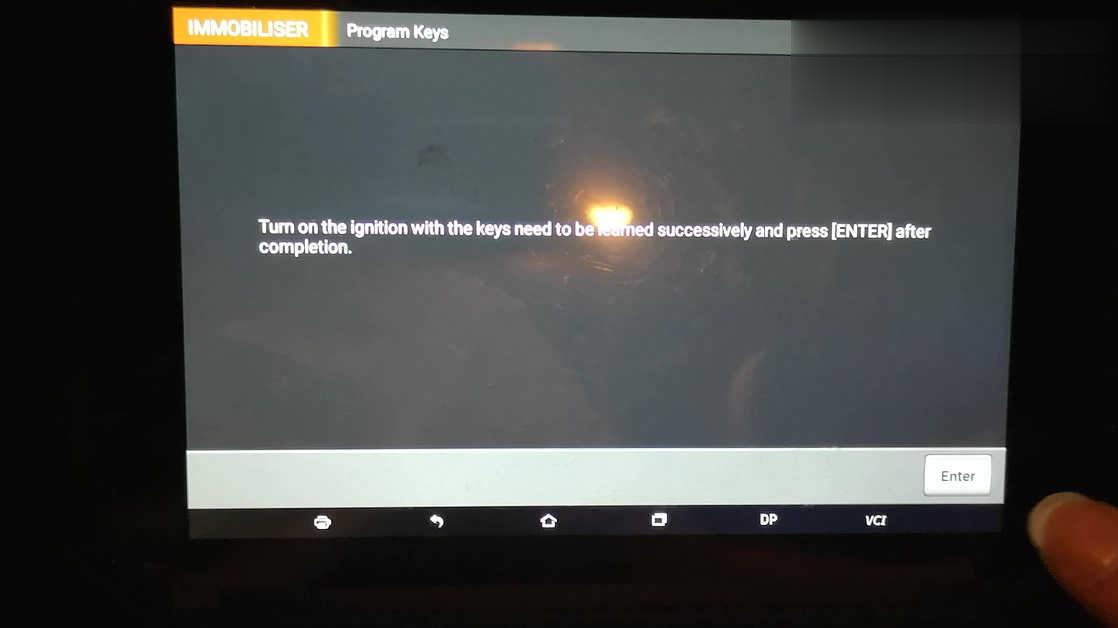
Configuring the system…
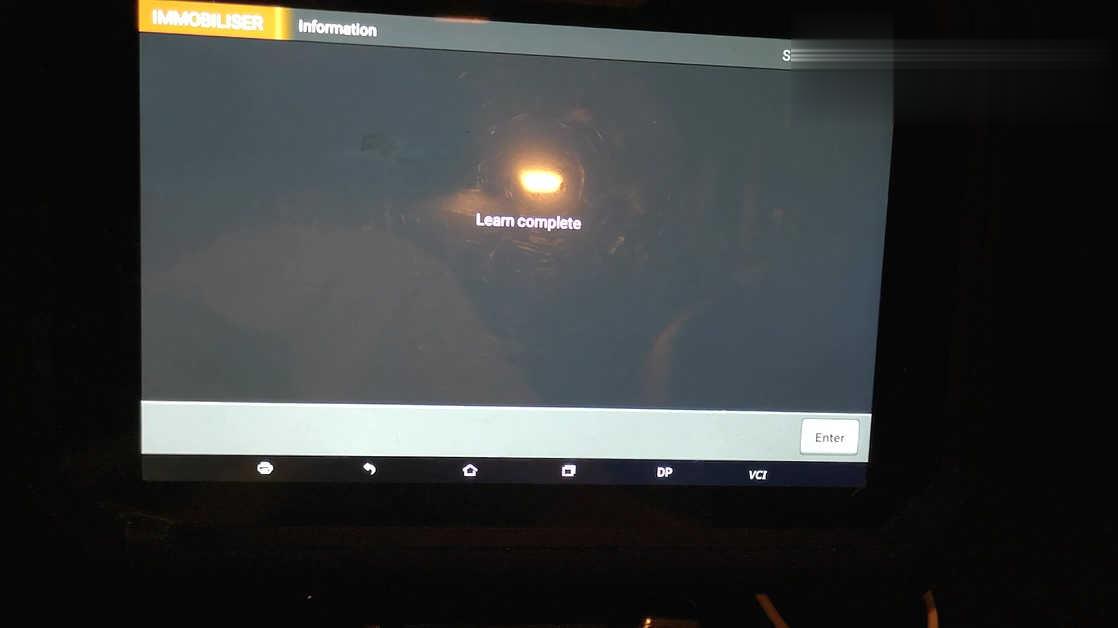
Learn complete.
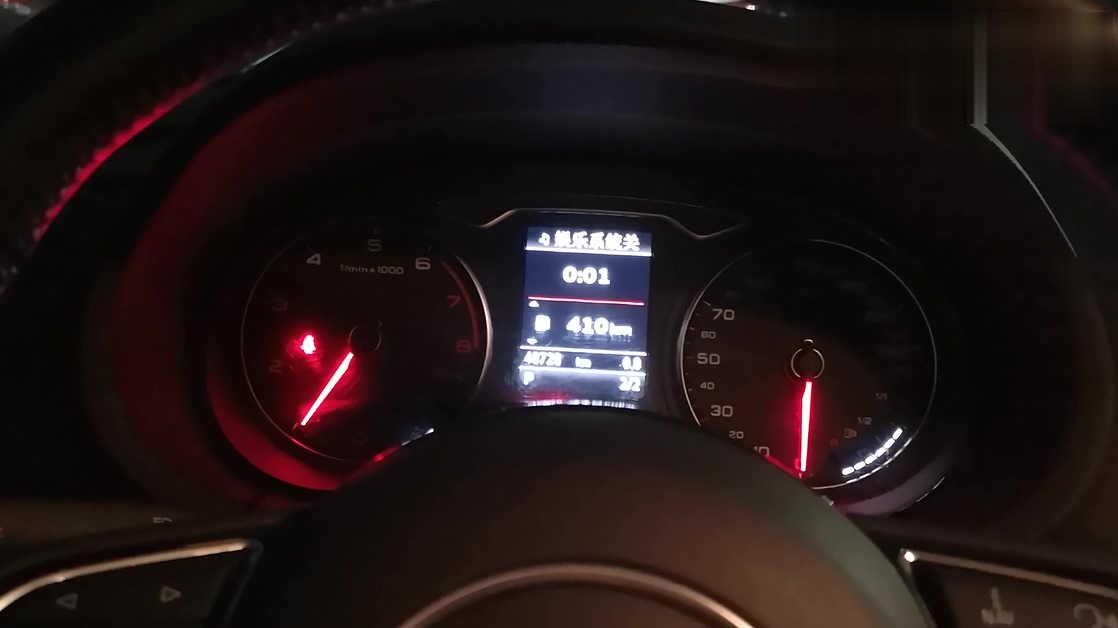
Test the new key can start the car.
Done.
OBDSTAR X300 DP Plus is very nice for 2014 Audi A3 MQB key programming. The user can complete the whole job easily by following the on-screen help. Highly recommend.
Posted by: youobd2 at
03:10 AM
| No Comments
| Add Comment
Post contains 294 words, total size 12 kb.
37 queries taking 0.0319 seconds, 143 records returned.
Powered by Minx 1.1.6c-pink.

